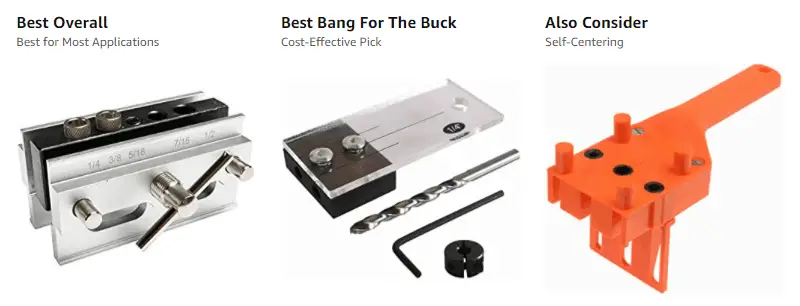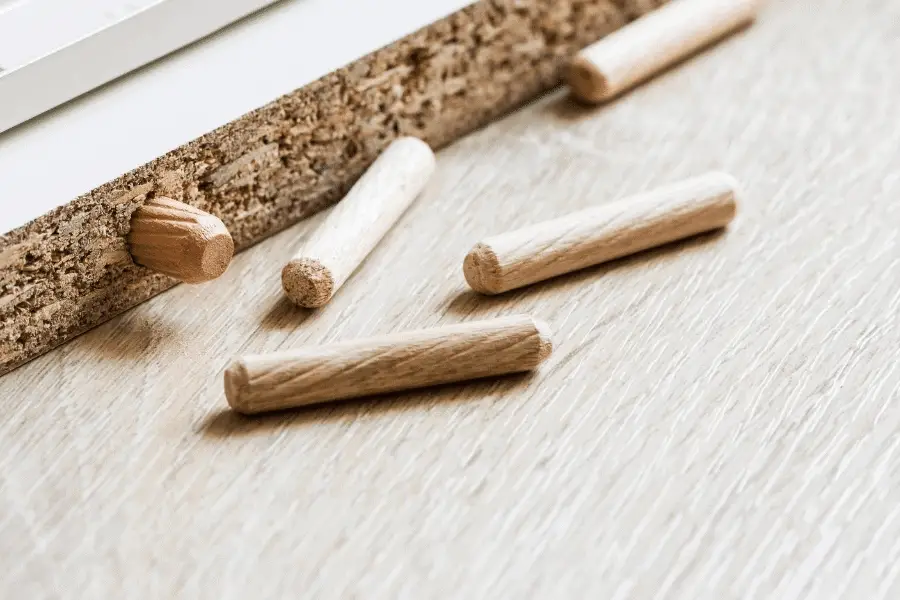
Maybe you’re building your very own bedframe, or a picture frame for a new family portrait, whatever your goal, you’ve decided to insert dowels to reinforce your joints. But, you don’t have a fancy doweling jig.
Not to worry. You don’t need one. There are a couple of different ways that you can approach this unique problem. In this article, we’re going to cover two different ways to make perfect dowel holes without a jig, one’s a little fancier than the other, but we’ll get to that as we go along.
How To Drill A Dowel Hole Without A Jig?
Option #1
For this first option, we’ll cover a “super high-tech” way to work around not having a doweling jig.
Materials Needed:
- Scrap wood
- Pencil
- Measuring tool
- Hammer
- Two Nails
- Bolt or Wire Cutters
- Drill and drill bits
The hardest part of drilling dowel holes in making sure they’re uniformly spaced on both pieces of wood, and properly aligned. The easiest way to do this is to grab a piece of scrap wood that is close to the size you’re using in your project. With your pencil and measuring tool, mark two points at the correct distance from one another on the scrap wood. Then, hammer your two nails into each hole — you can drill small holes first, but it is not necessary. Using your bolt cutters, snip off the head of each nail.
Your nails should now be roughly pointed at the ends. With your marking instrument, press the ends of the nails into the points you’ve selected for your dowels. When you pull it away, you should see two marks in the places where your dowels will go.
Use your drill to make the appropriate size holes for your dowels. Repeat this process, marking the wood where you need and drilling holes over those markings. While less than perfect, this method will get the job done and save you a tremendous amount of time in measuring and marking.
Discover 1,000 Hours Of Step-By-Step Woodworking Videos

It’s called Woodwork101. A database of detailed videos and blueprints in crystal clear, mouth-watering HD that will take you by the hand and show you that DIY home projects done the right way are easy, fun, and always of top quality… turning a dream into reality in a heartbeat. Getting you that perfect build each and every time.
Curious about What Is A Dowel Joint Used For? Please consider reading our article about the topic at this link here https://topwoodworkingadvice.com/what-is-a-dowel-joint-used-for/

Option #2
This option is the fancier of the two and creates a far more precise finished product. For this option, we will give you instructions for building a doweling jig of your own.
Materials Needed:
- 2 Pieces of Scrap Wood
- Pencil
- Precision Calipers
- Ruler
- Drill or Drill Press
- Clamps
- Table Saw
- Wood Glue
- Brass or Metal Pipe
From the list of necessary materials, you can already assume that this is a project in its own right, but once it’s made, you can use it again and again.
First, find two pieces of scrap wood of similar size, preferably 2×1 boards. With your table saw, clean-up the edges of your boards and cut one them down to about one inch long and the other three to four inches. Then, with your calipers, measure out the spacing of the dowel holes that need drilling on the smaller piece and mark it with your pencil.
Secure your small piece with the two pencil markings with a clamp and using a drill or, preferably, a drill press and drill the holes to the appropriate size. These two holes will serve as guides for your dowel holes. With the larger of the two pieces, drill a hole directly in the middle about an inch from one end. You will use this hole as a viewing port, so you want it to be space properly when you fit your pieces together.
Mark a line directly between the two holes you drilled into your smaller piece. The new mark should be visible through the hole you drilled into the bigger piece. You will glue these two pieces together so that the holes in the smaller piece run perpendicular to the single hole in the larger piece. If this sounds complicated, I apologize. This video may help to clarify things.
[Video] 3 Most Common Mistakes
When Setting Up Shop

A woodworking friend of mine shared this video by Ralph Chapman with me that helped him set up his workshop.
The video explains the benefits of Ralph Chapman’s guide about setting up an affordable workshop and avoiding the most common mistakes offers to anyone interested in woodworking.
Recommended Post: Top Woodworking Memes
Make a Simple Doweling Jig
Subscribe to Jer Schmidt on Youtube
Once your pieces are glued together, you may want to fit piping into your guide holes for your dowels. The pipes will help maintain the integrity of the holes while drilling and keep your drill bit in line. You will have something that resembles an L-shape when you’re finished. Lay your L-shaped jig over the wood that you are using for your project. Drill your holes precisely where you need them, using the hole you drilled as a viewing port to line-up the jig where you need it.
In this article, we’ve offered multiple ways to drill precise and uniform dowel holes without the use of a store-bought doweling jig.
Option #1 is incredibly low-tech but still works great and can be used in nearly any instance where you need to drill dowel holes. This option is the cheapest of the two, requires less precision, and does not involves as much machinery.
Option #2 is also fairly simple and, assuming you already have access to the tools in your shop, does not cost much. While this method may require a bit more technical know-how, it is the most practical option in the long run and is the most uniform and precise method.
Whichever option you decide to go with, your dowel holes will meet your specifications without the purchase of a fancy doweling jig.
Recommended Post: Top Woodworking Resources
How To Make A Joint With Dowels Without A Jig
Subscribe to Wes Hamstra on Youtube
