Arm-R-Seal is a popular finish for woodworking projects. It can apply over paint, lacquer, and varnish. But can you put it over shellac?
In this blog post, we will explore the pros and cons of using Arm-R-Seal over shellac.
Table of Contents
What Is Arm-R-Seal And What Are Its Benefits
Arm-R-Seal is a protective finish that can suit a variety of surfaces, including wood. It’s known for its ability to resist stains and scratches, making it ideal for high-traffic areas. Apply it in several ways, depending on the surface you’re working with. You can even use it on outdoor furniture to keep it looking new for seasons to come.
Here are many benefits of Arm-R-Seal:
-One is that it’s easy to apply. You don’t need any special equipment or skills to do it.
-Another is that it’s durable. It can withstand a lot of wear and tear, so it’s perfect for surfaces that see a lot of traffic.
-Finally, it’s versatile. You can use it on a variety of surfaces, including wood, metal, and concrete.
-Act as a topcoat over paint, which can extend the life of your paint job.
-Available in a variety of colors, so you can find the perfect match for your needs.
-Reasonably priced, so you can get the protection you need without breaking the bank.
So, when you’re looking to protect your investment, Arm-R-Seal is a great option! So, what are you waiting for? Give it a try today!
Can Arm-R-Seal Apply Over Shellac
Yes, you can apply arm-r-seal over shellac. Many people use it as a top coat for their shellac projects. Arm-R-Seal is a urethane-based product that will give you added protection against moisture and wear. It also has a nice amber color that can enhance the beauty of your shellac projects.
Make sure that you allow the shellac to fully cure before applying Arm-R-Seal. When you don’t, you run the risk of the two products not bonding properly.
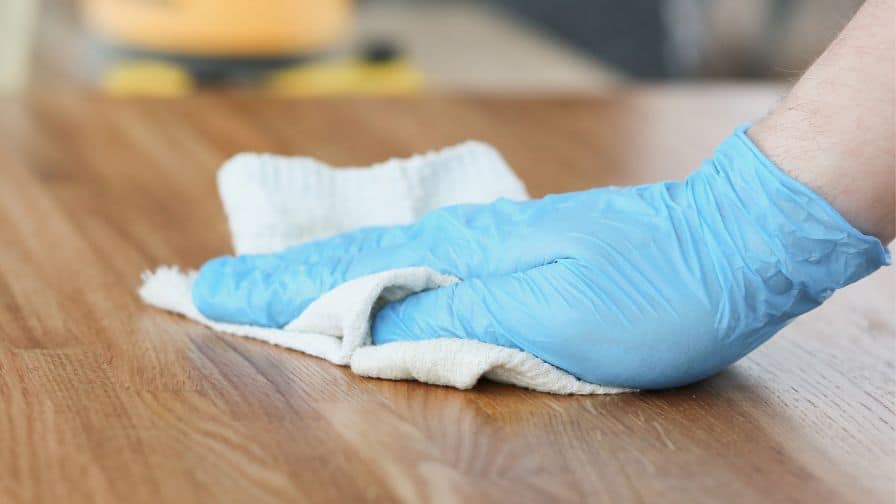
To apply Arm-R-Seal over shellac, follow the same application instructions as you do for any other surface. Use a clean and soft cloth and work in small sections. You’ll want to apply a thin and even coat and then let it dry according to the manufacturer’s instructions.
Arm-R-Seal is a great product to use when you want to add an extra layer of protection to your shellac projects! By following the proper application instructions, you can ensure that your projects will turn out to look awesome!
Pros Of Using Arm-R-Seal Over Shellac
Subscribe to General Finishes
There are a few reasons to use Arm-R-Seal over shellac.
First, it is more durable. It will last longer and resist wear better.
Second, it is easier to apply. You don’t need a brush and it goes on evenly.
Finally, it dries faster so you can get back to using your project sooner.
Give Arm-R-Seal a try the next time you’re looking for a topcoat. You might get surprised at how well it works!
Cons Of Using Arm-R-Seal Over Shellac
While Arm-R-Seal does have its advantages, there are also some disadvantages to using this product over shellac.
One of the biggest drawbacks is that it can get difficult to apply evenly. When you don’t have a lot of experience working with finishes, you might find yourself with an uneven coat.
Another downside to using Arm-R-Seal is that it can get messy. It’s a lot easier to make a mess when you’re working with this product than with shellac.
Finally, Arm-R-Seal can get expensive. When you’re on a budget, you might want to stick with shellac.
Which Finish Should You Choose For Your Wood Project
There are a few things to consider when choosing the right finish for your wood project.
The first is the type of wood you’re using. Some woods are more porous than others and will absorb finishes differently.
You’ll also want to consider the purpose of the project. When it will see a lot of wear and tear, you’ll want to choose a more durable finish.
Finally, think about the look you’re going for. Some finishes will give the wood a natural look, while others will add a bit of color or shine.
Once you consider all of these factors, you should have a better idea of which finish is right for your project. When you’re still not sure, ask a professional or consult with the folks at your local hardware store. They should point you in the right direction.
How To Apply Arm-R-Seal Over Shellac
Subscribe to General Finishes
When you’re new to shellac, you might wonder how to apply Arm-R-Seal over it.
Here’s a quick overview:
First, make sure your surface is clean and dust-free. You can do this by sanding lightly with fine-grit sandpaper or wiping down with a tack cloth.
Next, apply a thin layer of Arm-R-Seal with a natural bristle brush, working in the direction of the grain.
Let this first coat dry for at least two hours before applying a second coat. Again, work in the direction of the grain and let dry thoroughly.
You can then buff to a high shine with a clean and soft cloth.
That’s it! You successfully applied Arm-R-Seal over shellac. Enjoy your beautiful and protected surface!
Tips For Achieving The Best Results With Arm-R-Seal
When you applied a wipe-on polyurethane finish, Topcoats, you know that it’s important to get an even coat. Any streaks or brush marks will magnify as the finish dries and cures. The same is true of Arm-R-Seal Topcoats.
But there are a few things you can do to ensure optimal results:
First, always follow the manufacturer’s directions for application.
Second, when applying Arm-R-Seal Topcoats, work in small sections no more than two or three feet square. This way you can ensure even coverage without having the finish dry too quickly.
Third, use a natural bristle brush designed for polyurethane finishes. A good quality brush will lay down an even coat with fewer brush marks.
Fourth, when you do get any brush marks, don’t worry. Lightly sand the area with fine-grit sandpaper after the first coat has dried and before applying subsequent coats.
By following these tips, you’re on your way to a great-looking finish that will last for years to come!
Topcoats are a great way to protect your woodworking projects and achieve a stunning and professional finish. Arm-R-Seal Topcoats are durable and easy to apply. But there are a few things you should keep in mind to get the best results!
Can I Apply Arm-R-Seal Over Lacquer?
Yes, many woodworkers like to apply a thin coat of Arm-R-Seal over lacquer to give their projects an extra bit of protection. Let the lacquer dry completely before applying the Arm-R-Seal. Otherwise, you run the risk of trapping moisture between the two finishes, which can cause clouding or white spots.
When you’re going to apply Arm-R-Seal over lacquer, make sure to use a product that’s compatible with lacquer. Some oil-based products can respond adversely. So it’s important to read the labels carefully. Once you applied the Arm-R-Seal, you can buff it to a high gloss or leave it as is for a more natural look.
Do You Wipe Off Arm-R-Seal?
Subscribe to Simple Wood Shop
A lot of people think they should, but the truth is, it’s not necessary. The oil in Arm-R-Seal penetrates the wood, so wiping it off will remove the excess.
So, if you’re wondering whether or not to wipe off Arm-R-Seal, no. Let it do its job and penetrate the wood. You’ll have an attractive and protected surface.
How Do You Seal Shellac On Wood?
Sealing shellac on wood is not difficult.
To seal shellac on wood, you will need:
– A clean, dry, and dust-free surface
– Shellac (We recommend using Zinsser Bulls Eye Shellac)
– A natural bristle brush
– A lint-free cloth
Here are the steps to sealing shellac on wood:
– Stir your shellac thoroughly before beginning.
– Apply a generous amount of shellac to your surface with the natural bristle brush, using long, even strokes.
– Work the shellac into all cracks and crevices.
– Allow the shellac to dry for at least 30 minutes before moving on to the next step.
– Once the shellac has dried, buff it with a lint-free cloth until you achieve a smooth and even finish.
That’s it! You successfully sealed shellac on wood. For best results, allow the sealant to cure for 24 hours before using the surface.
Recommended Posts:


