If you’re looking for a new saw to add to your tool collection, you may be wondering if a fret saw blade can fit in a coping saw. The answer is no – coping saw blades are too thick to fit in a fret saw. In this blog post, we will show you the difference between a coping saw and a fret saw and how to use them.
What Is A Fret Saw Blade And What Is A Coping Saw Blade
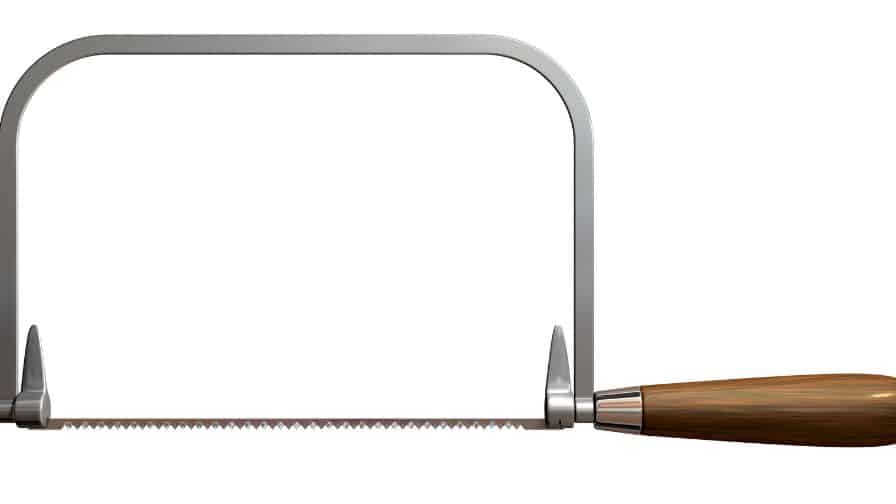
Fret saw blades and coping saw blades are both types of hand saws. Wood can be cut intricately with fret saw blades, which are thin, narrow blades. A coping saw blade is a thicker, wider blade that is used to make more coarse cuts in wood. Both types of blades can be found at most hardware stores.
So, which one should you use for your next project? Fret saw blades are ideal for making precise and detailed cuts. If you need to make more general cuts, then a coping saw blade will do the trick. Just be sure to choose the right blade for the job at hand!
Can You Put A Fret Saw Blade In A Coping Saw?
Yes, you can put a fret saw blade in a coping saw if you use an adapter otherwise the blades aren’t interchangeable.
Here is a link to an adaptor option.
What Are The Difference Between These Two Types Of Saws
Subscribe to SawsHub DIY Woodworking Tips
The main difference between a coping saw and a fret saw is the size of their blades. A coping saw has a much thicker blade than a fret saw, which means that it can be used to cut through thicker materials. However, this also means that the coping saw is less precise than the fret saw and is not able to make as fine of cuts.
So, which type of saw should you use? You should use a fret saw if you need to make a precise and delicate cut. However, if you are cutting through thicker materials, then you should use a coping saw.
How Do You Replace Blades On A Coping Saw Or Fret Saw
You can actually swap out the blades on a coping saw and a fret saw. The process is pretty simple, but there are a few things you need to keep in mind. First, when you’re swapping out the blade on a coping saw, you need to make sure that the new blade is the same size as the old one. Second, you need to be careful not to damage the new blade when you’re installing it. And finally, you need to make sure that the new blade is properly tensioned before you start using it.
Here’s a step-by-step guide to swapping out the blades on a coping saw:
First, remove the old blade from the saw. To do this, you’ll need to loosen the tension screw and then slide the blade out of the slot in the saw’s frame.
Next, take your new blade and insert it into the slot in the saw’s frame. Make sure that the teeth on the blade are pointing in the right direction – they should be pointing towards the handle of the saw.
Once the new blade is in place, you can begin tensioning it. To do this, simply turn the tension screw until the blade is tight. Be careful not to over-tighten the screw, as this can damage the blade.
And that’s all there is to it! Now you know how to swap out the blades on a coping saw. Give it a try the next time you need to change your blade.
How To Use A Coping Saw Blade
To use a coping saw blade, first, insert it into the saw frame. Make sure that the teeth of the blade are pointing in the correct direction. Then, hold the saw frame in one hand and use the other hand to guide the blade along the wood surface.
When cutting curves, it is best to start at the outside edge of the curve and work your way inward. To make straight cuts, simply line up the blade with the mark on the wood and saw along the line.
If you need to make a cut that is thicker than the blade of the saw, you can use the kerf, or width of the cut, to your advantage. By making two passes with the saw, you can create a cut that is as wide as you need it to be.
With a little practice, you will be able to use a coping saw blade like a pro!
Recommended Posts:

