When you’re looking to add some personalization to your projects, engraving is a great way to do it. There are a few things you need to know before you get started.
In this blog post, we will discuss everything you need to know about engraving bits for your Dremel! We’ll talk about what types of materials they work best on, as well as the different settings you can use to create varied effects. Let’s get started!
What Dremel Bit Is Used For Engraving?
Dremel bits are small, rotary cutting tools that come in a variety of shapes and sizes. The most common type of Dremel bit for engraving is the pointed bit. This bit is designed to create fine, detailed lines in a variety of materials.
When you’re getting started with engraving, we recommend starting with a pointed bit. Once you get the hang of it, you can experiment with other types of bits to see what results they produce.
In addition to the type of bit, you’ll also need to consider the material you’re engraving. Some materials, like glass, are easier to engrave than others. You’ll want to use a different type of bit for each material to get the best results.
Once you select the right bit and material, it’s time to get started!
What Is Engraving And What Are The Benefits Of Doing It?
Engraving is the process of cutting or carving a design, pattern, or image into a hard surface. It can do for decoration, to create a unique look, or for identification purposes. Many people choose to engrave their name, initials, or a special message on jewelry, tools, and other items.
Engraving is a permanent way to mark and decorate an object. Do it by hand or with a machine, and the process involves using a sharp tool to carve out the design.
Hand engraving is a slow and meticulous process. But it can produce very detailed and intricate designs. Machine engraving is faster and less expensive. But it doesn’t offer the same level of detail and artistry as hand engraving.
Subscribe to Sales SavannahEngraving
What Types Of Materials Work Best For Engraving, And Why?
Here are a few of the most popular engraving materials, and why they’re so widely used:
-Wood is an excellent material for engraving, as it’s soft and easy to work with. It also takes stains and paints well. You can customize your finished project.
-Glass is another popular engraving material, as it can create a beautiful and polished look. However, it’s important to use the proper techniques when engraving glass, as it can get fragile.
-Metal is another famous choice for engraving. It’s strong and durable, making it perfect for projects that will see a lot of wear and tear. You can also create different finishes on metal, from polished to distressed.
Engraving is a great way to personalize any project. With the right materials, you can produce a one-of-a-kind piece that will last for years to come.
How Do You Get Started With Engraving, And What Tools Do You Need?
To get started with engraving, prepare a few basic tools:
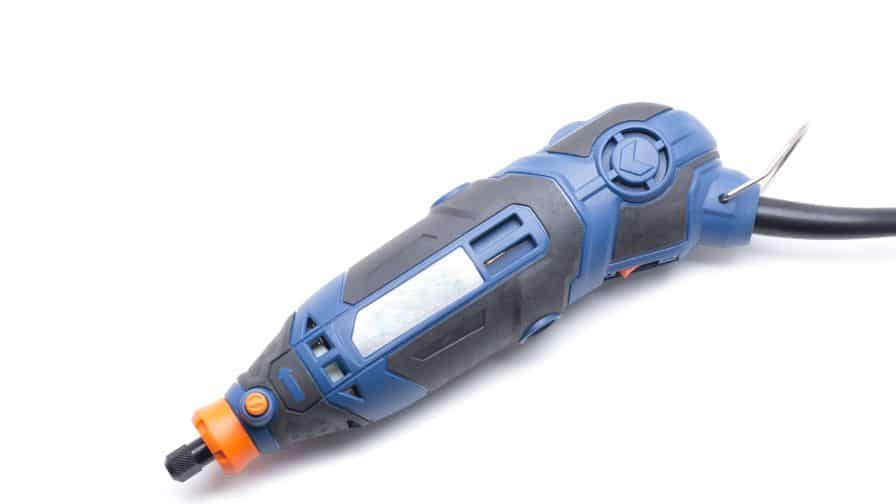
-A handheld rotary tool is the most important piece of equipment. It will allow you to carve detailed designs into a variety of materials. You’ll also need a few types of bits for your rotary tool, including a diamond tip bit and an engraving bit.
-A workbench or table is necessary to have a stable surface to work on.
-It requires some basic materials to get started, including a piece of wood, metal, or glass to practice on. You can find these items at your local hardware store.
-A few other items you might need include a measuring tape, a straight edge, and a set of small files.
Now that you have your tools and materials ready, it’s time to start practicing! Begin by sketching out your design on a piece of wood, metal, or glass. Once you have your design mapped out, use your rotary tool to start carving away at the material. Go slowly and carefully at first, until you get a feel for how the tool works.
As you continue practicing, you’ll develop your unique style and technique. Before long, you’ll create beautiful engraved pieces that friends and family will cherish for years to come!
Subscribe to Carving Fusion By : Jordy Johnson
What Dremel Bit Is Best For Carving Letters?
There are different shapes of carbide bits available. So you’ll need to choose the one that best suits the lettering you’re trying to create. For example, when you’re carving block letters, a straight or cylindrical bit will work well. As you’re carving more intricate letters, like cursive, a ball-shaped bit is a better choice.
Whichever type of bit you choose, use it with a steady hand to create the best results. Take your time – carving letters is a slow and deliberate process. But with a little practice, you’ll present beautiful lettering that will add a personal touch to your woodworking projects.
There are many other types of bits available for the Dremel. So you can experiment to see which ones work best for the type of carving you’re doing. Use a carbide bit for detailed work like carving letters. With a little practice, you’ll become an expert letter carver in no time!
Can You Engrave Stainless Steel With A Dremel?
Yes but it’s not as easy as engraving other materials. Stainless steel is harder than other metals, so it requires a stronger cutting bit. You’ll also need to use a slower speed setting on your Dremel to avoid damaging the metal.
When you’re patient and willing to experiment, you can engrave stainless steel with a Dremel. Know that it will take some time and effort to get the results you want. Use the proper bits and take your time to avoid damaging your project. With a little practice, you can master this challenging engraving material.
Subscribe to Xtreme Etching Art
Will A Dremel Engrave Wood?
Yes. But there are a few things you need to know before you get started:
-When engraving wood, it’s important to use a rotary tool with a carbide or diamond-tipped bit. These bits are specifically designed for cutting hard materials like wood.
-You’ll also want to use a lower speed setting on your rotary tool. This will prevent the bit from overheating and burning the wood.
-Practice on a scrap piece of wood before engraving your final project. This will help you get a feel for the tool and the speed setting you should use.
-When engraving, always go slow and steady. There’s no need to rush—taking your time will produce better results.
What Are The Pink Stone Dremel Bits Used For?
Pink stone bits are one of the most popular choices for use with a Dremel rotary tool. They are perfect for polishing and finishing a wide variety of materials, including metals, plastics, glass, and even wood.
Pink stones are also very versatile when it comes to the different shapes and sizes that they come in. This means that you can find the perfect bit for any project that you may have.
When you are looking for a bit that will give you a high level of polishing power, then a pink stone bit is the way to go. These bits are also very affordable, which makes them a great choice for those on a budget.
As you are looking for a bit that is specifically designed for use with a Dremel rotary tool, then you should consider purchasing a pink stone bit. These bits are perfect for those who want to get the most out of their tool and get the best results possible.
How Long Do Dremel Bits Last?
Dremel bits are made of high-speed steel. However, like all tools, they will wear out with use. Depending on how often you use your Dremel tool and what type of materials you’re using it on, your bits can last anywhere from a few months to several years. When they do wear out, you’ll need to replace them to keep using your tool.
As you use your Dremel tool regularly, you can expect to go through a few sets of bits every year. Since you only use it occasionally, your bits may last for several years. It’s also worth noting that different types of bits will wear out at varied rates. So, if you’re looking to extend the life of your bits, choose the right type for the job at hand.
In general, Dremel bits are very durable and long-lasting. With proper care and maintenance, they can last for many years. When they do wear out, replacement bits are available and inexpensive. So, use your Dremel tool often – it’s built to last.
Subscribe to Hans
How Do You Sharpen A Dremel Engraving Bit?
Dremel bits are susceptible to breaking when they are not handled carefully. The best way to sharpen a Dremel bit is with a diamond sharpening stone.
-Start by wetting the diamond sharpening stone with water.
-Place the Dremel bit on the stone and use a light back-and-forth motion to sharpen the bit.
-Do not overheat the bit by sharpening for too long.
-Rinse the Dremel bit with water and dry it off when you are finished.
Now that you know how to sharpen a Dremel bit, keep your bits in good condition by following these tips:
-Store the bits in a safe place where they will not get damaged.
-Do not use the bits for tasks other than engraving.
-Show extra care when handling the bits to avoid breaking them.
What Is The Green Stuff In My Dremel Kit?
The green stuff is a polishing compound that can be used on after you’ve completed engraving to polish your work piece.
What’s The Difference Between A Dremel 3000 And a 4000?
There are a few key differences between the Dremel 3000 and the 4000:
-The 4000 is a bit more powerful, running at 1.6 amps compared to the 1.2 amps of the 3000.
-It also has a more robust build quality, meaning it will overheat or break down less with extended use.
-The 4000 also has a detachable cord. So when it does ever overheat or break down, you can replace the cord instead of the whole tool.
-The 3000 only comes with two-speed settings, while the 4000 has five-speed settings. This means that you have more control over your projects with the 4000.
-The 4000 also comes with a carrying case, while the 3000 does not.
So, when you’re looking for a slightly more powerful and durable tool with more control and a carrying case, the 4000 is the way to go. As you want to save a few bucks, the 3000 will still get the job done.
Subscribe to Machina Designs
What Is The Best Dremel To Buy?
When you’re searching for the best Dremel to buy, then you’ve come to the right place. There are a lot of different products on the market. It can get tough to decide which one is right for you. That’s why we’ve put together this comprehensive guide to help you make the best decision possible.
We’ll go over the several types of products available, as well as their key features. You’ll know exactly which Dremel is best for your needs.
Let’s get started!
There are two main types of Dremels: corded and cordless. Each has its own set of advantages and disadvantages:
-Corded Dremels are always more powerful. They’re also lighter and more maneuverable. The biggest downside is that you’re tethered to a power outlet. When you need to use your Dremel in tight spaces or for long periods, then a corded model is more of a hindrance than a help.
-Cordless Dremels are more versatile. You can use them anywhere, without worrying about finding a power outlet. They’re also cheaper than corded models. The biggest downside is that they’re not as powerful and they have shorter battery life.
When you’re trying to decide which is the best Dremel to buy, then you need to think about how you’ll use it. As you only need it for light-duty tasks, then a cordless model is sufficient. But since you plan on using your Dremel for more heavy-duty projects, then a corded model is a better option.
Recommended Posts:

