Do you need to bend a wooden dowel but don’t know how? It can get tricky, but with the right tools and techniques, you can do it.
In this blog post, we will teach you how to bend wooden dowels using a few steps. We will also show you some of the best ways to do it. So that you can get the desired results every time. Let’s get started!
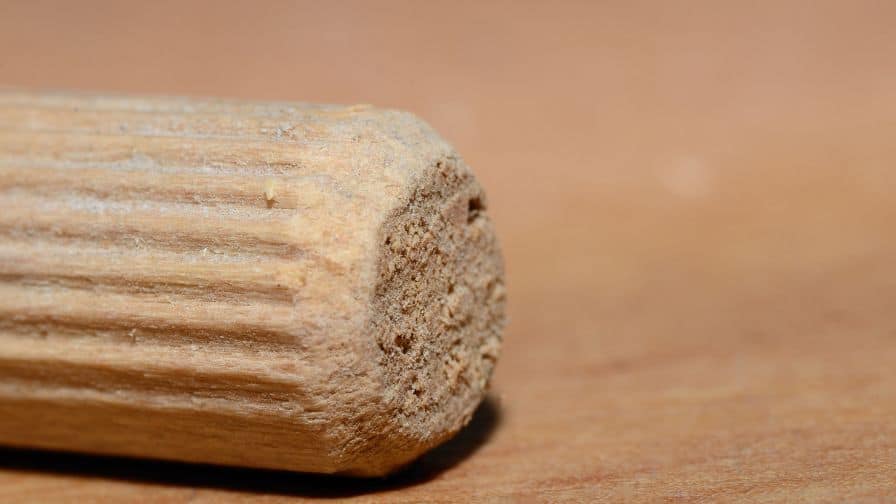
What You Need To Bend A Wooden Dowel
You’ll need a few things before you get started: a straight piece of wood, a heat source, and a thing to bend the wood around. We’ll use a simple jig made from two pieces of scrap wood held together with clamps.
How To Heat The Wooden Dowel
Now that you have everything you need, let’s get started.
First, find a safe and flat surface to work on. A table or countertop is ideal. Place the wooden dowel on the surface and position the heat gun about six inches away from it. Slowly move the heat gun back and forth over the dowel. Show extra care not to hold it in one spot for too long. You should see the dowel start to bend after a minute or so.
When you want to create a tighter curve, continue heating the Dowel and gently bending it into shape. Remember to move the heat gun regularly and not let it stay in the same place longer.
Once you are happy with the shape of your Dowel, turn off the heat gun and let it cool completely. Congratulations, you have now successfully heated your wooden Dowel!
Now that you know how to heat a wooden Dowel, you can use this technique to create all sorts of fun projects! Get creative and see what you can come up with!
How To Bend The Wooden Dowel
You can bend wooden dowels by boiling them.
Start by boiling a pot of water. Then, carefully insert the dowel into the boiling water. Use a pair of tongs to hold the dowel in place if necessary. Allow the dowel to soak in the hot water for at least five minutes.
After five minutes have passed, remove the dowel from the water and allow it to cool for a few seconds. Once it’s cool enough to handle, begin bending it into the shape you desire. You may need to use a pair of pliers to get the dowel started, but once you have it in the general shape you want, you can finish bending it by hand.
Once you’ve achieved the desired shape, allow the dowel to cool completely. This will help set the new shape so that it doesn’t spring back when you use it.
Tips And Tricks For Bending Wooden Dowels
Now that you know how to produce a perfect 90-degree bend in a wooden dowel, here are some tips and tricks for bending them to other angles.
To start, you’ll need to mark the spot on the dowel where you want the bend to begin. For curved or circular bends, use a pencil or pen to draw the desired shape onto the dowel. For angled bends, use a protractor or angle finder to mark the dowel at the preferred degree of bend.
After you marked the dowel, it’s time to start heating it. You can use a heat gun, hair dryer, or even a lighter with extra care to heat the dowel. Apply the heat evenly along the section you want to bend and make sure not to overheat it, or else you’ll risk scorching or burning the wood.
Once the dowel is heated, it’s time to start bending it. For curved or circular bends, shape the dowel around a form or mold that matches the desired shape. For angled bends, simply bend the dowel to the desired angle.
Finally, allow the dowel to cool completely before removing it from the form or mold. As necessary, use clamps or weights to hold the dowel in place until it’s cooled and set. There you have it – beautifully bent wooden dowels to add a unique touch to your next project!
How Do You Soften Wood To Bend It?
One of the most common ways to soften wood is by steaming it. Do this by using a special steamer or by boiling water and placing a towel over the bowl to trap the steam. The heat and moisture from the steam will cause the fibers in the wood to expand and make it more pliable.
You can also soak the wood in hot water for a few hours to achieve the same effect. Once you soften the wood, you can then bend it into the desired shape. Work quickly before the wood dries and becomes hard again.
Another way to soften wood is by using chemicals. Use several products on the market for this purpose. Follow the instructions carefully and wear gloves and a mask to protect yourself from fumes.
How Long Do You Soak Wood To Bend It?
It depends on the type of wood you’re using. Hardwoods, like oak, require a longer soaking time than softwoods, like pine. A general rule of thumb is to soak hardwoods for 3 hours and softwoods for 1-3 hours. However, these are only guidelines – ultimately, you’ll need to experiment to see what works best for your particular project!
Once you soak the wood, it’s time to start bending it. To do this, you’ll need to use some type of jig or form. This will help support the wood while it’s bent, and prevent it from breaking. There are a variety of jigs and forms available. So you’ll need to choose one that’s appropriate for your project.
Once you have your jig or form in place, it’s time to start bending the wood. Slowly and carefully apply pressure to the wood, until it reaches the desired shape. It’s important to work slowly and carefully, to avoid breaking the wood.
Once the wood is bent, you’ll need to let it dry. This process can take anywhere from a few hours to a few days. It depends on the type of wood and the humidity levels. Once the wood is dry, you can remove it from the jig or form and start working on your project!
Recommended Posts:

