Shellac is a type of wood finish that has been used for centuries. It is made up of a resin from the lac bug and applies to wood to protect it from moisture and other environmental factors. While shellac is very durable and long-lasting, it can get difficult to remove when you want to change the color or finish of your wood.
In this article, we will show you how to dewax shellac so that you can easily remove it and apply a new finish.
Table of Contents
How To Dewax Shellac?
You can dewax shellac by using a product called Shellac Release Agent. This is available at most hardware stores. You will also need some denatured alcohol and a clean cloth.
To dewax shellac, start by mixing the shellac release agent with denatured alcohol according to the instructions on the package.
Then, apply the mixture to a clean cloth and wipe it over the surface of the shellac. Work in small areas and move the cloth in a circular motion.
Once you remove all of the wax, rinse the area with clean water and dry it off with a soft cloth.
You may need to repeat this process a few times to remove all of the wax. However, it is important to show patience and take your time so you don’t damage the shellac.
Shellac is a great way to protect your furniture from scratches and stains. However, it can get difficult to remove when you decide to change the finish. Luckily, there is a way to dewax shellac so you can easily remove it and start fresh. With a little elbow grease, you’ll have the wax removed in no time!
What Is Shellac And How To Apply To Wood?
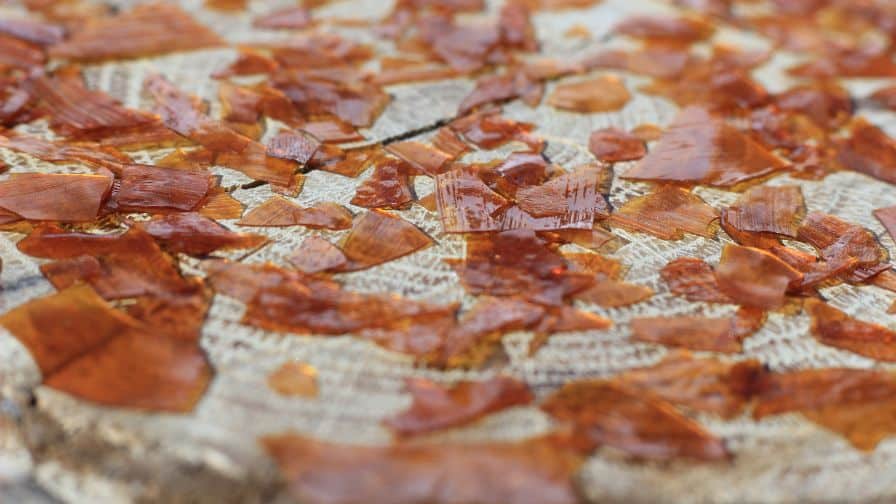
Shellac is a resin that the female lac bug secretes. It’s used as a wood finish and sealant. To apply shellac, you’ll need a clean and lint-free cloth and some denatured alcohol.
Start by wiping down your project with the denatured alcohol to remove any dirt or debris.
Then, pour a small amount of shellac onto your cloth.
Rub the shellac into the wood in a circular motion, making sure to cover all surfaces.
Once finished applying the shellac, allow it to dry for at least 24 hours before moving on to the next step in your project. Shellac is a great option for those looking for a durable and long-lasting finish.
How Do You Remove Shellac When You Want To Change The Color Or Finish Of Your Wood?
Subscribe to Our Furniture Flipping Adventure
Removing shellac is an easy process that anyone can do with the right tools and techniques.
To remove shellac, you’ll need a few supplies.
First, you’ll need denatured alcohol. You can find this at any hardware store.
Second, get a clean rag.
The first step is to pour some denatured alcohol onto your rag.
Then, rub the alcohol into the shellac. You’ll see the shellac start to dissolve and break down. Keep rubbing until all of the shellac is gone. This may take some time, so have patience.
Once all of the shellac is gone, you can finish the project you were working on or apply a new finish.
That’s all there is to it! Removing shellac is easy and only requires a few supplies that you can find at any hardware store. With some patience, you’ll have the job done in no time.
What Are Some Tips For Applying Shellac Correctly And Achieving The Desired Results?
Shellac is a type of finish that can apply to woodworking projects to achieve a high-gloss and durable finish. When applied correctly, shellac can provide a beautiful and long-lasting finish.
However, there are a few things to keep in mind when applying shellac to achieve the best results.
First, sand the surface of your project before applying shellac. This will create a smooth surface for the finish to adhere to.
Next, when applying shellac, use a brush with natural bristles. Synthetic brushes can leave behind brush strokes in the finish. Also, apply several thin coats of shellac rather than one thick coat. This will help to avoid runs and sags in the finish.
Finally, allow each coat of shellac to dry completely before applying the next coat. When you apply additional coats while the previous coat is still wet, you risk damaging the finish.
By following these tips, you can achieve a beautiful and long-lasting finish for your woodworking projects. Shellac is a great option for those looking for a high-gloss finish that will withstand wear and tear. With a little bit of care and attention, you can achieve amazing results!
What Are Some Common Problems With Shellac, And How To Avoid Or Fix?
When you’re working with shellac, there are a few things that can go wrong.
Here are some common problems and how to avoid or fix them.
One common problem is bubbles in the finish. This can happen when the shellac applied is too thick, or not mixed well before use. To avoid this, make sure to mix the shellac thoroughly before use, and don’t apply it too thickly. When you do get bubbles, you can try to pop them with a needle and then smooth them out with a brush.
Another common problem is streakiness. This can occur when the shellac is too thin, or when it’s applied over an uneven surface. To prevent this, apply the shellac evenly and don’t thin it out too much. When you do get streaks, you can try sanding them down and then reapplying the shellac.
In having trouble with your shellac finish, these tips should help you fix the problem. However, when you’re still having trouble, it’s best to consult a professional. They can help you figure out what’s causing the problem and how to fix it.
How Long Does Shellac Last, And How To Maintain Over Time?
Subscribe to Fabian’s Tiny Workshop
As you know by now, shellac is a type of resin that comes from the female lac bug. It’s collected and then processed into a material that can suit various purposes, including a wood finish. You may wonder how long does shellac last?
Here’s the thing: While shellac is a beautiful and durable material, it’s not indestructible. It requires some care and maintenance to keep it looking its best!
So, how long does shellac last? With proper care and maintenance, shellac can last for many years. But when it’s not properly cared for, it will start to degrade and break down, which can lead to costly repairs.
To care for your shellac finish, it’s important to:
-Wipe up spills immediately: Spills can cause stains or discoloration on shellac, so it’s important to clean them up right away.
-Dust regularly: Dust can build up on shellac and cause it to dull over time. To prevent this, dust regularly with a soft and dry cloth.
-Polish annually: Like with any other type of wood finish, shellac needs polishing periodically to keep it looking its best! Once a year is sufficient.
By following these simple tips, you can keep your shellac finish looking beautiful for many years to come!
Will Rubbing Alcohol Remove Shellac?
Yes. Pour some rubbing alcohol onto a soft cloth and rub away. You may need to use a little elbow grease, but the shellac should come right off. Rinse the area well with water afterward.
When you’re looking for an easy way to remove shellac, rubbing alcohol is the way to go. Pour it on a cloth and rub away. You may need to use a little elbow grease, but the shellac should come right off. Rinse the area well with water afterward to remove any residue.
So there you have it. Rubbing alcohol is an easy and effective way to remove shellac.
How Do You Revive Old Shellac?
There are a few ways to revive old shellac.
One way is to use denatured alcohol, which will soften the finish and make it easier to buff out scratches.
Another way is to use a product called “After Wash,” which is designed specifically for reviving shellac finishes.
Finally, you can sand the finish down and start fresh.
Whichever method you choose, take your time and work carefully to avoid damaging the finish further. With a little patience, you can restore your shellac finish to its original beauty.
Recommended Posts:


