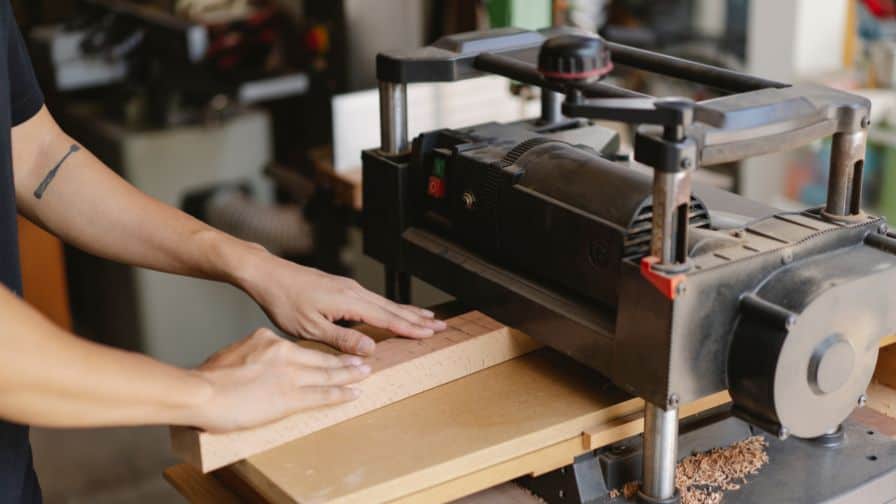
If you have ever used a power planer, you know that it can leave lines on the wood. These lines are unsightly and can make your project look amateurish.
In this blog post, we will show you how to remove these lines and get smooth edges on your wood projects!
Why Is My Planer Leaving Lines?
There are a few reasons why your planer might be leaving lines in your wood.
The most common reason is that the blades are dull and need to be replaced. If the blades are still fairly sharp, then it’s likely that the problem is with the machine itself.
Check to see if the rollers or bed are bent or warped. If they are, then you’ll need to get them replaced.
Finally, make sure that the wood you’re feeding into the planer is clean and free of any debris. If it’s not, then that could be what’s causing the lines.
If you’ve checked all of these things and you’re still having problems, then it’s time to call a professional. They’ll be able to diagnose the problem and get your planer running smoothly again in no time.
How Can You Remove Them And Get Smooth Edges On Your Wood Projects?
There are a few ways that you can remove them and get smooth edges on your wood projects.
You can use a hand sander, an electric sander, or even sandpaper. If you have the time and patience, you can even do it by hand.
The best way to remove these pesky little buggers is to use an electric sander. You can find these at most hardware stores or online. They are relatively inexpensive and will make quick work of those pesky little buggers.
Once you have your electric sander, simply attach it to a power drill and start sanding away. Make sure to move the sander in small, circular motions to avoid damaging the wood.
After a few minutes of sanding, you should start to see a difference in the appearance of your wood projects. The edges will be smoother and the overall finish will be much nicer.
So there you have it, a quick and easy way to remove those pesky little buggers from your wood projects.
Subscribe to Jonathan Katz-Moses on YouTube
What Are Some Tips For Using A Power Planer Safely And Effectively?
If you’re not familiar with using a power planer, there are a few things to keep in mind to use the tool safely and effectively.
First, when you turn the power planer on, always hold it with both hands. You should also keep your fingers away from the blades at all times.
Another important tip is to keep the power planer moving at all times. If you stop moving the tool, it can cause the blades to dig into the wood and create deep gouges.
Finally, when you’re finished using the power planer, always turn it off and unplug it before cleaning or adjusting the blades. Once the blades are exposed, they’re very sharp, so it’s important to be careful.
Following these simple tips will help you use a power planer safely and effectively. With a little practice, you’ll be able to achieve smooth, even edges on your woodworking projects.
Why Is My Planer Leaving Black Marks?
There are two main reasons why your planer might be leaving black marks on your wood.
The first is that the rollers are not gripping the wood properly. This can be caused by a buildup of sawdust on the rollers, which saps their grip. It can also be caused by inadequate dust collection, which allows resinous woods to clog up the rollers and prevent them from turning smoothly.
The second reason for black marks is that the knives are not spinning properly. This can be caused by a dulling of the blades, or by an accumulation of sawdust on the knives. Either way, it results in the knives not making clean cuts and leaving black streaks behind.
The good news is that both of these problems are relatively easy to fix.
For the first problem, simply clean the rollers with a brush or compressed air to remove any buildup of sawdust.
For the second problem, sharpen the blades or replace them if they are excessively dull.
With these simple tips, you should be able to get your planer running smoothly and leave behind nothing but smooth, finished wood.
How Can You Stop A Planer From Sniping?
There are a few ways you can stop your planer from sniping.
One way is to use a sacrificial piece of wood that’s the same thickness as the stock you’re working with. Set the outfeed table of your planer slightly lower than its infeed table, then make sure the sacrificial piece is flush with the outfeed table. When you run your stock through the planer, the sacrificial piece will be cut instead of your workpiece, and you’ll avoid any sniping.
Another way to stop your planer from sniping is to use a spiral head cutter. These cutters have blades that are arranged in a spiral pattern, which helps to minimize tear-out and gives you a smoother finish.
If you’re still having trouble with your planer sniping, you can try changing the direction of the grain. Sometimes, running the grain in the opposite direction can help to prevent sniping.
Subscribe to WoodWorkWeb on YouTube
Why Does My Planer Chatter?
A narrow piece of wood will chatter as it goes through the planer, and that’s what’s causing the lines.
Another reason is that your infeed or outfeed table might be set too low. If either of those tables is set too low, the piece of wood you’re feeding through will hit it and cause the lines.
You can fix this by raising the table.
What Do You Clean Planer Rollers With?
If your planer rollers are leaving lines on your work, it’s time to clean them.
The best way to clean planer rollers is with a rag and some denatured alcohol. Denatured alcohol will remove any build-up on the rollers and leave them nice and smooth.
To clean the rollers, first, remove them from the planer. Then, using a rag, wipe down the rollers with denatured alcohol. Make sure to get all of the nooks and crannies. Once you’re done, put the rollers back in the planer and you’re good to go!
If your planer is still leaving lines, it might be time to replace the rollers. Planer rollers are relatively inexpensive and easy to find. You can find them at most hardware stores or online.
Recommended Posts:

