There are no definitive answers; it’s worth exploring the reasons behind this question. Some people believe that a thin layer of wood dust will help seal in moisture and prevent warping. Others believe that sanding invites more humidity into the house by creating gaps where water can seep through. What do you think? Should we be sanding between coatings or not?
Many people wonder if they should sand between the conditioner and stain. This is a very common question since many of them do it intuitively. There are a lot of different opinions on this issue. It depends on how long you want the conditioner to be effective and how quickly you want the paint to dry. If you want your conditioner to last for a long time, you will need to sand in between layers.
Should I Sand Between Conditioner and Stain?
No, you don’t need to sand between conditioner and stain because the conditioning agent will raise the grain of the wood slightly, creating a smooth surface for staining. Sanding between conditioner and stain is only necessary if you are using a water-based conditioner. Water-based conditioners can sometimes leave behind a residue that needs to be removed before staining.
Advantages
It is always a great idea to sand between conditioner and stain, but it depends on the wood. For example, if you are using pine wood, then sanding will not be needed because this species of wood has smaller pores.
However, if you are using oak or some other wood with more pores than pine, then sanding is necessary. There are many advantages to sanding between conditioner and stain before applying the final coat of color. The first advantage is that by doing so, you save time on your project because you can save up on coats of paint.
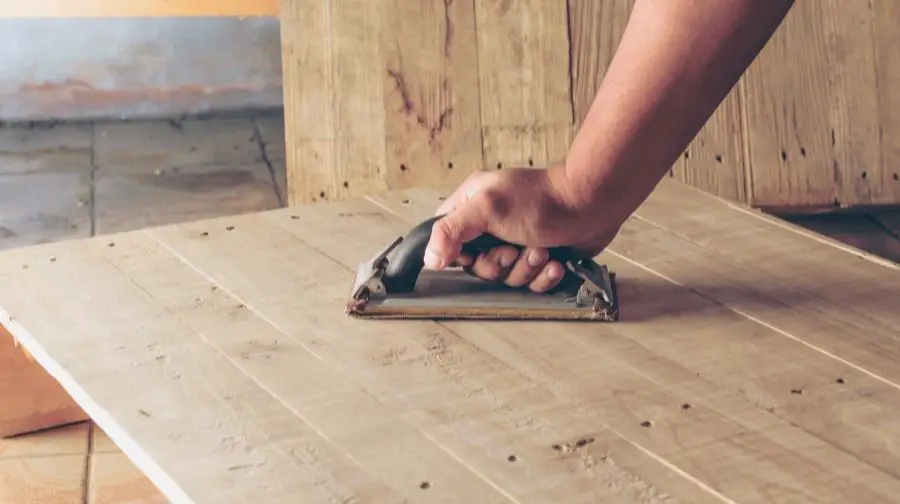
There are many benefits to sanding between conditioner and stain. One is that sanding the wood before it is stained will ensure that you have a nice, smooth surface without any knots or cracks.
Another benefit is that sanding helps the wood absorb the stain better. It also makes the wood more durable since sanding sands off any loose fibers. This produces a sturdy finish to the wood, which prevents it from peeling, cracking, or showing wear as quickly as unsealed wooden surfaces would.
The last advantage of sanding between conditioner and stain before applying the final coat is that it helps protect against cracking due to uneven drying or shrinkage.
Disadvantages
Sanding between conditioning and stain can be difficult. It is crucial to wait at least three days after the wood has been conditioned before applying any additional coat.
You should ensure that you are not sanding too much of the wood away, which could compromise the wood strength.
Sanding between stain and sealer can also be difficult. When you are sanding, make sure that you are doing it in a way that minimizes damage to your floors or other surfaces.
It is almost impossible to get a perfect, even coat of stain on the wood if you sand between it and the stain. This can lead to uneven staining, which can be frustrating and time-consuming to remedy.
Some people feel sanding before staining will help seal the wood, while others only sand after the stain has been applied. In general, sanding beforehand should be preferred, but it’s ultimately up to your preference.
If you have a lot of cracks in your wood, you may want to sand afterward rather than before. This way, you can allow the cracks to close up a bit and then sand them to get the perfect finish. Sanding before would just make the blemishes more pronounced after a coat or two of stain.
When Can I Apply Stain After Wood Conditioner?
You should apply stain about 30 minutes after applying wood conditioner. If you wait too long, the wood conditioner will start to dry and won’t work as well. If you apply the stain too soon, it won’t have enough time to penetrate the wood and protect it from moisture.
Applying stain is a simple process, but there are a few things you need to keep in mind. First, make sure the wood is clean and dry before you start. If there’s any dirt or residue on the surface, it will prevent the stain from penetrating the wood. Second, use a brush or rag to apply the stain in long, even strokes. Don’t scrub too hard or you’ll damage the wood. Finally, give the stain plenty of time to dry before you apply a topcoat. If you rush the process, the stain will be more likely to peel or chip in the future.
With these tips in mind, you should be able to get great results from your next staining project. Just remember to take your time and follow the instructions carefully. Good luck!
Sanding Between Topcoats – Getting a SMOOTH Finish
Subscribe to Madeline Jean Antiques & Restoration, LLC on Youtube
Recommended Posts:

