Looking to give your woodworking projects a sleek and sophisticated look? A black wood dye is what you need!
In this guide, we will teach you everything you need to know about using black wood dye, from how to prepare the wood surface to the best way to apply the dye. We’ll also provide tips on how to achieve the perfect finish. So whether you’re a beginner or a seasoned pro, this guide has got you covered!
Table of Contents
What Is Black Wood Dye And How Is It Different From Other Types Of Wood Dye?
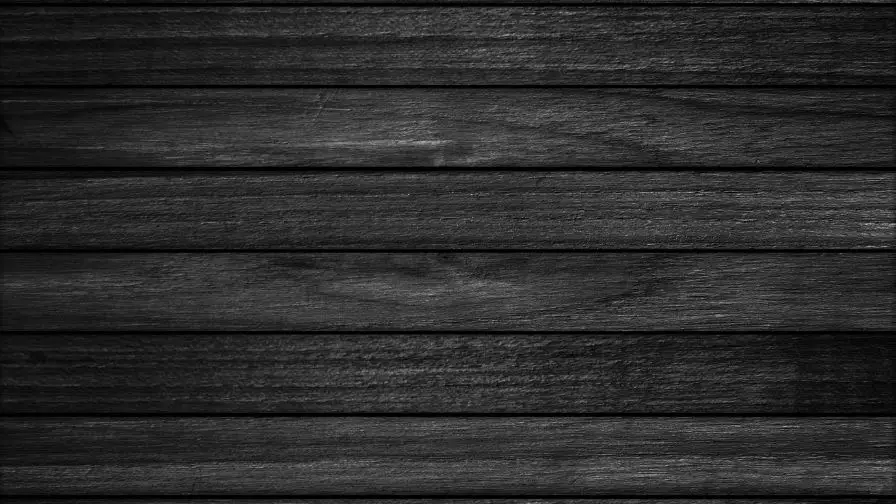
Black wood dye is a type of wood finish to create a dark and uniform color on furniture and other wooden surfaces. It is made from a blend of aniline dyes, which penetrate deeply into the wood’s grain for long-lasting results.
Black wood dye does not contain any pigment particles like traditional stains. Instead, it penetrates and bonds with the wood itself to produce a solid color finish. This is helpful for darker woods such as walnut, cherry, mahogany, and ebony which can get difficult to achieve an even coloration with traditional stains.
Black wood dye stands out from other types of wood dye because it has a higher molecular weight which allows it to penetrate deeper into the wood. This means that you can achieve a more uniform color and coverage with black wood dye than with other types of dyes. It also has great UV resistance, meaning it won’t fade or change in color over time.
With black wood dye, you can achieve beautiful and consistent results for your wood furniture, flooring, and other wood surfaces. With its deep penetration and UV resistance, you can fulfill a long-lasting finish that will stand the test of time.
So when you’re looking to bring out the natural beauty of your wooden surfaces with a deep and dark coloration – black wood dye is worth considering!
Subscribe to Stain & Seal Experts
What Is The Blackest Wood Stain?
When it comes to staining wood, the darkest option you can use is a black-tinted stain. This type of stain contains pigment that creates an intense color. It may also contain small amounts of dye or oil to provide a longer-lasting finish.
Black-tinted stains are particularly effective on wood with no natural color, such as knotty pine or spruce. Since the color is so dark, put in several thin layers and allow it to dry completely between each application. The result is an intense black that won’t fade over time.
Choose high-quality pigments when using a black-tinted stain. The pigment used in the stain will affect the overall darkness of the finished product. Select one that will deliver the desired results. Check with a local hardware store or a lumberyard for advice on how to apply black-tinted stains and which types are best suited for your woodworking projects.
When it comes to woodworking, using a black-tinted stain is the way to go when you want an intense, dark finish. With a little knowledge and practice, you can achieve amazing results that will last for years. So grab your supplies and get staining! You’ll get amazed at what you can create.
How Can You Naturally Dye Your Wood Black?
When you’re looking for a unique and stylish way to update your wooden furniture or even produce a striking piece from scratch, consider using natural dyes to turn the wood black. Natural dyes come in many shades and offer an eco-friendly option that won’t leave toxins all over your home.
Here are some tips on how to naturally dye your wood black:
-Prepare the wood. It’s been sanded and is free of any oils or waxes that might prevent the dye from taking hold.
-Choose a natural dye made from bark, leaves, flowers, or roots like featherwood.
-To apply the dye, soak the wood in a bucket filled with water and the dye for at least 24 hours. The longer you soak it, the darker the color will appear.
-When ready to dry, remove the wood from the dye bath and let it air dry outside where there is plenty of sunshine.
-To finish off your project, use an oil-based sealant to protect the wood and keep it looking rich and deep black.
Natural dyes give your wood a unique look that will make your projects stand out. With these tips in mind, you’re now ready to start dyeing your wood black naturally! Good luck!
How Do You Prepare The Wood Surface For Dyeing?
To ensure you get the best results when dyeing wood, prepare the surface thoroughly.
-Start by sanding with 180-grit sandpaper until the surface is smooth and even.
-Then follow up with 220-grit or higher for an even smoother finish.
-Next, wipe away all dust and debris using a damp cloth.
-Finally, it’s a good idea to apply a coat of sealer or primer to ensure even color absorption.
This will get the best possible results when dyeing your wood!
Subscribe to Keda Wood Dye
Tips And Tricks For Using Black Wood Dye
Black wood dye is a great way to give any wood project an intense and bold color. It’s easy to apply and can completely transform the look of the furniture, flooring, cabinetry, and other wood-based projects.
Here are some tips to help you get the most out of using black wood dye:
1. Start with a clean surface. Before applying the dye, the wood is free of dirt and dust by wiping it down with a damp cloth. When there are any scratches or blemishes on the wood, use sandpaper to remove them before you start.
2. Prepare your workspace. Cover the area where you’ll work with plastic sheeting or drop cloths to protect the surrounding surfaces from spills. Have all of your supplies within reach and that you’re wearing gloves to protect your hands from the dye.
3. Stir the dye thoroughly. Before applying the dye, mix it well with a stirring stick for several minutes until there are no lumps or clumps. Ensure that the dye is distributed evenly during application.
4. Test a sample first. Before you apply the dye to your entire project, it’s best to test a small area with a sample board or piece of scrap wood. This will give you an idea of how the dye will look.
5. Apply the dye in thin coats. Use a brush to apply the dye in thin coats, allowing each coat to dry before adding another one. You may need to apply multiple coats depending on how dark you want your wood to appear.
6. Seal the dye with lacquer or varnish. To seal in the color and protect the wood from damage, finish the project by brushing on a coat of lacquer or varnish.
With these tips in mind, you’ll confidently use black wood dye to give your next projects an intense and lasting color.
Recommended Posts:


