If you’re looking for a way to fill in gaps and cracks in your Birchwood, then you should try using Birchwood filler. This is a product that is specifically designed for this purpose, and it can be used to fill in small or large cracks. In this blog post, we will discuss the different types of Birchwood filler available, as well as how to use them. We’ll also provide some tips on choosing the right type of filler for your needs.
What Is Birch Wood Filler And What Are Its Uses
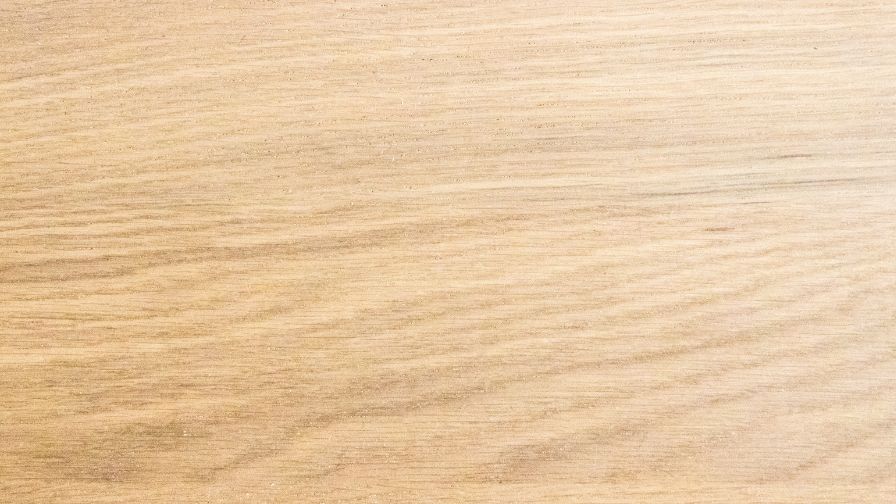
Birchwood filler is a type of material used to fill in gaps, cracks, or other spaces in the wood. It is also known as wood putty. It is made from a mixture of fine sawdust and a binder, such as resin. This makes it pliable and easy to work with.
Birchwood filler can be used for a variety of applications, including repairing furniture, filling in nail holes, and filling in scratches. It can also be used to fill in gaps between boards when creating a wooden project.
When choosing a birch wood filler, it is important to select one that is compatible with the type of wood you are working with. If you are unsure, it is best to consult with a professional. Once you have selected the right birch wood filler, follow the manufacturer’s instructions for application and drying times.
Tips For Using Birch Wood Filler
Here are some tips that will help you use Birch Wood Filler properly:
1. Always clean the surface of the wood before applying Birch Wood Filler. This will ensure that the filler adheres properly to the wood.
2. When applying Birch Wood Filler, be sure to follow the directions on the package.
3. Allow the filler to dry completely before sanding or painting.
4. If you are going to stain the wood, test the stain on a small area first to make sure it will not react with the Birch Wood Filler.
5. Birch Wood fillers can be used to fill holes, cracks, and scratches in wood surfaces. It can also be used to repair damaged edges.
6. It is available in different colors to match the color of the wood you are repairing. Find a color that closely resembles the wood you are working with.
So there you have it, some tips to help you use Birch Wood Filler properly. If you follow these tips, you will be able to repair any wood surface and achieve professional results.
How To Use Birch Wood Filler
Here are some tips on how to use birch wood filler:
1. First, clean the area around the crack or hole that you want to fill. This will help the filler to stick to the wood better.
2. Next, apply the filler to the area using a putty knife or other similar tool.
3. Once the filler is in place, smooth it out with the putty knife.
4. Allow the filler to dry for 24 hours before sanding it down.
5. Finally, paint or stain the area as desired.
So, there you have it. These are some tips on how to use birch wood filler. By following these tips, you can easily repair cracks and holes in your woodwork.
How Do You Prepare Wood For Wood Filler?
The first step is to remove any old paint or varnish from the wood. You can do this by sanding or using a paint stripper. If you are going to use sandpaper, make sure to use coarse grit sandpaper so that you don’t damage the wood.
Once the old finish is removed, you need to clean the wood. You can do this by wiping it down with a damp cloth or using a vacuum cleaner with the brush attachment.
Once the wood is clean, you can apply the filler. If you are using a tube of wood filler, cut the tip off of the tube and apply the filler to the wood. If you are using a putty knife, scoop some of the filler onto the putty knife and then apply it to the wood.
Spread the filler throughout the crack or hole and then using a putty knife, smooth it out. Let the filler dry for the amount of time specified on the package. Once it is dry, you can sand it down so that it is flush with the rest of the wood.
Now you know how to prepare wood for wood filler. This is a simple process that will help you repair any cracks or holes in your woodwork.
How Do You Fill Birch Plywood?
To fill birch plywood with wood filler, start by sanding down the area around the hole or crack. This will help create a smooth surface for the filler to adhere to.
Next, apply the wood filler to the hole or crack, using a putty knife or spatula. Once it is in place, use a wet rag to smooth out the surface. Allow the filler to dry completely before sanding it down to create an even surface.
Finally, finish the project by painting or staining the wood surface. Follow these tips and you’ll be able to fill birch plywood smoothly, creating a repair that looks like new.
Recommended Posts:

