When it comes to wood putty, there are a lot of different ways that you can go about shaping it. In this blog post, we will discuss three different methods for doing so: using your hands, using a tool, and using heat. We will also provide tips on how to get the best results with each method. So, whether you are a beginner or an experienced woodworker, read on for some helpful advice!
Wood putty is a versatile product that can be used to fill holes and cracks in wood, as well as to level out uneven surfaces. It is available in a variety of colors, so it can be matched to the color of the wood you are working with.
How Do You Shape Wood Putty?
Wood putty is easy to apply and can be shaped with a putty knife or your fingers. Once it is dry, it can be sanded and painted.
If you are working with wood putty for the first time, here are a few tips to help you get started:
– Start with a small amount of wood putty. You can always add more if needed.
– Apply the wood putty to the hole or crack.
– Use a putty knife or your fingers to shape the wood putty.
– Allow the wood putty to dry completely before sanding or painting.
With these tips, you’ll be able to successfully shape wood putty and create a smooth, professional finish.
How Do You Shape Wood Putty By Hand?
To shape wood putty by hand, start by scooping a small amount of wood putty onto your fingertip. Then, use your other hand to smooth the wood putty into the desired shape. If you need to remove any excess wood putty, use a sharp knife or sandpaper to get rid of it. Once you’re happy with the shape of your wood putty, allow it to dry before using it.
How Do You Shape Wood Putty With A Tool
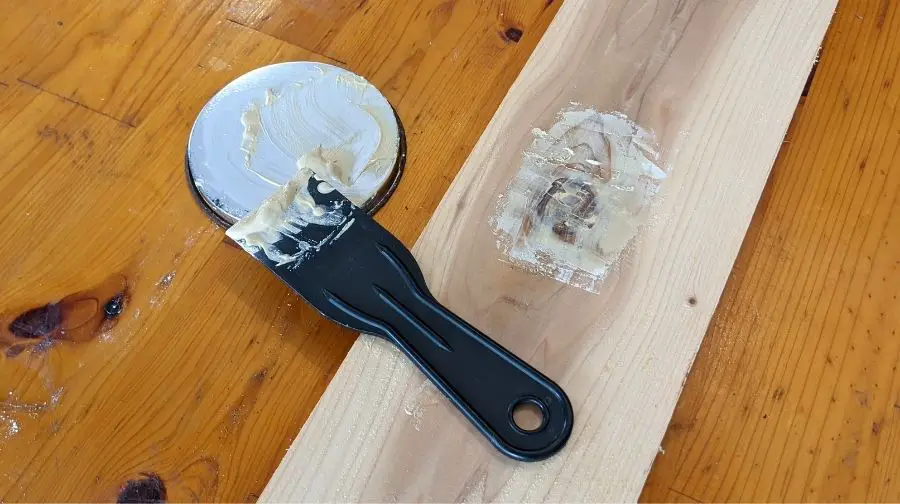
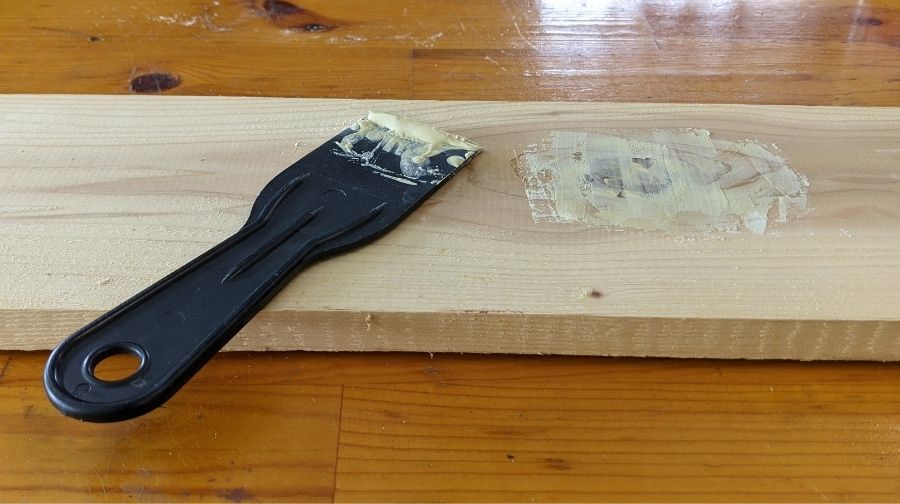
There are many ways to shape wood putty with a tool. The most common way is to use a putty knife but you can also use a wood chisel.
If you are using a putty knife, the best way to shape wood putty is to start with a small amount of pressure and gradually increase the pressure as you go. This will help you avoid gouging the wood.
If you are using a wood chisel, start with the chisel at a low angle and slowly increase the angle as you go. This will help you avoid splintering the wood.
Subscribe to The Restorer on Youtube
How Do You Shape Wood Putty With Heat
Wood putty can be shaped with heat, but it takes some practice to get the hang of it. If you’re not careful, you can easily burn the wood putty or your fingers.
Here’s a step-by-step guide on how to shape wood putty with heat:
First, get a small piece of wood putty and knead it until it’s pliable. Then, take a lighter and hold the flame close to the wood putty. The heat will cause the wood putty to soften and become more pliable.
Next, use your fingers to shape the wood putty into the desired shape. If you want a smooth finish, you can use a wet finger to smooth out the wood putty.
Finally, let the wood putty cool and harden before sanding it down. If you want a really smooth finish, you can apply a layer of wood filler after the wood putty has cooled.
With a little practice, you’ll be able to shape wood putty with heat like a pro! Just be careful not to burn yourself in the process.
Tips For Getting The Best Results With Each Method
– If using a putty knife, use one with a rounded edge to avoid gouging the wood.
– Use your fingers for smaller projects or areas where you need more control.
– If the wood putty is too hard to work with, add a drop or two of mineral oil to soften it up.
– Start with a small amount of wood putty and add more as needed. It’s easier to add more than it is to remove excess.
– Once you’re satisfied with the shape, allow the wood putty to dry completely before sanding or painting.
With these tips in mind, shaping wood putty should be a breeze!
Recommended Posts:

