Danish oil is a beautiful finish that can suit a variety of wood projects. It gives the wood a nice and smooth finish and helps to protect it from moisture and other environmental factors. However, sometimes you may want to darken the color of your Danish oil.
In this blog post, we will show you how to do that.
How To Darken Danish Oil?
When you want to darken your Danish oil, there are a few things you can do.
One way to darken Danish oil is to add a stain to it. You can either mix a stain into the oil before you apply it, or you can brush it on after applying the oil.
Another way to darken Danish oil is to add a top coat of varnish over it. This will create a darker and richer color.
Danish oil is a popular wood finish that can protect and enhance the appearance of wood. However, over time, it can start to look light and fade.
What Is Danish Oil And Why Might You Want To Darken It
Danish oil is a type of oil finish that can apply to wood. It penetrates the wood, bringing out its natural beauty and making it more durable. It darkens the wood slightly, giving it a richer look.
You may want to darken your danish oil for several reasons. One reason might be that the wood has started to fade and you want to bring back its original color.
Another reason might be that you simply want a darker color. Danish oil is available in a variety of colors, but sometimes you may want something darker than what is available.
How To Apply Danish Oil on Wood
Subscribe to Fabian’s Tiny Workshop
Danish oil is a penetrating oil that helps protect the wood from within. It soaks deep into the pores of the wood, filling them and creating a barrier against moisture. This oil also enhances the natural beauty of the wood grain.
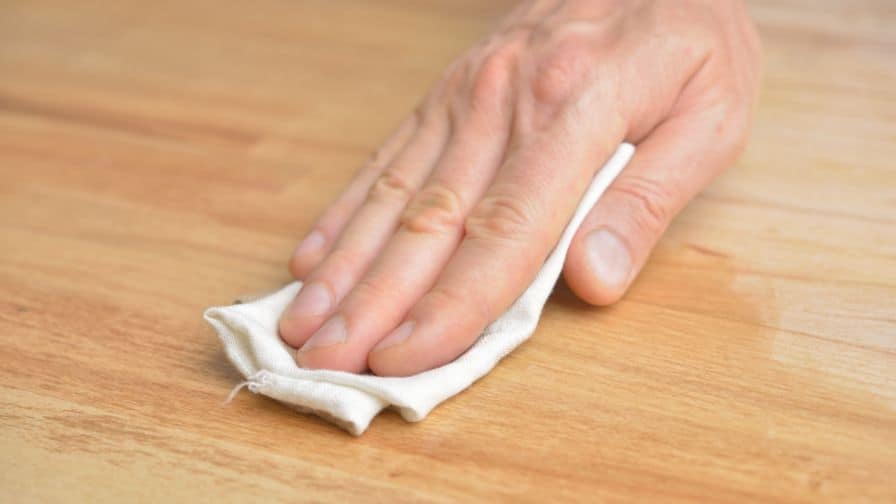
To apply Danish oil, start by cleaning the surface of the wood with a damp cloth.
Then, pour a small amount of oil onto a clean cloth and rub it into the wood in a circular motion. Work the oil into all of the nooks and crannies. Allow the oil to soak in for at least 15 minutes before wiping off any excess.
Danish oil is a fabulous way to protect your wood furniture and keep it looking beautiful for years to come. With a little bit of elbow grease, you can have stunning results! Give it a try.
Tips For Using Danish Oil on Wood
Danish oil is a fabulous way to protect your wood surfaces! It’s easy to apply and can find at most hardware stores.
Here are a few tips for using Danish oil on your wood surfaces:
-Start by wiping down the surface with a damp cloth to remove any dirt or debris.
-Apply the Danish oil evenly with a clean cloth, working in small sections.
-Allow the oil to soak in for a few minutes before wiping off any excess.
-Repeat this process until the wood has an even coating and protection.
Can You Add Wood Stain To Danish Oil?
Yes, you can add wood stain to danish oil. However, it is important to note that doing so will change the color and appearance of the final product. When you are looking for a more natural look, I recommend using a clear Danish oil.
As you want a stained finish, I advise using a pre-stained wood conditioner before applying your chosen stain. This will help the stain to evenly penetrate the wood grain and give you a more consistent color.
Since you are looking for a more weathered look, you can also add a bit of gray or black paint to your Danish oil before applying it to the wood. This will give the wood a more aged appearance.
Will More Coats Of Danish Oil Darken Wood?
Subscribe to Maverick Makers
Yes, multiple coats of Danish oil will darken the wood. However, it’s important to keep in mind that the final color will depend on the type of wood you’re using as well as the shade of Danish oil you choose.
When you’re looking to achieve a dark and rich color, applying several coats of Danish oil is the way to go. Allow each coat plenty of time to dry before adding the next one. Once you’re finished, enjoy your beautiful and dark woodwork!
Does Danish Oil Lighten As It Dries?
Yes, Danish oil lightens as it dries. The oil component of Danish oil will lighten as it evaporates. This is why it’s important to apply thin coats and allow each coat to dry completely before applying the next one. When you apply too much Danish oil or don’t allow it to dry properly between coats, the finish can become sticky or tacky.
Danish oil is a great choice for woodworking projects that will have light exposure! The lightening effect can give your project an aged or weathered look. It’s also a good option when you’re trying to match the finish of an existing piece of furniture.
When you’re not happy with the way Danish oil is lightening your project, you can always apply a darker stain or paint over it. Allow the Danish oil to dry completely first.
Danish oil is a unique finishing product that contains both oil and varnish. It’s applied to woodworking projects in thin coats using a brush, rag, or sprayer. As it dries, the oil evaporates and leaves behind a hard and protective finish.
Recommended Posts:

