Subscribe to Ronnie’s Workshop on YouTube
In this article, we will explore a beginner-friendly woodworking project that utilizes simple materials to create a beautiful and functional tray.
The project involves giving a standard piece of pine board a live edge look, creating dowel caps to serve as feet for the tray, and finishing it off with a stain and polyurethane coating.
The creator of this project uses a 20-inch piece of 1×2 pine, 1/2 inch wood dowel, and four wood dowel caps to construct the tray.
They use a jigsaw to cut along the edge of the board to simulate a live edge look, and then sand the edges with 60 and 220 grit sandpaper.
They also demonstrate how to create dowel caps and attach them to the tray, as well as how to stain and finish the final product.
Overall, this project is a great introduction to woodworking for beginners and can be completed for under $9 in materials.
Key Takeaways
- This project involves creating a live edge look on a pine board.
- Dowel caps are used as feet for the tray.
- The final product is stained and finished with polyurethane coating.
Materials
The materials used in this project include a 20-inch piece of 1×2 pine, 1/2-inch wood dowel, and four wood dowel caps.
The first step is to draw a reference line equally on each side of the board to make it around 10 inches wide.
Then, the edge is randomly drawn to simulate a Live Edge Look.
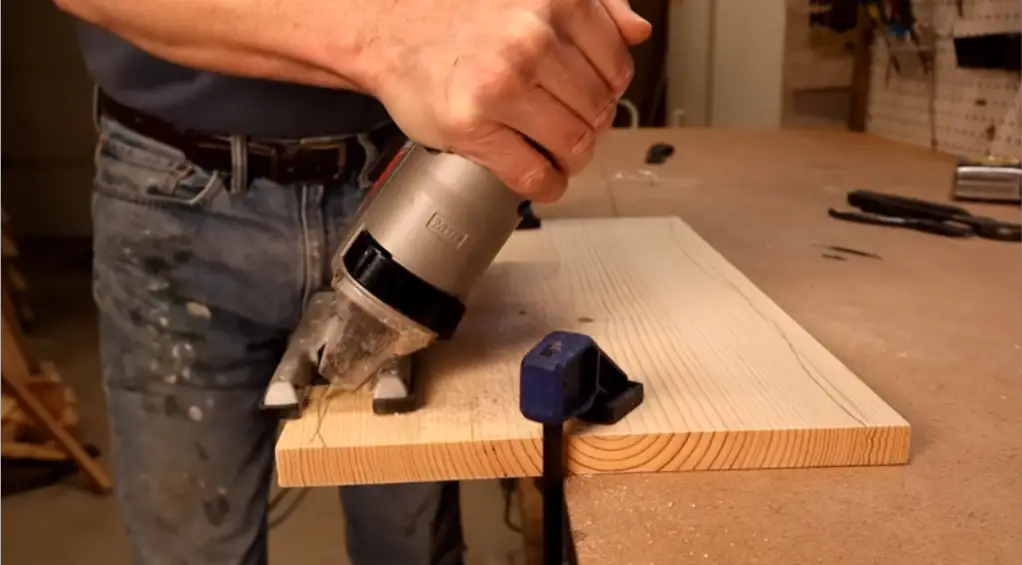
The board is clamped, and the jigsaw is angled away from the edge to make the cut along the line.
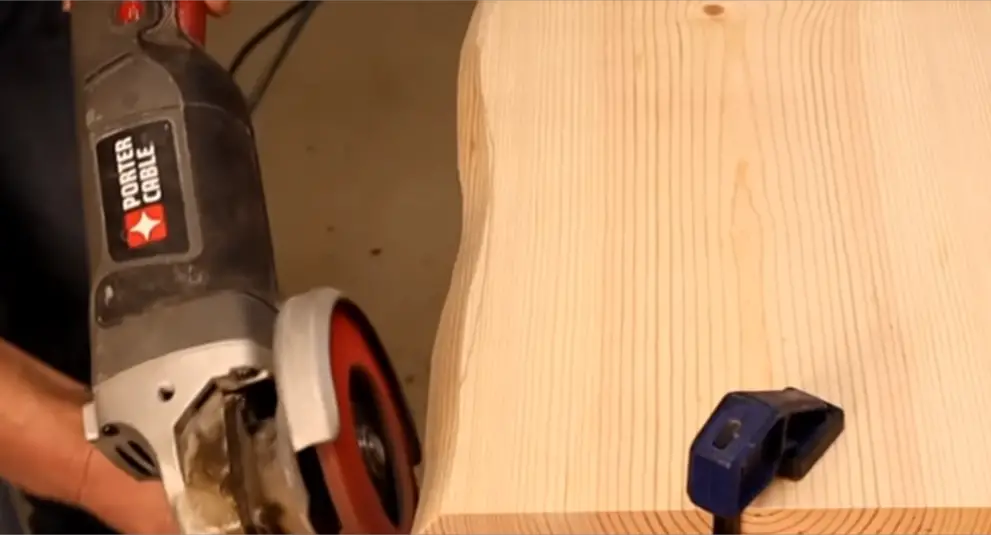
Ronnie recommends using a 60 grit sanding disc from an angle grinder to smooth out the edges, but lightly sanding is advised to avoid taking off too much wood.
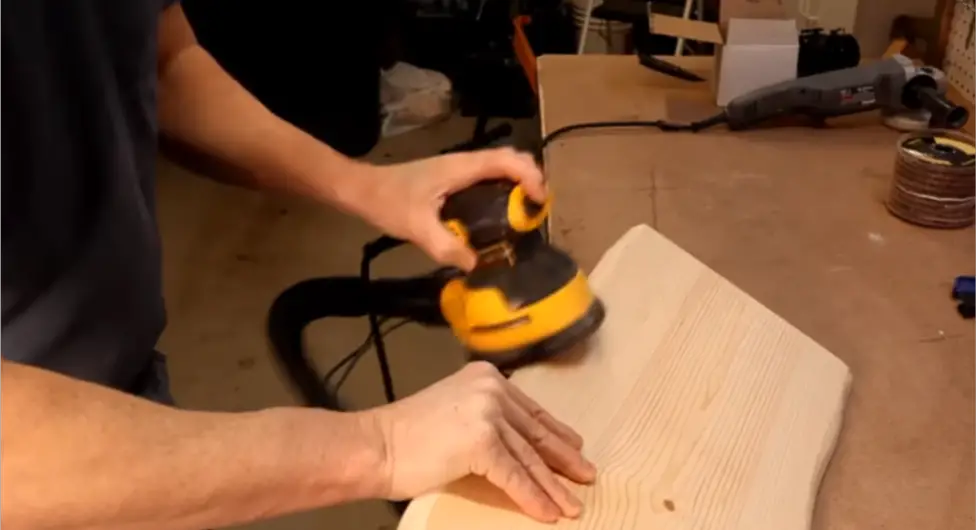
The edges are finished with 220 grit on a palm sander.
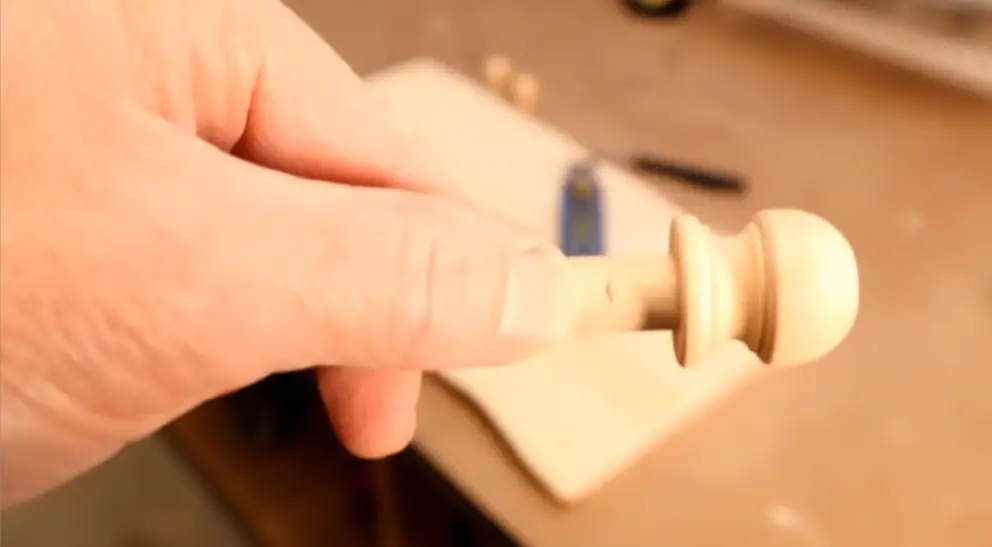
The next step is to mark the location for the dowel caps, which will be the feet of the tray.
The caps hold about a half of an inch of dowel, so he cuts about an inch off for each lay.
They used a miter saw to cut the dowel in the cap, but a handsaw may be better.
The ends of the dowels are sanded down, and a punch is used on each mark.
With a piece of tape at the half2 in mark on the drill bit, he drills each hole with a half-inch drill bit.
The feet are test-fitted before gluing, and one hole is drilled slightly deeper.
After gluing and installing the feet, he applies a pre-stain before using Minwax Golden Oak stain.
To blend in a dark area, they use some dark walnut.
Once the stain is dry, a couple of coats of Minwax gloss poly are applied.
The finished product is a tray that is easy to build and costs under $9 in materials. It would make a nice gift or something to start selling.
Creating Live Edge
To give a board a Live Edge look, the woodworker in the video used a 20-inch piece of 1×2 pine, some 1/2 inch wood dowel, and four wood dowel caps.
He started by drawing a reference line equally in on each side of the board to make it around 10 inches wide.
Then, he randomly drew along the edge to simulate the Live Edge Look.
After clamping the board, he used his jigsaw angled away from the edge to make his cut along the line.
Halfway through the first cut, his blade broke, so he replaced it with a new one and finished both sides.
He smoothed out the edges using 60 grit sanding discs from his angle grinder.
He learned to lightly sand because putting a lot of pressure takes off a bunch of wood in a hurry.
He finished it up with 220 grit on his palm sander.
Next, he marked the location for the dowel caps, which were going to be the feet of the tray.
The caps hold about a half of an inch of dowel, so he cut about an inch off for each lay using a miter saw with the dowel in the cap.
He sanded down each end of the dowels and used his punch on each mark.
He used a piece of tape at the half 2-inch mark on his half-inch drill bit and drilled each hole.
He test-fitted the feet before gluing and found that he needed to drill one hole just a little bit deeper.
After gluing and installing the feet, he was ready to stain.
He put a pre-stain on before applying Minwax Golden Oak.
He used some dark walnut to blend in a dark area.
Once the stain was dry, he put on a couple of coats of Minwax gloss poly.
Cutting and Sanding
The woodworker began by drawing a reference line equally on each side of the 20-inch piece of 1×2 pine board.
He then randomly drew along the edge to simulate a Live Edge Look.
The board was clamped, and the woodworker used his jigsaw angled away from the edge to make his cut along the line.
Halfway through the first cut, his blade broke, so he replaced it with a new one and finished both sides.
To smooth out the edges, he used 60 grit sanding discs on his angle grinder.
The woodworker learned quickly that lightly sanding was the way to go, as putting too much pressure would take off a bunch of wood in a hurry.
He finished sanding with 220 grit on his palm sander.
Next, the woodworker marked the location for the dowel caps, which would be the feet of the tray.
The caps hold about a half of an inch of dowel, so he cut about an inch off for each leg.
He used a miter saw with the dowel in the cap to cut a half-inch of extended dowel, although he thought that using a handsaw would be better next time since the last one shot across the room.
The woodworker sanded down each end of the dowels and used his punch on each mark.
He then used a half-inch drill bit with a piece of tape at the half2 inch mark to drill each hole.
Before gluing and installing the feet, he test-fitted them and found that he needed to drill one hole a little bit deeper.
After gluing and installing the feet, the woodworker was ready to stain the tray.
He applied a pre-stain before using Minwax Golden Oak.
After the stain was dry, he used some dark walnut to blend in a dark area.
Finally, he put on a couple of coats of Minwax gloss poly.
Sanding Technique
The woodworker in the video used a 60 grit sanding disc on his angle grinder to smooth out the edges of the board after cutting it with a jigsaw.
He cautioned against applying too much pressure while sanding as it can take off a lot of wood quickly.
He finished the sanding process with a 220 grit on his palm sander.
The woodworker was pleased with how the sanding turned out and felt it gave the board a nice finish.
He used this technique to make a Live Edge look on the board, which he had never tried before.
The sanding process was quick and easy, making it a great technique for beginners to try out.
Dowel Caps as Feet
The woodworker in the video used dowel caps as feet for a tray made from a piece of 1×2 pine.
He marked the location for the dowel caps and cut about an inch off each dowel to fit inside the caps.
After sanding down each end of the dowels, he used a punch to mark each hole and drilled them with a half-inch drill bit.
He test-fit the feet before gluing and found that he needed to drill one hole a little bit deeper.
Once the feet were installed, the woodworker stained the tray with Minwax Golden Oak and used some dark walnut to blend in a dark spot.
He finished the tray with a couple of coats of Minwax gloss poly.
The woodworker noted that this project was easy to build and cost under $9 in materials, making it a great gift or item to sell for beginner woodworkers.
Cutting Dowels
Ronnie demonstrated how to cut dowels for the feet of a tray.
The dowels were cut to fit into the dowel caps, which would serve as the feet of the tray.
He used a miter saw to cut the dowels, but noted that a handsaw could be used as well.
To cut the dowels, he placed the dowel into the cap and cut about an inch off of the extended dowel.
The ends of the dowels were then sanded down before drilling holes for the feet.
He used a half-inch drill bit and marked the half-inch point on the bit with a piece of tape.
The holes were drilled using a punch on each mark.
Before gluing and installing the feet, he tested the fit and found that one hole needed to be drilled slightly deeper.
Once the feet were installed, he proceeded to stain the tray with Minwax Golden Oak and blended in a dark spot with dark walnut.
Finally, he applied a couple of coats of Minwax gloss poly.
Drilling and Assembly
The woodworker started by marking the location for the dowel caps, which would serve as the feet of the tray.
He cut about an inch off for each leg using a miter saw and sanding down each end of the dowel.
The woodworker then used a punch on each mark and drilled each hole with a half-inch drill bit, making sure to test fit the feet before gluing.
After gluing and installing the feet, the woodworker was ready to stain the tray.
He applied a pre-stain before using Minwax Golden Oak, but noticed a dark area that he blended in with some dark walnut.
Once the stain was dry, he put on a couple of coats of Minwax gloss poly to finish it off.
Staining
After completing the construction of the tray, the next step is to apply the stain.
The woodworker applied a pre-stain before using Minwax Golden Oak.
However, there was a dark area that needed to be blended in, so the woodworker used some dark walnut to achieve the desired look.
Once the stain was dry, the woodworker applied a couple of coats of Minwax gloss poly to give the tray a shiny finish.
Applying Finish
After successfully completing the Live Edge look on the pine board, the next step is to apply the finish.
The first step is to sand the edges with a 60 grit sanding disc on an angle grinder.
It is important to sand lightly to avoid taking off too much wood.
Then, the edges are smoothed out with a 220 grit sandpaper on a palm sander.
The next step is to mark the location for the dowel caps, which will serve as the feet of the tray.
The caps can hold up to half an inch of dowel, so the dowels are cut to about an inch length using a miter saw.
However, a handsaw may be a better option to avoid the dowels from shooting across the room.
The ends of the dowels are sanded down, and each mark is punched before drilling holes with a half-inch drill bit.
The feet are then test-fitted before gluing and installing them.
After the feet are installed, the board is ready for staining.
A pre-stain is applied before Minwax Golden Oak is used.
If there are any dark spots, such as the one shown in the video, dark walnut can be used to blend them in.
Once the stain is dry, a couple of coats of Minwax gloss poly are applied to give the board a shiny finish.
Final Thoughts
In this video, the woodworker demonstrated how to create a Live Edge look on a 20-inch piece of 1×2 pine using a jigsaw and sanding tools.
He also showed how to add dowel caps as feet to the tray and finished it with a pre-stain and Minwax Golden Oak stain, followed by a couple of coats of Minwax gloss poly.
The woodworker emphasized the importance of lightly sanding the edges to avoid taking off too much wood and recommended using a handsaw instead of a miter saw to cut the dowels.
He also shared that the entire project cost under $9 in materials and would make a great gift or item to sell for beginner woodworkers.
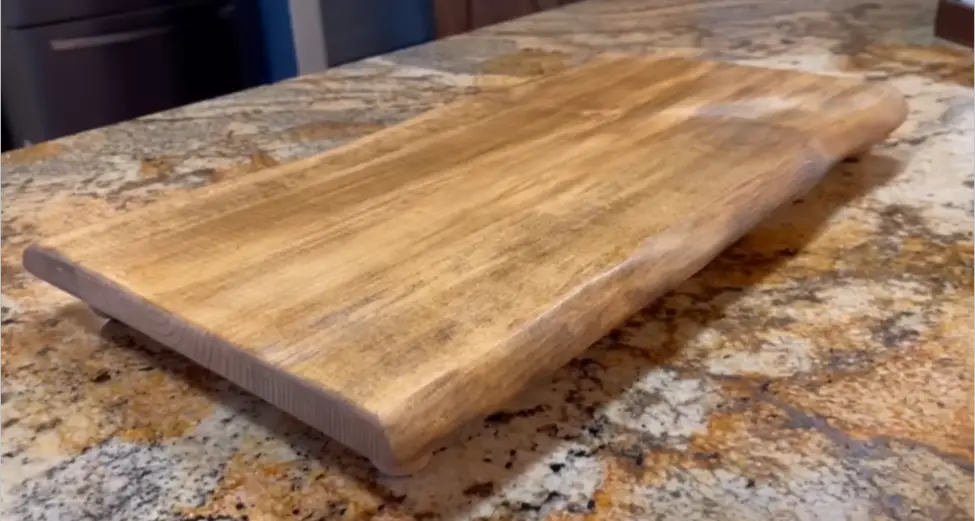
Overall, the woodworker’s first attempt at creating a Live Edge look turned out well, and the finished tray looked beautiful with the added feet and stain.
This project is an excellent example of how easy it can be to create a unique and personalized piece of woodworking with just a few tools and materials.