If you’re a woodworker, then you know the importance of using wood filler. This handy product can help you fix small mistakes and cover up unsightly blemishes in your woodworking projects. However, if you’ve ever used wood filler, then you know that it’s not uncommon for it to crack after a while. In this blog post, we’ll take a look at some of the reasons why wood filler might crack, and we’ll offer some solutions to help you prevent this from happening.
Table of Contents
Why Does My Wood Filler Keep Cracking?
There are a lot of factors to consider when filling wood. From the type of material you’re using to fill it, the tools and techniques used for application, and the conditions under which the repair is made can all contribute to cracking if not properly done.
How To Prevent Wood Filler From Cracking.
Here are some ways to make sure your wood filler stays crack-free:
Use the right material for filling. You don’t want something that could cause more problems than what you’re trying to fix in the first place! For example, if you fill with a water-based polyurethane over oil stains – the two are incompatible. The oil stain will eventually bleed through and cause a whole host of issues for your finished project down the line!
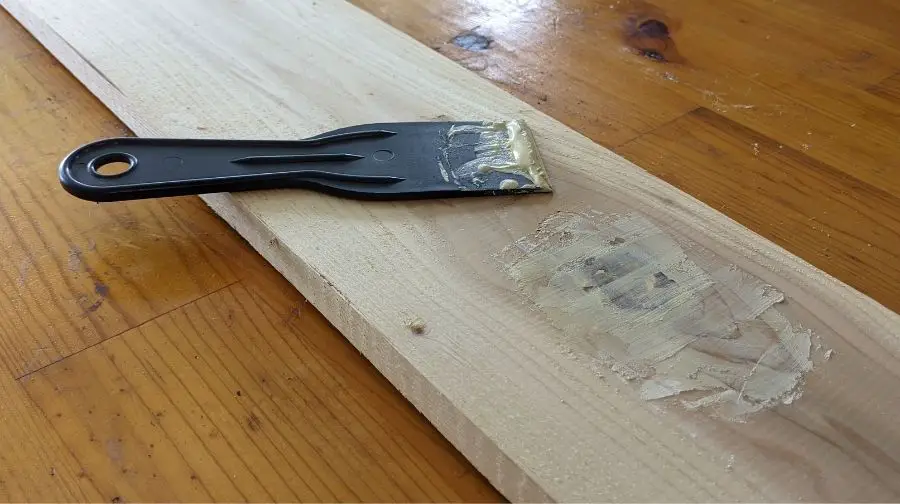
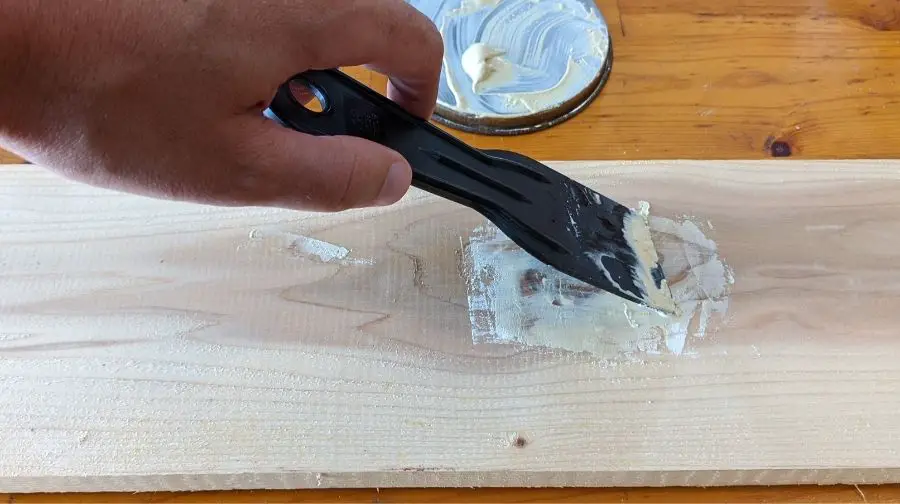
Make sure you’re using the right tools for application too – this is important because if your tool isn’t meant to do its job properly then neither will you! For example: don’t use a putty knife to spread wood filler, because it’s not the right tool for the job. You’ll likely end up with a lot of cracks in your filler.
Check the weather conditions before you start. Wood filler needs time to cure and set, so if you try to do a repair in unfavorable weather conditions (like temperatures below 40°F), then it won’t cure properly.
Don’t skimp out on the sanding! Sanding is an essential step in your woodworking process because without proper preparation, even if you do everything else right – there’s still a chance for cracks to appear later down the road when using wood filler.
Following these tips should help you avoid the dreaded wood filler cracks, but sometimes they’re just unavoidable. If that happens, don’t worry – here are some tips for fixing them:
If the wood filler has started to crack soon after it was applied, then there’s a good chance that it wasn’t cured properly. Make sure you’re using good quality materials and tools for your project, as well as following all directions provided with them (i.e.; temperature recommendations).
If cracks start appearing after sanding then try applying another coat of wood filler over the first layer before sanding again – this time make sure to not use too much pressure when sanding so as not to crack anything underneath it again!
If cracks appear immediately after applying wood filler, then chances are you didn’t mix enough water into the powder before using it. Make sure next time around that mixture has been thoroughly mixed without any lumps left over from mixing process or else these could cause problems later down the road.
If the wood filler is dry and brittle, then you need to add more water to it before using. This will make it easier to spread and less likely to crack.
Another reason why wood filler might crack is because the surrounding area wasn’t completely dried before application. Make sure that everything around the affected area is completely dry before applying filler.
If the wood is swollen, then you should use a saw to cut out the damaged piece and replace it with a new one – before applying wood filler.
Finally, if none of these tips seem to be working for you, then you can try using an epoxy putty which is more flexible than other types of wood fillers.
Some people also swear by using carpenter’s glue instead of epoxy putty, so try that as well if none other options work!
This could potentially be done without too much hassle since it won’t require any sanding or painting afterward because all those steps are already taken care off when applying this type of glue.
But even if everything goes according to plan, there’s still a chance for wood filler cracking down the line – so be prepared for that eventuality and have a game plan ready just in case!
How to Choose and Use Wood Filler
Subscribe to This Old House on YouTube
How To Use Wood Filler In Cracks.
There are a few ways to use wood filler in cracks. The first is to fill the crack with wood filler and then sand it down until it’s level with the surface of the wood.
Another way is to put wood glue on both sides of the crack, and then press them together until the glue dries.
Finally, you can drill a hole in each end of the crack, put wood filler in the hole, and then screw the two pieces of wood back together.
Whichever way you choose to do it, make sure that the wood filler is completely dry before you start sanding or painting.
What Causes Wood Filler To Crack?
Wood fillers cracks for the following reasons:
– insufficient wood filler
– dried out wood filler
– rough surfaces
– thin layers of wood filler
Wood fillers cracks because the wood expands and contracts over time. This is a very common problem with woodworking projects that use wood filler to fill in cracks, dents or joints in the wood.
The most important thing you can do when using wood filler on your next project is to make sure that it dries completely before applying any stain or water based finish to the wood.
It’s pretty common to run into cracks when using wood filler. There are several reasons why it happens. If your wood filler is cracking or crumbling as soon as it dries, then there are a couple things that could be going on.
One possibility is that you’re not using the right type of wood filler for your project. There are different types of fillers designed for different purposes, and if you try to use a filler that’s not suited for the job, it will likely crack. For example, if you’re putting a filler on a horizontal surface, then you’ll need to use one that is flexible and can withstand slight movement.
Another possibility is that the wood itself was not properly prepared for filling. Wood fillers are designed to be used in conjunction with primers and sanding, so if those steps were skipped, it could lead to problems down the line.
Finally, if your filler is cracking after it’s been applied, that could be a sign that it’s drying too quickly. In order for wood filler to adhere well and form a strong bond, it needs time to cure. If you try to apply the filler too thickly or in too many layers, it can dry before it has a chance to properly set and you’ll end up with cracks.
If your filler is cracking for no apparent reason, then it might be best to take a step back and figure out where things went wrong. Once you determine the cause of the problem, you can make the necessary adjustments and avoid making the same mistakes in the future.
Does Wood Filler Crack Over Time?
Yes, wood filler will eventually crack, regardless of the quality of the filler. This is because wood is a natural material and will expand and contract with changes in humidity. The best way to avoid this is to use a high-quality filler that is specifically designed for woodworking, and to make sure the wood itself is properly prepared before filling.
Does Wood Filler Harden Without Hardener?
No, wood filler will not harden without the use of a hardener. The wood filler is designed to be used with a hardener, and if it is not used, the wood filler may not cure correctly or may not hold up over time.
Hardener is essentially a catalyst that speeds up the drying process and helps to make wood filler stronger. A hardener can be used to strengthen any type of wood filler, even if it contains polyvinyl acetate (PVA) or polyurethane. Hardeners are often sold separately from wood fillers, and they may be available in a variety of different types.
When using a hardener with wood filler, it is important to follow the manufacturer’s instructions carefully. The hardener may need to be mixed with the wood filler before application, or it may need to be applied separately. In either case, it is crucial that the hardener is used according to the directions to ensure that the wood filler cures correctly and does not crack.
If you are using a hardener with your wood filler, it is also important to be aware of the different types of hardeners available. There are two main types of hardeners: acrylics and epoxies. Acrylic hardeners are water-based, so they will not release harmful fumes or chemicals into the air. They are also very easy to apply and do not require special equipment to use them effectively.
Epoxy hardeners, on the other hand, are necessary for certain types of wood fillers because they contain chemicals that make it possible for wood filler to be completely cured when mixed with the hardener. If a hardener is not used, then wood filler may only partially dry and will be more prone to cracking over time.
Because epoxy hardeners contain chemicals, they are not recommended for use around children or pets who have access to the area where you are using them. It is also important to wear gloves and to avoid contact with skin or eyes when using epoxy hardeners. Additionally, epoxy hardeners should never be used in an enclosed area, as the fumes can be harmful.
When it comes to wood filler, it is always important to read the manufacturer’s instructions carefully to ensure that you are using the product correctly.
Can I Add Water To Wood Filler?
Yes, you can add water to wood filler, but only if the manufacturer specifically recommends it. Adding too much water can make the filler swell and crack.
In general, you should never add more than 20% water to wood filler.
It is better to use a slightly thicker mixture of wood filler and apply it in multiple layers if needed. This will ensure that the filler dries properly without cracking or shrinking.
Recommended Posts:


