YouTube Video Tip: Hit the gear button to speed up the playback to watch the video faster.
Subscribe to John Malecki
Mistake #1 is going to be, choosing the wrong product for your project. This is something that I talked about extensively in my last tips video on better epoxy projects, but I still am getting peppered with questions. The main premise here is your pour is going to be either too thin or too thick if you don’t pay attention to this.
If you remember on our dove-tailed floating gun display box, the epoxy wasn’t actually perfectly clear. What ended up happening was, I poured an epoxy that was meant to be poured thicker than when I poured it. I poured it at three quarters of an inch, and it didn’t actually go through the right heating process and left metallic swirls. Not metallic. It left swirls in the clear resin.
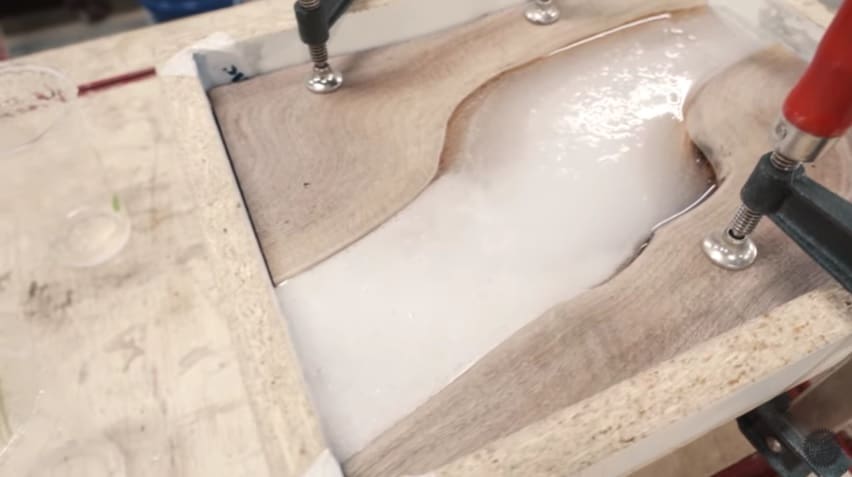
Hard to see on the photos, but it is blaring when Sam and I look at it in person. An easy mistake to fix. All you got to do is make sure you’re reading the label. If something cures too fast, or if it cures too slow, this all becomes problems. If you’re not reading the exact thickness usage on the label, you could run into some issues. Now this doesn’t mean you can’t pour a bunch of thin layers, but if you’re trying to color match, it could become a problem. Make sure you’re paying attention to the epoxy you’re purchasing and how thick it’s supposed to be poured.

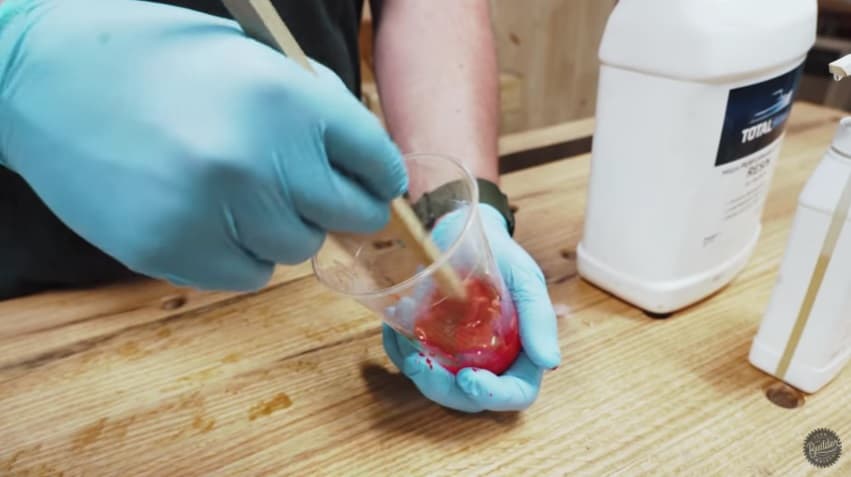
Mistake #2 is going to be over or under mixing your epoxy. Epoxy is science. I’m going to say that probably 93 times on this video, but because of that, what’s happening in the mixing is an exothermic sort of reaction there. It’s extremely important to properly mix your resin. If you over mix your epoxy, this is what happens.
All We’re getting snotty. Is that too snotty? I think it’s over it. Literally missed the sweet spot because of the camera. When your epoxy starts to crystallize or glob and then smoke and do all this weird stuff, nothing’s good. It’s not good for you, your house, your project, your dog, your wife, your lungs, none of it.
Over mixing your epoxy is obviously a huge issue. The other side of that spectrum is under mixing. This is something that you don’t get a visual representation of, but if you’re not mixing it properly, what’s going to happen is you’re going to get haze in your epoxy. You’re going to get cracks. You’re going to get soft spots. I’ve gotten a bunch of DMs from people who have soft spots throughout their project, and they don’t understand why.
It’s because their epoxy wasn’t mixed thoroughly and long enough. It basically ruins the project. You almost can’t fix it unless you drill it out and refill it and it gets weird. Just make sure you’re following the instructions on the label, mixing it for the proper period of time. Even if it is five minutes, which I hate, but we never had a problem with soft spots and hardening in our projects, because I don’t always following the label. Even though I can barely read, I’m capable of doing that, and so are you.
Mistake #3 is going to be ignoring the temperature. Here in Pittsburgh, yinzers love the weather, like are obsessed with it. Every single day my dad, my grandfather, extended aunts and uncles watch the weather like hawks, for absolutely no apparent reason. When you’re using resin, be a yinzer. Pay attention to the temperature.
If it’s not hot enough, your epoxy won’t cure right. If it’s too cold, your eproxy won’t cure right. Every manufacturer resin has a window of temperature that it recommends for usage. This is vitally important. We’ve run into it on multiple projects where things have taken two to three times longer, just because the shop was too cold. You want to make sure that not only is the room you’re pouring in the temperature it’s supposed to be, but that your products are also the temperature they’re supposed to be.
If you’re pouring in your garage and it’s super hot and humid, get some fans in there or mini split and get the air moving. You need it to be in that window. I get a lot of questions from people in Florida or the southern states where it’s hot and humid. They have the same problems as us in the Northern States when it gets cold. You got to get a regulation system in there for temperature control. It’s vital. It’ll just save you so many headaches as far as putting out the proper product. Don’t ignore temperature.

Beginner mistake #4 is not properly measuring. This is for two reasons. First reason being, if you have properly measure the volumes of your epoxy, when you’re in the combination of hardener and resin phases, what ends up happening is that you have too little or too much hardener. This isn’t good. As I said before, epoxy resin is science, and there’s a reason that they tell you on the bottle, whether it’s weighed by volume or by weight. Make sure you’re paying attention to it.
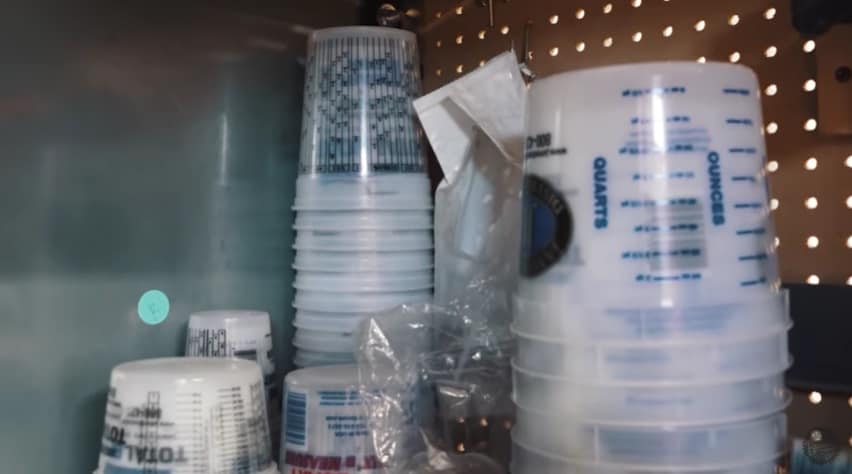
We have a couple of products that we’ve used that are by weight, which is super easy using a scale. We love that. Then we have a bunch mostly that are all using volume, which means you must have buckets, measuring cups, some people use syringes. They use syringes, ladles, whatever you got, but you need to be making sure that you properly measure the volumes, and you want to hit it as dead close as you possibly can in your measurement.
The second part is going to be measuring your pour. Epoxy is expensive. We all know that. Everybody knows that. I get a ton of comments on how expensive and unapproachable it is. The thinner stuff is more affordable. The thicker stuff is very expensive. You don’t want to mix too much. If you mix too much, it’s just going to go to waste. You don’t have a use for it. You gotta make sure that you are taking precautions to measure properly.
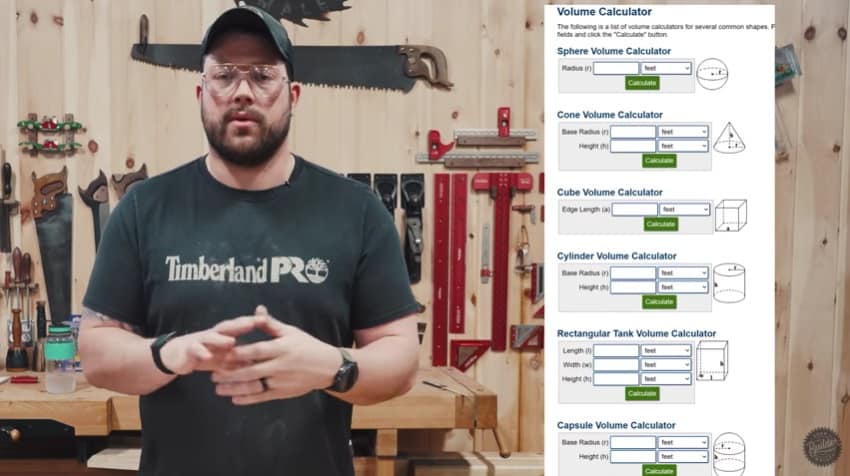
Use a volume calculator on your phone. That’s what I use. If you Google volume calculator, volume calculator pops up with a ton of shapes. They’ve got cones, they’ve got cylinders, they’ve got triangles, they’ve got squares, they’ve got rectangles, rectangular cubes. They’ve got all kinds of weird shapes. Again, it’ll give you a better opportunity to make sure you’re getting as close as possible to the exact amount you need. Because of that, I don’t measure my volumes. I estimate them. I don’t measure them exactly until I’m about to pour.
If I’m doing a river table, I don’t just take square measurements. I actually take measurements six or seven different spots along the river for width. Then I measure little boxes that go along with it. I write those down, add it all up and that’ll give me the proper amount of litres that I need. The reason we use leaders is because a lot of the manufacturers of resin are not in America. Therefore they don’t use freedom units. I don’t want to hear any more comments about litres.
Lastly, we always tend to falter on the side of measuring more because seepage and absorption are two things that are hard to account for in your projects. If you’re not filling bug holes, and you’re not sealing your sapwood on your river tables or whatever you’re making, they are going to absorb more resin. Now, when you’re doing massive pores, it’s not really going to affect things, but what you’ll notice is, that level sinks down and it happens to us all the time in projects that we don’t seal beforehand.
If you’re going to seal something, make sure you’re using a clear sealant, like a water-based polyacrylic should solve that problem and help you out there. But we always falter on the side of having more, because if we’re mixing color pigment into it, it gets super hard to match after the fact, if you have to create a second batch for your pour. Measuring properly for two reasons, there you go.
Beginner mistake #5 is using dirty tools. It’s habit for us to have a workshop, to just grab whatever’s around and kind of use it whatever instance we needed for, whatever we’re building. Don’t do that with epoxy. If you can, use fresh buckets, fresh mixing containers, fresh mixing sticks, fresh food when you’re eating, because it’s more delicious for sure, but you want to make sure you’re using as clean of tools as possible.
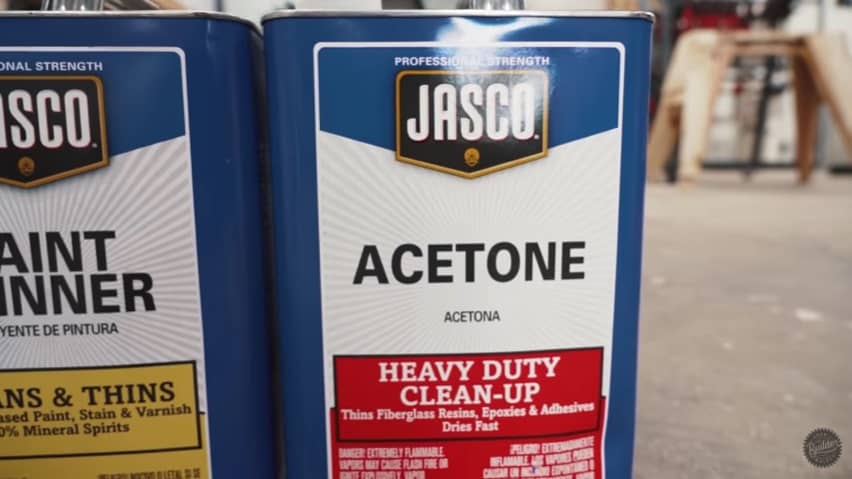
In my last video, I talked about how our mixing rod, we only use it for tinted pours. We get a new one if we’re doing clear. That’s just because if anything, flakes off on that mixing stick and gets into a clear pour, you literally see it and it’s an eyesore and it ruins it. You want to make sure that whatever you’re using is as squeaky clean as possible. My suggestion is acetone. If you’re going to be cleaning things.
The most important aspect of clean tools when you are mixing epoxy is going to be your bucket. We like to use a fresh bucket. If we don’t have a fresh bucket, we make sure we’re cleaning that thing out with acetone as to the absolute maximum that we possibly can. Once you get something in there it’s unavoidable to get it out. Like you’re screwed. You don’t want to leave any residual inside of your buckets.
Also what you want to make sure you’re doing when you’re pouring epoxy in this situation, speaking of buckets is to squeegee or scrape your bucket out. You’re going to have residual stuck all over the inside of that bucket. You’ll notice once you pour, it feels like it’s done. You put it down, there’s a bunch on the bottom, and then you go and pour it back in. That all came off of the sides. Epoxy viscous. It sticks to stuff. Make sure you’re paying attention to that.
This also leads us to when you’re mixing to make sure you’re trying to mix everything in a single bucket. If you need say at a two to one ratio, 15 liters, you’re going to put 10 liters of resin and then 5 liters of hardener. Do it all in one bucket. Don’t put 10 in bucket one, five in bucket two, pour into bucket three, because parts of it are going to get stuck on the outside and it messes with the chemical formula. You’d be better off mixing 15 in one bucket, pouring up to those lines as you go. Make sure you’re using clean buckets. You don’t want to be using a ton of them. Just choose one, if you can.

Beginner mistake #6 is mixing brands. You can’t do it. But before we get into brands, I want to talk about the brand and sponsoring this build. Woodcraft. Woodcraft has been sponsoring us for years now. We absolutely love them. If you’re looking for epoxy products, they have them at their stores. You can show up, pick them up. We’ve bought eco epoxy there. We’ve bought a couple other brands, three systems, another great brand of epoxy there. They have finishes. They have the deep pour stuff too. Check them out. I’ve got them linked down in the description. Thank you Woodcraft for sponsoring this build.
Now let’s get into why you can’t mix brands. I’m sorry, people, but brands specific formulas for their resin are exactly that. They are specific to the formula. You can’t even mix within brands different types of resin. This is science, as I’ve said, so you don’t want to fall into where problems are gonna happen based on your mixing ratios or the chemical whatever’s going on in one thing or another. Don’t mix brands. Even within a brand.
For instance, we use eco poxies flow cast and liquid plastic. We don’t mix those together. Like you wouldn’t use the hardeners aren’t interchangeable, neither are the resins. As well as using the buckets. Say you need to make two pours and you’re out of one, you need another, you can’t pour it in the same bucket in order to do so, because there’s going to be residue on that bucket. It could mess with the formula of it and whatnot. After it hardens, it doesn’t matter. But in that liquid state don’t mix brands.
174 Woodworking Tips & Tricks

Rookie mistake #7 is thinking you can use water. Now, listen people, using water to clean things is a common practice in our lives, because we’re humans for the most part, but it’s not good when you’re working with resin. Water and resin don’t go together. I have gotten a bunch of questions about hazing spots, not an overall haze, but spots of haze in projects. When I get to asking that individual on their mixing process, they told me, oh I cleaned the bucket out with soapy water and boom, there’s your issue. Probably didn’t have a nice, dry, clean bucket.
Don’t get water anywhere near your projects, whether you’re cleaning your mold, whether you’re cleaning your bucket, whether you’re cleaning your tools, whether you’re just washing your hands because you had a delicious bacon snack. Just don’t put water anywhere near anything.
Beginner mistake #8. Not having a level mold when you pour. This is like probably the thing that Sam and I overlook way too often when we’re doing things, because our shop’s relatively level all the way around. But if you end up pouring something that is say eight feet long, that is a quarter inch out of level at one side. You’re going to be drastically out of level across the other. There’s nothing worse than pouring from one end, trying to get a nice, beautiful, buttery, 120 frames per second B roll shot, and then watching it, just shoot out the end on the other side.
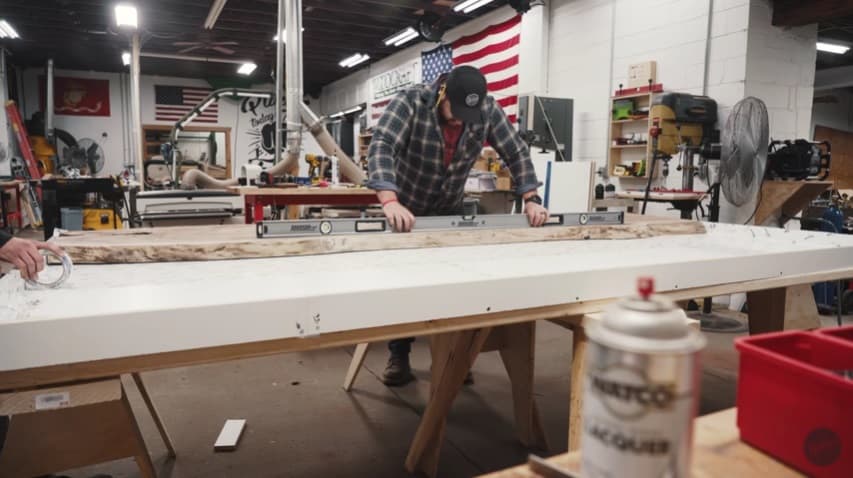
On our river table for Westminster College, we made sure that thing was level a dozen times in every single direction possible, before we poured, because we didn’t run into want to run into that issue. That’s something that gets overlooked by a ton of rookies. You’ll see resins pouring over the sides of your molds. Just make sure everything’s level. Level, that sucker out. Take an extra couple of minutes before you pour and trust me, you’ll be glad you did.
Rookie mistake #9 is the reason we’re filming this video right now. This exact moment. Don’t skimp on your mold. Trust me. Basically, don’t be a lazy bum when it comes to building your mold. I’ve built dozens of molds over the years. For the most part, we take great precaution to make sure the mold is airtight and dry. One thing that’s massively important is the caulking you’re using or how you’re sealing your corners. You want to make sure you’re doing it the day before, so that caulking is dry.
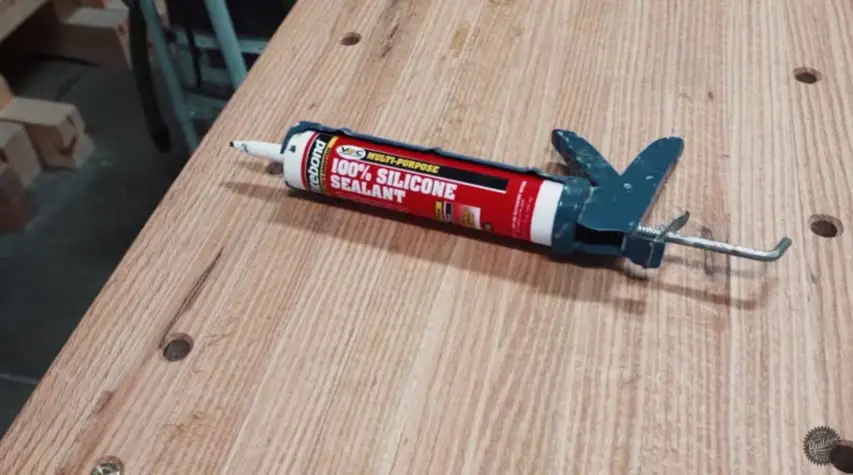
We do believe our last big issue on this table we’re working on pour, is because we didn’t allow long enough time for our caulking to dry. It eventually just worked itself apart, and it sucks. It’s expensive. We lost a ton of epoxy resin on the floor because of it. You also want to make sure that if you’re reusing melamine, I said this in my other video, don’t go past one or two uses on the melamine.
If you poke a hole in it and you’ve miss it, it’s going to just come pouring out of that hole. The epoxy is like water. It will find a way. Water carved all of the mountains and rivers and everything in our lives. It will find a way, regardless if it’s a pinhole crack. Epoxy does the same thing and it can ruin a project. Don’t skimp on your molds. We’ve used Tyvek tape in the past, which is our preferred method. We’ve also used packing tape. Packing tape isn’t as sticky as the Tyvek tape, and we’ve run into issues on that. Therefore, we’ve set it up rule that we’ll never use it again, because I don’t want to ever deal with a pour getting all over my shop and ruining a week’s worth of again, as well as the thousand dollars in epoxy I just spent.
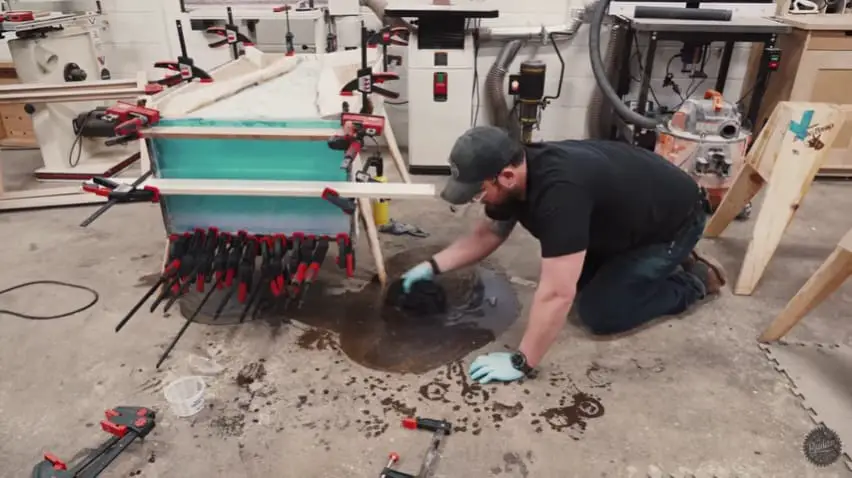
Everything is going perfectly to plan. I promise, do not worry about it. This looks way worse than it is. When it comes to making your mold, don’t skimp, I promise you, you’ll thank me after. If you’re building a table of any sort, what I see a lot of beginners do is they just mount a board to the bottom of the river itself. They screw it in, they caulk it, they cap the ends, they caulk that. Then that epoxy finds a way out. It runs all over the place and ruins the project. It’d be much easier to just build a form to the size of the table.
You’re looking for slightly oversized cap, all of the ends deal with those four corners and then an entire squiggly river seem full of caulking. Then have some resin on the bottom of your mold, instead of all over your floor and not be usable. At least you can potentially save that project. Trust me here. Don’t skimp on your molds. It’ll come back to bite you, but I still run into this issue because I’m a cheap bastard. Sam, we’re going to have to add a note next to the temperature to not be cheap on molds ever again, sad day.
5 Tools Under $30 Every Woodworker Needs


Rookie mistake #10 is improper storage of your goods. Remember, there’s a shelf time on epoxy. You can’t just put it there and in two years, come back and use it. All of this stuff is clearly laid out on the label. It is like most finishes as well. If you check your finishes, they have a pot life especially if they’re catalyzed finishes, but most of them are recommended to be used in a time window. Be conscious of that.
What will happen is the hardener could potentially start to become like pooy, then you mix it with a newer resin because you ran out of one and you had the other. I was using some old stuff a little bit ago and it look typically crystal clear. I looked at the pot life after I poured it. It was very yellow and gross and disgusting and smelled. We threw that out the proper way, but don’t overlook the way you’re storing your resins. You want to also make sure they’re in airtight containers. All the lids are on because some of them have some VOCs you don’t want to get into your shop. That’s going to be a wrap on this one. I appreciate you guys tuning into this video. If you want to see all of my epoxy tips on how to get started, I got that video queued up for you right here, and I will see you over there.
Recommended Posts:

