When you are using Arm R Seal to protect your hardwood floors, you will need to know how long it takes to dry. This is an important step in the process, and if you do not allow enough time for the sealant to dry, it will not be effective. In this blog post, we will discuss the drying time for Arm R Seal and provide some tips to help you ensure that your floors are properly protected!
What Is Arm-R-Seal And What Are Its Benefits
Arm-R-Seal is a clear, oil-based urethane topcoat designed to provide superior durability and protection against scratches. It can be used on a variety of surfaces, including wood, metal, concrete, and fiberglass. Arm-R-Seal is available in semi-gloss, high-gloss, and satin finishes. Arm-R-Seal is easy to apply and dries quickly, making it an ideal option for busy DIYers. Arm-R-Seal can also be used as a primer for paint or stain projects.
Benefits of Arm-R-Seal:
- Arm-R-Seal is a clear, oil-based urethane topcoat that provides superior durability and protection against scratches.
- Arm-R-Seal can be used on a variety of surfaces, including wood, metal, and concrete.
- Arm-R-Seal is available in semi-gloss, high-gloss, and satin finishes.
- Arm-R-Seal is easy to apply making it an ideal option for busy DIYers.
- Arm-R-Seal can also be used as a primer for paint or stain projects.
If you’re looking for a durable topcoat that will protect your surfaces from scratches, Arm-R-Seal is a great option. Arm-R-Seal is easy to apply and provides a durable finish, making it a good choice for busy DIYers.
How To Apply Arm-R-Seal
Arm-R-Seal is a great product for finishing wood projects. It’s easy to apply and gives a beautiful finish. Here are the steps on how to apply Arm-R-Seal.
- First, make sure that your project is clean and free of any dust or debris.
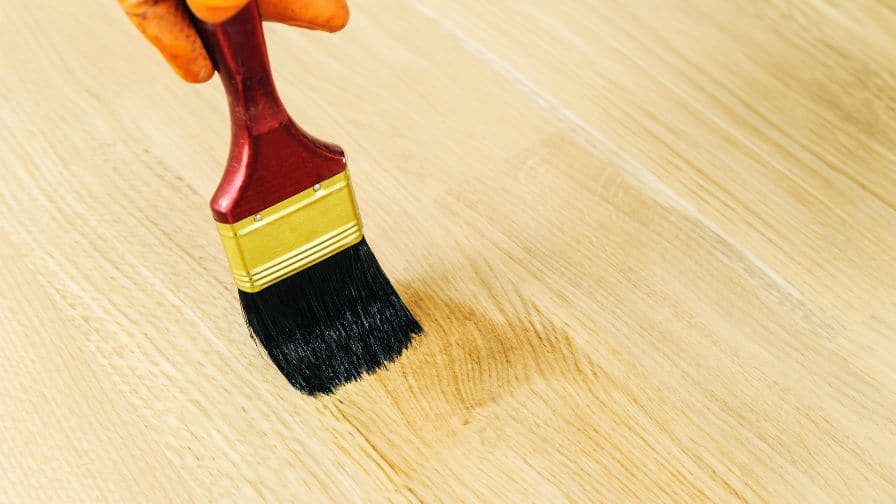
- Next, apply a thin, even coat of Arm-R-Seal with a brush or roller.
- Allow the first coat to dry for at least 24 hours before applying a second coat.
- Once the Arm-R-Seal is completely dry, you can enjoy your beautiful finish!
If you’re in a hurry, you can speed up the drying time by using a hair dryer or heat gun. Just be sure to keep the heat source moving so you don’t damage the Arm-R-Seal or the project.
Drying Time For Arm-R-Seal
The drying time for Arm-R-Seal depends on a few factors, including the temperature and humidity of your workspace. In general, though, you can expect Arm-R-Seal to be touch dry in about 24 hours. Of course, it will take longer for the finish to cure completely, so you’ll need to wait a few days before putting your project into full use.
Arm-R-Seal is a tough, clear finish that can be used on a variety of surfaces, including wood. It’s perfect for projects like tabletops, bar tops, and countertops. If you want a finish that dries quickly we recommend using water-based urethane instead, it’s great for busy DIYers who don’t have a lot of time to wait around for their projects to dry.
Tips For Ensuring That Your Floors Are Properly Protected
If you’re planning on doing any work on your floors, it’s important to make sure that they are properly protected. Arm-R-Seal is a great option for protecting your floors from wear and tear. However, before you apply Arm-R-Seal, there are a few things you should keep in mind to ensure that it dries properly.
First, Arm-R-Seal should be applied in a well-ventilated area. This will help to ensure that the fumes from the sealant don’t linger and cause problems.
Second, you’ll need to make sure that the surface you’re applying Arm-R-Seal to is clean and free of debris. Any dirt or debris on the surface will prevent the Arm-R-Seal from properly adhering to the surface, which could result in a poor seal.
Finally, you’ll need to give Arm-R-Seal plenty of time to dry. Depending on the temperature and humidity levels in your area, it can take anywhere from 3-4 weeks for Arm-R-Seal to fully cure. Once it’s dry, your floors will be protected from wear and tear for years to come.
Arm-R-Seal is a great option for protecting your floors, but only if you take the time to properly prepare the surface and give the sealant plenty of time to dry. By following these tips, you can be confident that your floors will be properly protected.
Do You Wipe Off Arm-R-Seal?
Arm-R-Seal is formulated to be wiped on using a cloth. You can also apply it using a foam brush. Arm-R-Seal is a urethane resin and when it’s time to apply the next coat, simply wipe off any dust that has accumulated on the surface and recoat.
What Is The Shelf Life Of Arm-R-Seal?
Arm-R-Seal is a clear, oil-based polyurethane topcoat that has outstanding durability. It is specially formulated to provide excellent protection from sunlight, water, and household chemicals on interior and exterior surfaces such as woodwork, cabinets, doors, windows, trim, and molding but what is its shelf life?
The product has a shelf life of approximately two to four years. After that time, the varnish may start to thicken and become harder to apply evenly. If you do use it after two years, be sure to stir it well before using it.
If you are unsure whether Arm-R-Seal is still good, there is a simple test you can do. Pour a small amount of the varnish onto a piece of cardboard or scrap wood and let it dry. If the finish is hard and brittle, it has probably gone bad and you should not use it.
Can You Wet Sand Arm-R-Seal?
You can wet sand Arm-R-Seal, but you need to be careful. If you sand too hard, you can remove the Arm-R-Seal entirely. So start with a very light touch and increase the pressure if necessary.
Wet sanding Arm-R-Seal is a great way to get a smooth, even finish. And if you’re careful, you can avoid damaging the Arm-R-Seal. So if you’re looking for a smooth, professional finish, wet sanding is the way to go.
Recommended Posts:

