If you’re a woodworker, then you know that sometimes mistakes happen. When they do, it’s important to have a way to fix them quickly and easily. That’s where wood putty comes in. Wood putty is a type of filler that is used to repair small scratches or holes in woodworking projects. It can be difficult to get the putty to match the color of the wood, though. In this blog post, we will discuss how to hide wood putty so that it is not visible to the naked eye.
How Do You Hide Wood Putty?
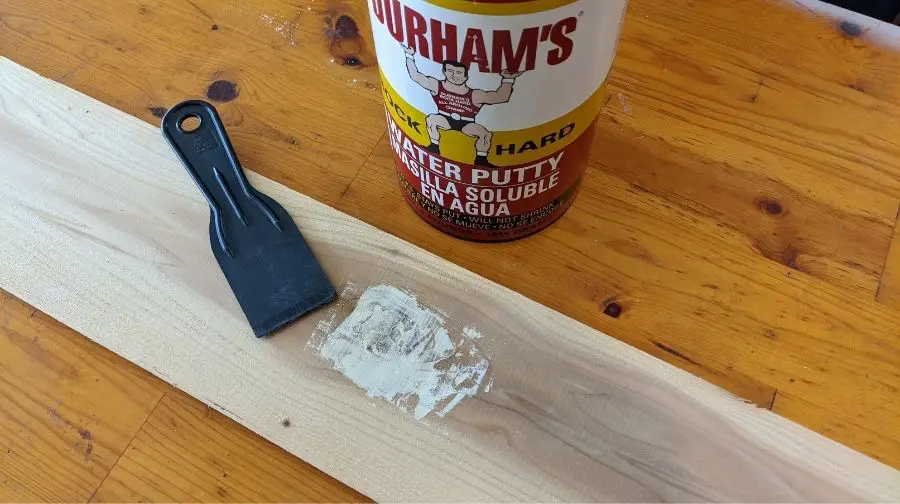
The best way to hide wood putty is by matching it’s color as close to your wood’s color as possible. You can do this by purchasing the correct shade of wood putty to match or by mixing different colors together to create the perfect match similar to how a painter would mix paints before applying to a canvas.
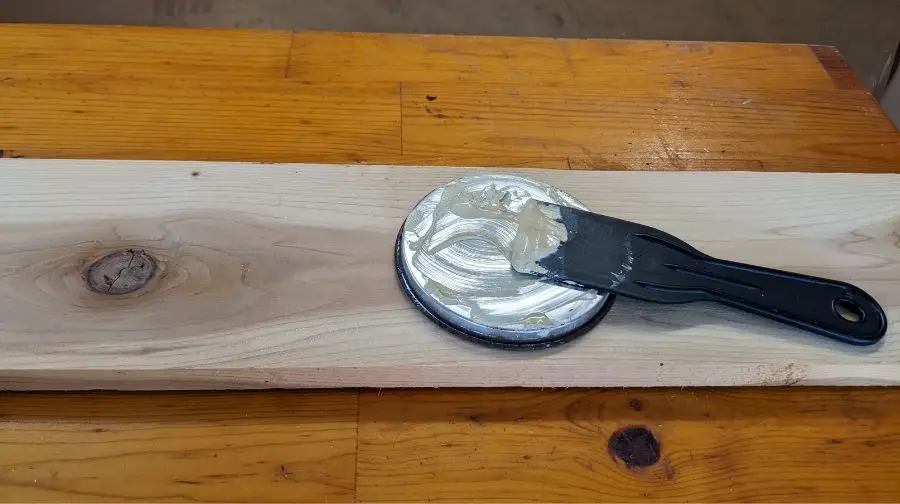
Once you have the wood putty color matched as closely as possible to your wood, apply it to the surface using a putty knife. Gently press the putty into any cracks or holes, then smooth over the surface to allow it to dry. Once dry you can sand the area if needed. Also be careful not to spread too much putty in the area because your wood could still be porous and allow some of the putty into it’s pores which could cause a circle look on your material.
How To Hide Wood Filler
Wood filler can be difficult to disguise, especially if you’re using a light-colored wood. Here are a few tips on how to hide wood filler so that it blends in with your project.
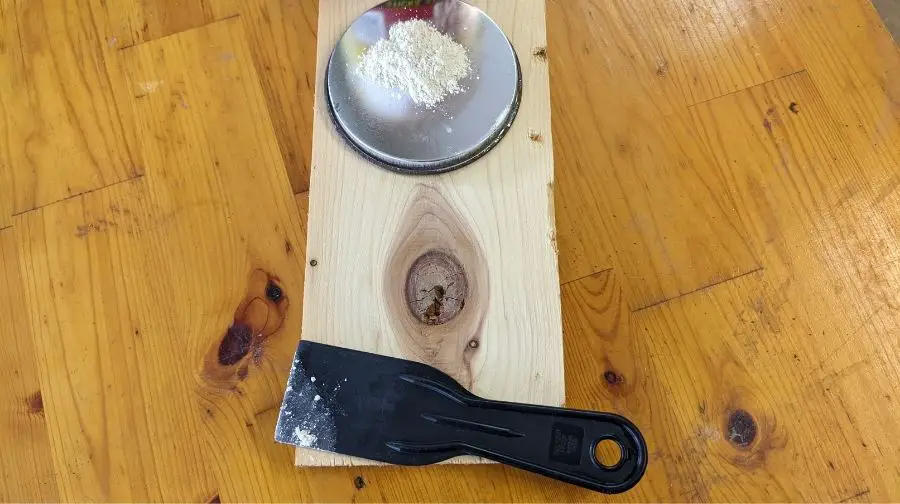
One way to hide wood filler is to use a dark-colored stain. This will help to blend the filler in with the rest of the piece. Another option is to use a wood putty that is close in color to the wood you’re working with. You can also add some sawdust to the filler before you apply it, which will help to match the color and texture of the wood.
If you’re still having trouble hiding the filler, you can try using a sanding sealer or shellac. These products will help to fill in any small gaps between the filler and the wood, making it less noticeable. Finally, if all else fails, you can try to paint over the filler. However, this may not be a permanent solution, and the paint may eventually start to peel or chip off.
How to Choose and Use Wood Filler
Subscribe to This Old House on YouTube
How To Seal Wood Putty
You don’t need to seal wood putty like you do for wood filler. Wood putty has adhesive properties so it will dry into place. Also wood putty is best used for finished projects so this step comes in to hide any small imperfections in your project so there is no need to reseal the project.
How To Remove Putty From Wood
The best way to remove wood putty is to wait until it dries and then scrape it off with a putty knife. If the putty is still wet, you can try soaking a rag in paint thinner and rubbing the affected area. You may need to repeat this process several times to get all of the putty off of the wood. Once the putty is removed, sand the area smooth and then finish it off with a fresh coat of paint or stain.
How Do You Hide Wood Filler When Painting?
Here are a few tips:
– Use a putty knife to apply the wood filler. Smooth it out as much as possible.
– Let the filler dry completely before painting.
– Prime the surface before painting. This will help to cover up any imperfections in the wood filler.
– Use a paint that is similar in color to the wood filler. This will help to blend it in and make it less noticeable.
With these tips, you can hide the wood filler and have a smooth, finished surface.
Does Stain Hide Wood Filler?
The answer is that it depends on the type of wood filler that you are using and how dark the stain is. If you are using a light-colored wood filler, then it is likely that the stain will show through. However, if you are using a dark wood filler or an epoxy wood filler, then the stain is likely to hide it.
One thing to keep in mind is that when you are staining wood, the final color may not be exactly what you expect. This is because different types of woods will absorb the stain differently. For example, pine will absorb more stain than oak. As a result, it is always a good idea to test the stain on a scrap piece of wood before applying it to your project. This way you can get an idea of how the final color will look.
Does Gel Stain Hide Wood Filler?
Yes, gel stain can be used to hide wood filler. Gel stain is thicker than regular stain, which means it can fill in small gaps and imperfections. When applied correctly, gel stain will give your project a smooth, professional finish.
Here are a few tips for using gel stain to hide wood filler:
– Make sure the wood filler is completely dry before applying gel stain. If the wood filler is still wet, it will absorb the gel stain and create a dark spot.
– Apply a thin layer of gel stain over the wood filler, using a brush or rag. Wipe off any excess gel stain so that it doesn’t pool in the filler.
– Let the gel stain dry completely before applying additional coats, if desired. You can also apply a topcoat of varnish or polyurethane to protect the finish.
With these tips in mind, you can achieve a beautiful, professional-looking finish on your woodworking projects. Gel stain is a great way to hide wood filler and give your project a smooth, uniform look. So don’t be afraid to use it on your next woodworking project!
Can You Paint Over Wood Putty?
Wood putty should not be painted. It should be used after your project is already stained or painted. Wood putty would be used at this point to fill in any small holes or imperfections you want to cover. It is best to try and match your wood putty to the final color stain or paint of your project rather than staining or painting over it.
Recommended Posts:

