Cabinet seams can be a bit of an eyesore, but with the proper techniques, you can hide them perfectly! This blog post will show you how to do just that. We’ll provide tips and tricks for both painted and stained cabinets. So whether you’re just getting started on your renovation project or you’re almost done, read on for some helpful advice.
What Are Cabinet Seams And Why Do They Need To Be Hidden?
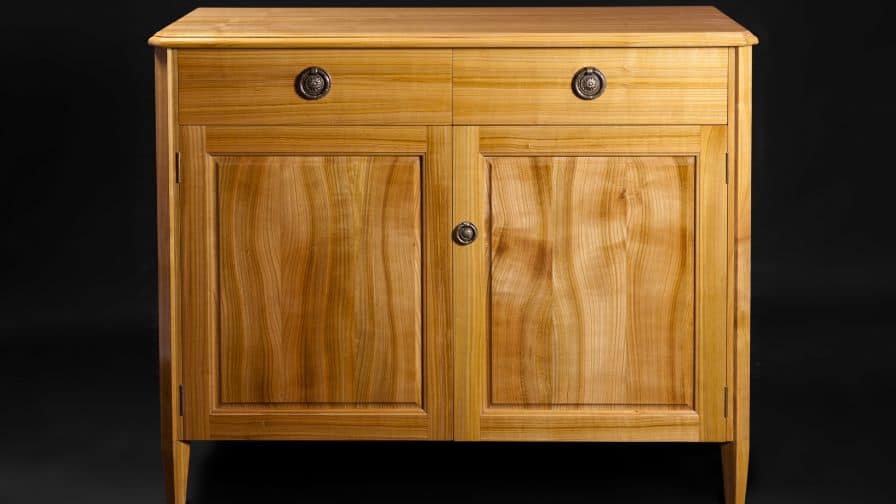
Cabinet seams are the lines where two pieces of wood come together. They can be either vertical or horizontal, depending on the type of cabinet you have. Seams are necessary to put cabinets together, but they can also be a bit of an eyesore. That’s why it’s important to learn how to hide them!
How Can You Hide Them Effectively Regardless Of The Type Of Cabinet You Have (Painted Or Stained)?
There are a few different ways to hide cabinet seams. The most popular method is to use a trim. A Trim is a thin strip of wood that covers the seams and gives the illusion of a single, uninterrupted piece of wood. You can also use molding or veneers to cover up seams. Whichever method you choose, make sure the trim is properly sealed and sanded so that it doesn’t absorb moisture and warp over time.
Another popular method for hiding cabinet seams is to use a beadboard. Beadboard is a type of wood paneling that has evenly spaced vertical grooves. These grooves can be used to cover up seams between pieces of wood. Beadboard is easy to install and can be painted or stained to match your cabinets.
If you have painted cabinets, you can use caulk to fill in the seams. Caulk is a waterproof sealant that comes in a tube. It can be applied with a caulking gun or a putty knife. Once it dries, it will be hard and durable. Caulk can also be used to fill in gaps around doors and windows.
No matter what method you choose, make sure the trim is properly sealed and sanded so that it doesn’t absorb moisture and warp over time.
By following these tips, you can easily hide cabinet seams and enjoy your beautiful kitchen for years to come.
What Are Some Tips And Tricks For Making The Process As Easy As Possible For Yourself?
Subscribe to Chris Davis
One of the best ways to make sure that your cabinet seams are hidden is to use a trim piece. By using a trim piece, you can easily cover up any imperfections in your cabinets and create a neat and polished look.
Another tip is to use caulk. Caulk can help to fill in any gaps or cracks that may be present in your cabinets, and it will also create a barrier that will prevent water or other liquids from seeping through.
Finally, another great way to hide cabinet seams is to use paint. By painting over the seam, you can create a seamless look that will make your cabinets look brand new.
How Do You Fill Seams In Kitchen Cabinets?
One way to fill seams in kitchen cabinets is by using a putty knife. A putty knife is a tool that is used to fill small holes and cracks. You can use a putty knife to fill in the seams between the cabinet doors and the frame of the cabinet.
Another way to fill seams is by using caulk. Caulk is a material that is used to seal gaps and cracks. Caulk is a good choice for filling seams because it bonds well with the surface of the cabinets and dries quickly.
Do You Caulk Cabinet Seams?
You might be wondering if you should caulk cabinet seams. The answer is yes, you should caulk cabinet seams. Caulking is a great way to prevent water damage and to make sure that your cabinets look their best. Here are some tips on how to caulk cabinet seams:
- Use a high-quality caulk. This will make a big difference in the look of your cabinets and in how well the caulk lasts.
- Apply caulk to clean, dry surfaces. Make sure that you remove any dirt or debris before you apply the caulk.
- Use a small amount of caulk. You don’t want to use too much, or it will be difficult to clean up.
- Smooth the caulk with a damp rag. This will help you achieve a nice, even finish.
Caulking cabinet seams is a simple and effective way to protect your cabinets from water damage and to make them look their best. Follow these tips and you’ll be sure to get great results.
Recommended Posts:

