
The blade got dull and damaged because of frequent usage of the saw. And to ensure a perfect cut, you must change the blade.
Indeed, a rough blade is detrimental to the cutting materials. Therefore, why would you carry a dull or broken blade if you carry the most excellent brand available, Black & Decker? I’m guessing you don’t want to take your damaged blade about with you. Right? If this is the case, you will get your solution!
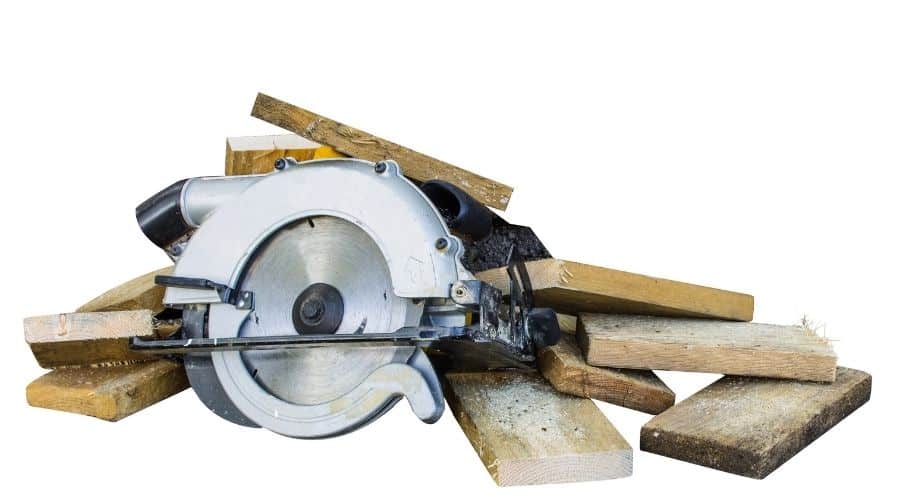
You are aware that the blade is a critical component of a circular saw. If a defect develops in the blade, a saw will eventually become unusable.
That is why, in this post, I will try to provide you with comprehensive instruction on how to replace the blade on a Black & Decker cordless circular saw.
Here Are The Steps To Install A Black And Decker Cordless Circular Saw Blade:
Step 1: Unplug the Saw Battery
Remove the saw batteries first since it is a cordless circular saw. Following that, secure the blade guard.
Step 2: Securing the Blade
Now, by pushing the saw blade lock bar, secure the blade. After securing the blade, use a wrench to double-check it.
Step 3: Loosen the Center Nut or Washer
Insert a socket wrench into the blade’s middle nut. Remove the middle nut by turning the socket wrench clockwise.
Bring the nut out when it gets loose. Additionally, remove the washer. Retain the nut & washer in a secure location until reinstallation.
Step 4: Dispose of The Old Blade
Disconnect the blade guard from the saw and remove the blade. Following the removal of the last blade, clean your blade guard to eliminate any sawdust.
Step 5: Replace the Blade
Bring the current blade and inspect the arrow to ensure correct installation. Each blade’s rotation orientation is shown on the blade sticker.
If you are unable to locate the arrow, tip the blade teeth forward. It will instruct you on how to install the blade properly.
Step 6: Install the Washer and Center Nut
Put the replacement blade in position and activate the saw blade guard. Replacing the washer & nut in their original positions is necessary. With the socket wrench, tighten the nut. Replace the battery and unlock a saw blade lock.
That concludes the procedure for changing the blade on your Black & Decker cordless circular saw.
How to install a blade on Black and Decker 20 volt cordless circular saw
Subscribe to Jonathan Vance on Youtube
Which way does the blade go on a circular saw?
It slashes upward, the teeth of the circular blade are intended to cut forward on the upstroke. As a result, they revolve in a clockwise manner—bottom-up movement. To match, the cut side of the wood will be pointing downward. Circular saws are designed to revolve counterclockwise by default. This forces the material toward the blade, assisting in the saw’s and workpiece’s control.
I believe you now understand how to change the blade on your Black & Decker cordless circular saw. Changing the blade is relatively simple.
You do not require a technician to replace the blade. Carry out this task independently and save money on your circular saw’s annual maintenance.
This article should have demonstrated how to change the blade on a Black & Decker cordless circular saw.
Recommended Posts:

