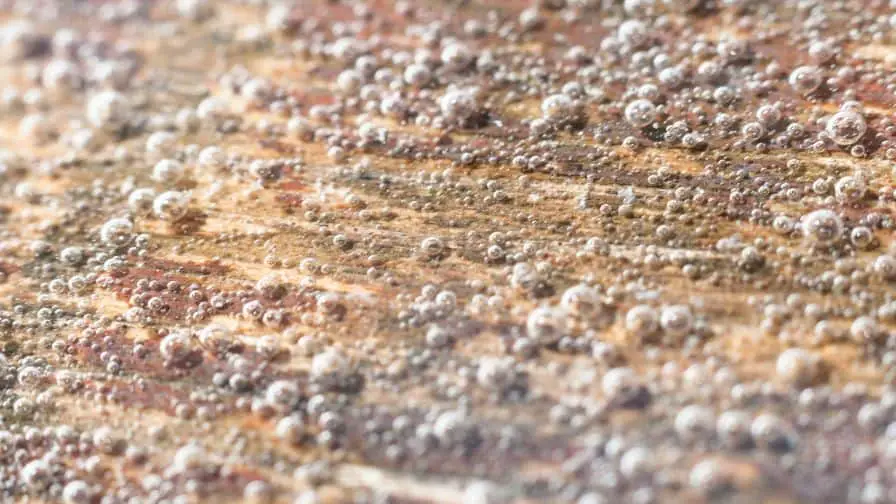
If you have ever applied polyurethane to a piece of wood furniture, you may have encountered bubbles in the finish. This can be frustrating and can ruin the appearance of your project.
In this blog post, we will show you how to remove bubbles from dried polyurethane. We will also discuss some tips for preventing bubble formation in the first place!
How To Remove Bubbles From Dried Polyurethane?
Don’t despair if you find a few bubbles in your dried polyurethane finish. Bubbles in the finish are usually caused by shaking the polyurethane can or improper brush prep. While unsightly, they’re not difficult to fix. With a little elbow grease and some patience, you can remove the bubbles and enjoy a smooth, flawless finish.
Here’s what you need to do:
- Scuff-sand the bubbles: You can use 120-grit or finer sandpaper. Just make sure to sand in the same direction as the grain.
- Wipe away the sanding dust: Once you’re done sanding, wipe away the dust with a damp cloth.
- Apply a fresh coat of finish: This will help to even out the surface and give you a smooth, professional-looking finish.
With these simple steps, you can remove bubbles from your dried polyurethane finish and enjoy a smooth, flawless surface. So don’t despair if you find a few bubbles – they’re easy to fix! Just follow these simple steps and you’ll have a beautiful finish in no time.
What Are Bubbles In Dried Polyurethane And What Causes Them?
This can be due to improper mixing, too much heat, or not enough ventilation. Bubbles can also be caused by contamination of the surface with grease, oil, or wax.
Here are some of the reasons:
- Shaking the polyurethane can: Shaking the poly can mix air into the polyurethane. When you apply it, these bubbles will be released and will rise to the surface.
- Using the wrong brush: Using a natural bristle brush will also introduce air to the finish. Always use a synthetic brush designed for use with polyurethane.
- Improper brush preparation: If you don’t properly clean your brush between coats, or if you use a brush that’s too dry, you’ll also introduce air to the finish.
- Not enough ventilation: If there’s not enough ventilation in the room where you’re applying the polyurethane, the bubbles will take longer to rise to the surface and will be harder to remove.
Subscribe to paulsDIYsolutions on YouTube
Will Tiny Bubbles In Polyurethane Go Away?
Once bubbles form in a polyurethane finish, they are permanent unless you strip the finish down to the bare wood and start over. You can try to pop them with a needle and then wipe the area with denatured alcohol, but this will probably remove some of the finish as well. The best solution is to strip the piece down and recoat it if the sanding process doesn’t work.
How Do You Smooth Out Polyurethane Bumps?
There are a few ways you can smooth out polyurethane bumps. You can use a heat gun or a hair dryer to gently heat the area and then use a putty knife or razor blade to scrape off the excess.
You can also sand the area with fine-grit sandpaper until it’s smooth. Just be sure to sand in the same direction as the grain of the wood.
If you’re having trouble, you can always call a professional to come and take care of it for you. They’ll be able to get rid of those pesky bumps in no time!
Recommended Posts:

