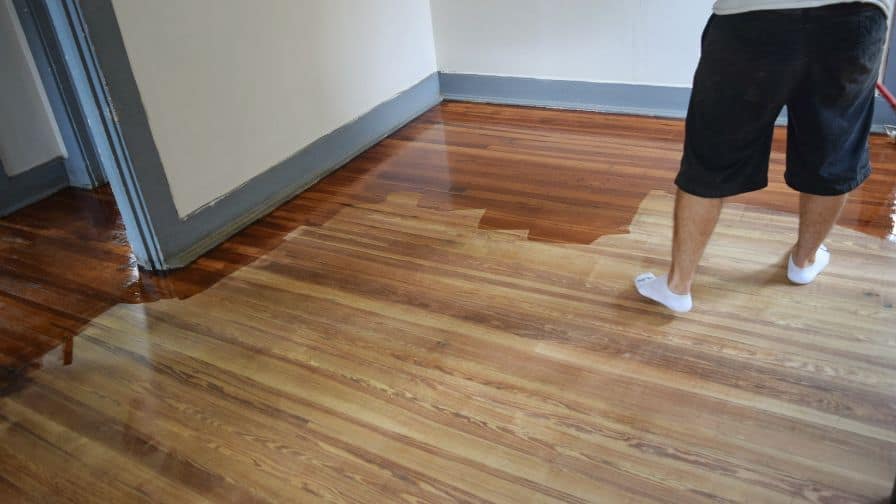
When you purchase polyurethane, expect it as smooth. However, sometimes it can get rough. This can cause a lot of problems. It makes the material difficult to work with and can even damage your equipment.
In this blog post, we will discuss the possible causes of a rough polyurethane surface and how to fix the problem.
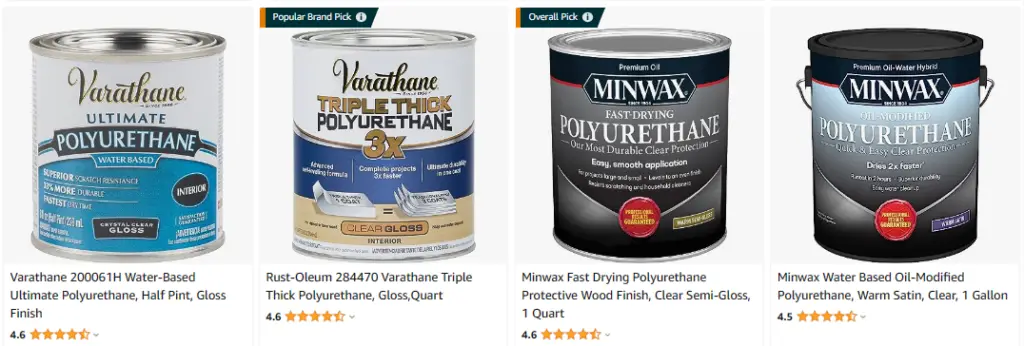
Click Here To Check The Pricing On Amazon
3 Reasons Your Polyurethane Might Be Rough
There are a few reasons why polyurethane can end up rough instead of smooth.
One reason is that the surface wasn’t properly prepared before the polyurethane was applied. When there’s dust or dirt on the surface, it can cause roughness.
Another reason is that the polyurethane wasn’t applied evenly. When it’s too thick in some areas and too thin in others, it can cause the finish to appear uneven and rough.
Finally, it did not cure properly. When it has exposure to too much humidity or heat, it can affect the curing process and cause the polyurethane to remain tacky or gummy.
How Can You Fix A Rough Polyurethane Surface?
There are a few ways that you can fix a rough polyurethane surface.
- One way is to sand the surface down with fine-grit sandpaper.
- Another way is to use a chemical stripper to remove the polyurethane. After removing the polyurethane, you can then refinish the surface.
- When you have a small rough area, you can try using a rubbing compound. This will help to smooth out the surface.
As the trouble with the surface persists, you may need to replace the polyurethane. This is a more drastic measure, but it is necessary in some cases.
Applying a new coat of polyurethane is not always necessary. When the surface has light scratches, you can use furniture polish or oil to cover them up. For deeper scratches, you will need to apply a new coat of polyurethane. This is DIY or get a professional for the service.
Fixing a rough polyurethane surface is not difficult. But it does take some time and effort. With a little patience, you can fix the surface and have it look new again.
When your polyurethane surface has severe damage, you may need to replace it entirely. This is a more drastic measure, but it is necessary in some cases.
What Are Some Tips For Avoiding A Rough Polyurethane Surface In The First Place?
As you’re working with polyurethane for the first time, it’s important to understand how this material behaves before moving forward.
Here are some tips that will help you avoid a rough surface when working with polyurethane:
– Use a higher quality polyurethane for your project. Cheap polyurethanes will produce a rougher surface.
– Have certainty with the appropriate application method. When putting polyurethane with a brush, use long and even strokes in one direction to avoid leaving brush marks.
– When you’re spraying polyurethane, hold the can about 12 inches away from the surface and move it in a consistent back-and-forth motion.
– In using a roller, apply an even layer and avoid going over the same spot multiple times.
By following these tips, you’re on your way to creating a smooth and beautiful surface with polyurethane.
Can You Use A Rough Polyurethane Surface In Your Projects?
When you’re looking for a durable and tough surface, polyurethane is a suitable choice for you. This type of material is in high-traffic areas or on surfaces that need to withstand a lot of wear and tear. Polyurethane is also a good choice for projects that require a waterproof or water-resistant finish. You can use a rough polyurethane surface in your projects as long as you take the necessary precautions.
Here are certain reminders:
– Use gloves when working with rough polyurethane surfaces to avoid skin irritation.
– When you’re using a power sander, make sure to wear a dust mask to avoid inhaling any particles.
– In working with a solvent-based polyurethane, work in a well-ventilated area.
Keep these things in mind and you’ll use a rough polyurethane surface without any problems.
How Do You Care For A Rough Polyurethane Surface?
Polyurethane is a type of plastic often used on rough surfaces. It is important to care for this type of surface properly to keep it looking its best.
Here are some tips on how to care for a rough polyurethane surface:
– Vacuum or sweep the surface regularly for dirt and debris to disappear.
– Wipe the surface down with a damp cloth or sponge to remove any remaining dirt and grime.
– Apply a small amount of furniture polish or wax to the surface to protect it from scratches and wear.
– Buff the surface with a soft cloth to bring out its shine.
By following these tips, you can keep your rough polyurethane surface looking new for years to come.
Polyurethane Finish Problems
One of the most common problems that people have with their polyurethane finish is that it can start to chip and peel after a while. This is especially true when you live in an area with high humidity, as the moisture can cause the finish to lift.
When you notice your finish starting to peel, you’ll need to sand down the affected area and then reapply a fresh layer of polyurethane. You may also need to do this as you accidentally scratch or scuff the finish.
Patience is important when applying polyurethane. Rushing the job will only lead to problems down the road. Make sure to follow the instructions on the can and take your time to get a smooth and even finish.
When you do run into any trouble, don’t hesitate to reach out to a professional for help. They’ll assess the situation and give you the best advice on how to proceed!
How To Get Bumps Out Of Polyurethane Finish
As you’re trying to get bumps out of a polyurethane finish, the best thing to do is to sand them down. You can use fine-grit sandpaper to gently sand away the bumps. Make sure not to sand too hard or you could damage the finish. Once you sand away the bumps, you can then buff the finish to make it shine.
In case you’re not comfortable sanding down the bumps, you can always try to remove them with a solvent. Acetone or lacquer thinner are both good for this purpose.
Apply a small amount of solvent to a cotton ball and rub it over the bump. The solvent will help to dissolve the polyurethane and make the bump less noticeable. You may need to apply a few coats of solvent before the bump goes away completely.
Once satisfied with the results, you can then buff the finish to make it shine. Remember to always test the solvent on a small area first to make sure it doesn’t damage the finish.
When the above methods don’t work, you can always try to remove the bumps with a heat gun.
Hold the heat gun about six inches away from the surface and move it back and forth over the bumps. The heat will help to soften the polyurethane and make the bumps less noticeable.
You may need to apply a few coats of heat before the bumps disappear.
Recommended Posts:

