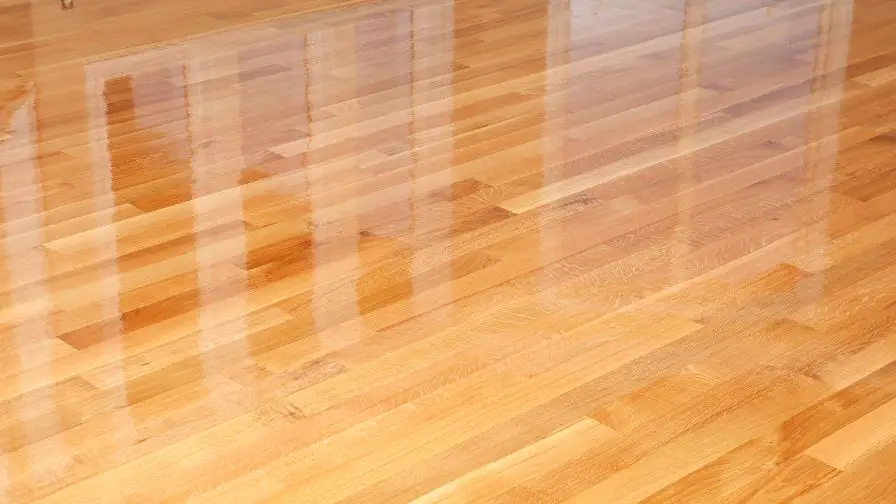
Applying polyurethane to your floor can seem like a daunting task. Without doing it before, the idea of avoiding bubbles can seem impossible. However, with a little bit of preparation and practice, you can apply polyurethane without any bubbles. In this blog post, we will walk you through the process step-by-step. We will also provide some tips and tricks that will help you achieve a flawless finish. Let’s get started!
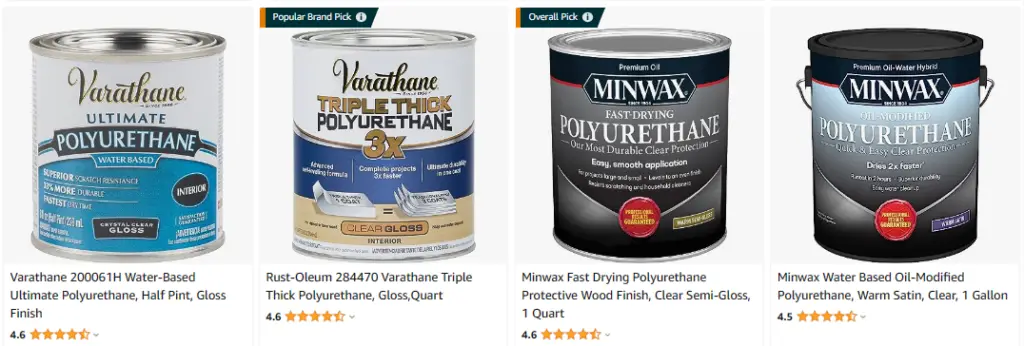
Click Here To Check The Pricing On Amazon
Table of Contents
How Do You Apply Polyurethane To A Floor Without Bubbles?
You can apply polyurethane to a floor without bubbles by following these simple steps:
First, make sure the surface is clean and free of dust. Next, lightly sand the surface with a fine-grit sandpaper. Then, wipe away any dust with a damp cloth.
Now you’re ready to apply the polyurethane. For best results, use a foam brush or a roller designed for polyurethane. Spread the finish in long and even strokes, going with the grain of the wood.
After you distribute the first coat of polyurethane, allow it to dry completely before sanding then applying a second coat.
Finally, let it dry completely before putting furniture or rugs back on the floor. Enjoy your newly protected surface!
Subscribe to paulsDIYsolutions on YouTube
What Is Polyurethane And What Are Its Benefits?
Polyurethane is a versatile plastic that can be used for a variety of applications. It is durable, flexible, and has a variety of uses. Polyurethane can be used in everything from furniture to car parts.
Here are some of the benefits of polyurethane:
-It is strong and durable, making it ideal for use in construction and manufacturing.
-Also resistant to chemicals, which makes it perfect for use in laboratories and medical settings.
-It can make products that are both flexible and rigid, making them suitable for a wide range of applications.
What Are Some Tips And Tricks For Achieving A Flawless Polyurethane Finish?
One of the most important things to remember when working with polyurethane is that it is a finicky material. You need to take your time and practice precision in your application to achieve a flawless finish.
Here are some tips and tricks that will help you get the best results:
-Start by sanding your piece down to create a smooth surface.
-Wipe away any dust or debris before beginning to apply the polyurethane.
-Use a brush or cloth to apply the material evenly, taking care to avoid any drips or runs.
-Once you apply the desired amount of coats, allow the piece to dry completely before using it.
By following these simple tips, you can achieve a beautiful polyurethane finish that will last for years to come. So experiment and have fun with this versatile material!
How Long Does It Take For Polyurethane To Dry, And How Can You Speed Up The Process?
Applying a fresh coat of polyurethane is a great way to protect your wood floors, furniture, or trim. But how long does it take for polyurethane to dry? What can you do to speed up the process?
Polyurethane is a durable finish that will protect your surfaces from scratches, stains, and wear. But it can take 2-4 hours to dry and up to 72 hours to fully cure.
There are a few things you can do to speed up the drying time:
– Use a fast-drying polyurethane formula.
– Apply thin coats of polyurethane instead of thick ones.
– Increase air circulation in the room by opening windows or using a fan.
– Turn up the heat to help the polyurethane dry faster.
What Causes Bubbles When Applying Polyurethane?
Bubbles in polyurethane come from many things. The most common cause is when the polyurethane is too thick. In this scenario, it doesn’t have enough time to properly cure and harden. This causes bubbles to form as the excess polyurethane tries to escape.
Other causes of bubbles in polyurethane include:
-Applying it in too cold temperatures
-Not stirring it properly before use
-Using a contaminated brush
When you’re seeing bubbles in your polyurethane finish, try thinning it out with some mineral spirits or applying it in warmer conditions. With a little troubleshooting, you can get rid of those unsightly bubbles and have a smooth and professional finish.
Recommended Posts:


