When it comes to polyurethane, there are a lot of factors to consider. One of the most common questions I get is “How thick can I apply polyurethane?” This is a great question, and it’s important to understand the answer before you start your project.
In this blog post, we will discuss the different factors that determine how thick to apply polyurethane, as well as some tips for getting the best results!
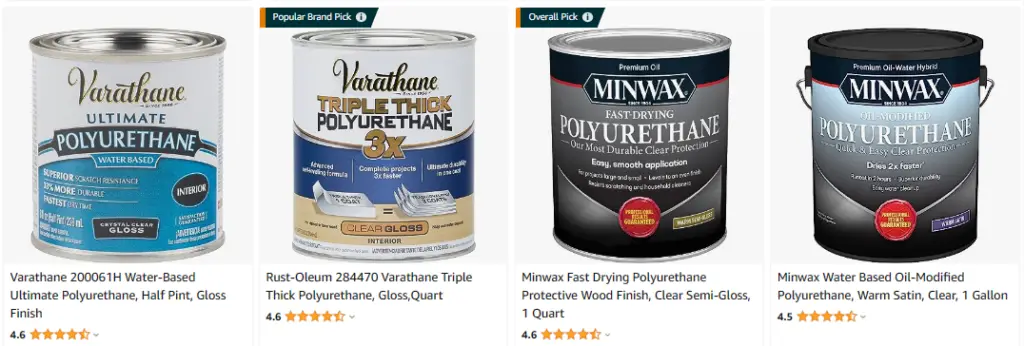
Click Here To Check The Pricing On Amazon
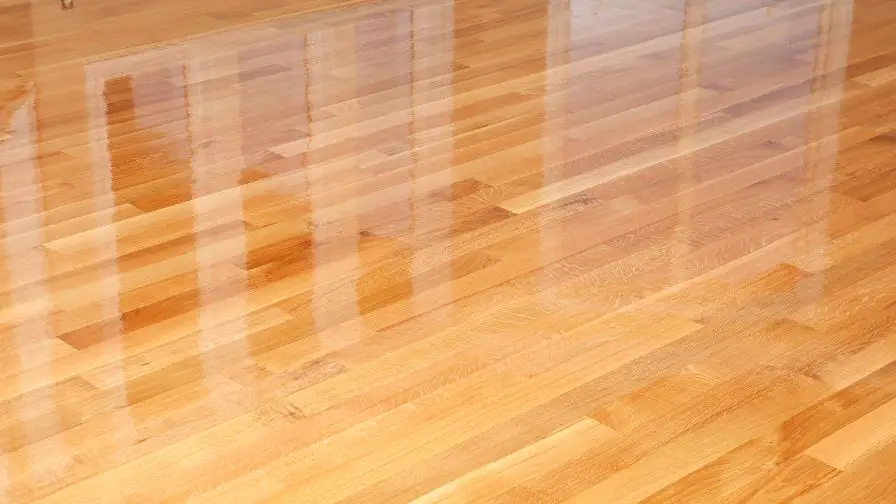
How Thick Can I Apply Polyurethane?
You want to apply 1 thin even coat over the entire surface in the same direction as the wood grain. Work in small manageable sections and avoid over-brushing. Wait at least 2 hours, sand and repeat the process. Apply 3 coats for a strong level of protection.
What Factors Determine The Thickness Of Polyurethane To Apply?
The main factor that determines how thick to apply polyurethane is the type of project you’re working on. For example, when you’re refinishing a hardwood floor, you’ll want to put a thinner layer than in finishing a piece of furniture.
The thickness of the polyurethane also depends on the type of finish you want. For a high-gloss finish, you’ll need to apply a thicker layer than when you’re going for a satin or matte finish.
You should also take into account the type of wood you’re working with. Softer woods like pine will require less polyurethane than harder woods like maple.
Finally, the environment you’re working in can also affect the thickness. In a humid room, you’ll want to put on a thicker layer than in a dry one.
Keep all these factors in mind when deciding how thick to apply polyurethane. When you’re ever in doubt, it’s always better to stay on the side of putting on too much rather than too little. Better to have to sand off a bit than to have to redo the entire project!
Now that you know all this, you’re ready to get started on your project!
4 Tips To Achieve The Best Results When Applying Polyurethane
There are a few things to keep in mind when applying polyurethane when you want the best results.
First, you need to make sure that the surface you’re working on is clean. Any dirt or debris will show through the polyurethane. So take the time to do a thorough job of cleaning before you start applying the finish.
Second, you need awareness of the type of brush you’re using. A natural bristle brush will give you the best results! But when you’re going to use a synthetic brush, make sure it’s one that’s specifically designed for use with polyurethane.
Third, when you’re applying the polyurethane, take your time and brush out any bubbles that form. You don’t want any air pockets in the finish.
Fourth, always work in a well-ventilated area. The fumes from polyurethane can get strong. So make sure you’re not going to inhale them for long periods.
By following these tips, you’ll on your way to getting the best results when applying polyurethane! So don’t skimp on the process and take your time to do it right. Your finished project will thank you for it.
Tips For Avoiding Common Mistakes When Applying Polyurethane
When applying polyurethane, always use a foam brush rather than a bristle brush. This will help avoid streaks and brush marks.
Don’t shake but stir the polyurethane gently before beginning to apply it. When putting the polyurethane, start in one corner of the room and work your way out. Spread it evenly.
It’s important to spread thin coats rather than thick ones. When you do happen to distribute it too thickly, you can always sand it down and start again. Allow each coat of polyurethane to dry completely before applying the next one.
These are a few tips to avoid making common mistakes when applying polyurethane. By taking the time to do it right, you’ll enjoy your new floors for years to come!
When Is The Best Time To Apply Polyurethane, And How Long Does It Take To Dry?
You might wonder when the best time to apply polyurethane is. It depends on a few factors, including the temperature and humidity of your home, as well as the specific product you’re using.
Generally speaking, it’s best to apply polyurethane when the temperature is between 65 and 85 degrees Fahrenheit, and the humidity is low.
Applying polyurethane is a simple process, but it’s important to do it correctly to get the best results!
First, you’ll need to sand the surface you’re going to work on. This will help the polyurethane adhere better and create a smoother finish.
Next, you’ll need to apply a thin layer of polyurethane with a brush or roller. Go with the grain of the wood and avoid applying too much at once.
Once you apply the first layer, you’ll need to wait for it to dry completely before moving on. This can take anywhere from four to eight hours, depending on the product you’re using.
After the first layer dries, you can apply a second coat as you like. Again, make sure to wait for it to dry completely before moving on.
That’s it! Once the final coat of polyurethane dries, your surface will have protection from scratches, stains, and water damage.
Remember to take your time and work in a well-ventilated area for the best results!
How Can You Make Sure Your Polyurethane Finish Lasts As Long As Possible?
There are a few things you can do to make sure your polyurethane finish lasts as long as possible.
First, always follow the manufacturer’s instructions for application and care.
Second, avoid using cleaning products that contain harsh chemicals or abrasives, as these can damage the finish.
Finally, dust and vacuum your floors regularly. This will help to prevent dirt and debris from embedding in the finish, which can cause it to break down over time.
By following these tips, you can help to ensure that your polyurethane finish will last for many years to come.
Can You Put Polyurethane On Too Thick?
Yes. When you do, it will take forever to dry and will never fully cure. It will also become very difficult to sand off later as you need to repair the piece or want to change the finish.
So how do you avoid putting polyurethane on too thick? The best way is to use thin coats and build up the finish slowly. This allows each coat to fully cure before you add another. It also makes it much easier to avoid runs and sags.
When you do end up with a thicker coat than you intended, don’t panic. Let it dry completely and then sand it down until it’s the thickness you want.
Once you got the desired thickness, you can then proceed with applying additional coats as needed.
Take your time, thin out your coats, and enjoy the process of giving your project a great finish. It is worth it in the end!
How Many Layers Of Polyurethane Are Too Much?
You can never have too much protection on your hardwood floors. Or can you? When it comes to polyurethane, more is not always better. Putting too many layers on your floors can do more harm than good.
So how many layers of polyurethane are too much? The general rule of thumb is three to four coats. Any more than that and you run the risk of the polyurethane not curing properly. This can lead to a sticky or tacky surface that will attract dirt and debris.
When you’re not sure whether your floors have proper protection, it’s always best to stay on the side of caution. Two to three coats of polyurethane are plenty to keep your floors looking beautiful for years to come!
Recommended Posts:

