There are a lot of questions that people have about wood finishing. One of the most common ones is whether or not you can use lacquer over danish oil. Yes, you can.
In this blog post, we will discuss the steps that you need to take to finish your project with lacquer over danish oil.
Can I Use Lacquer Over Danish Oil?
You bet you can! Lacquer is a top coat to protect finishes like Danish oil. Allow the Danish oil to cure for at least 24 hours before applying lacquer.
If you’re in a hurry, you can speed up the curing process by using a hair dryer or heat lamp. Keep the heat source moving so you don’t scorch the finish.
What Is Lacquer And What Are Its Benefits
Lacquer is a type of clear coating that is put on wood. It can also apply to metal, plastic, and glass. Lacquer is from nitrocellulose and/or acrylic resins. These resins create a hard and durable finish that is resistant to scratches and wear. Lacquer is available in a can or a spray can. Apply with a brush, roller, or sprayed on.
Lacquer has many benefits. One benefit is that it dries quickly! It also has a high gloss finish and is visible in many colors. Lacquer is also durable and will last for many years with proper care.
Lacquer is a fabulous way to protect your wood furniture! It is also a suitable idea to use lacquer on metal or glass surfaces. Lacquer will help to keep your surfaces looking new for years to come!
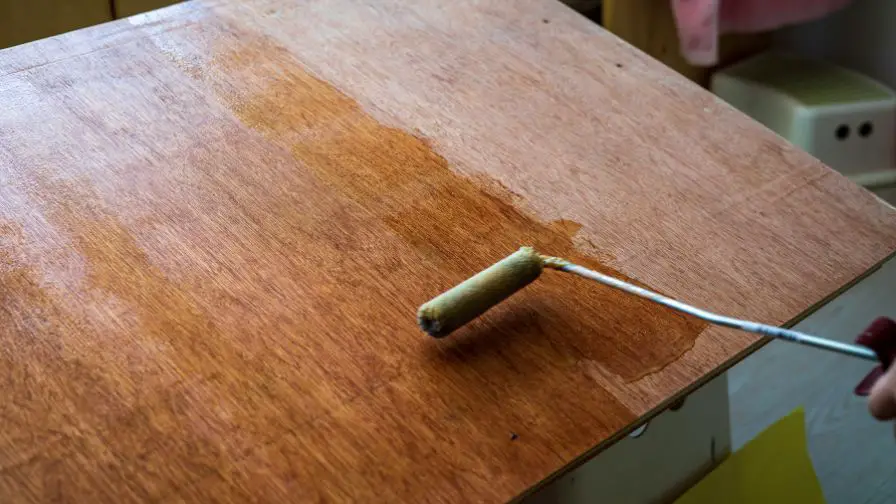
The Steps To Finishing Your Project With Lacquer Over Danish Oil
Applying lacquer over Danish oil is a fantastic way to achieve a high-gloss and durable finish on your projects.
Here are the basic steps to follow:
First, sand your project with 220-grit sandpaper to create a smooth surface. Next, clean the surface with mineral spirits to remove any dust or debris.
Now you’re ready to apply the lacquer. Start by applying a thin coat with a brush or roller, making sure to evenly cover the surface. Once the first coat is dry, sand it lightly with 400-grit sandpaper and apply a second coat.
Repeat this process until you have the desired number of coats. Once you’re happy with the finish, allow the lacquer to cure for 24 hours before using or handling your project.
With these simple steps, you can achieve a beautiful and durable finish on your next project!
Pros And Cons Of Applying Lacquer Over Danish Oil
Lacquer has its pros and cons when used as a topcoat over Danish oil.
A pro of applying lacquer on top of danish oil is that it will provide extra protection to the wood. This is especially important if the piece of furniture is going to be used frequently or placed in a high-traffic area.
A con of using lacquer over danish oil is that it can make the finish appear darker. If you are trying to achieve a light and airy look, this may not be the best option for you.
You will also need to be extra careful when cleaning lacquered furniture. Avoid using harsh chemicals or scrubbing too vigorously, as this can damage the finish.
So, there are a few things to consider before deciding whether or not to apply lacquer over your danish oil.
How To Choose The Right Finish For Your Project – Lacquer vs Danish Oil
When it comes to choosing a finish for your latest project, there are two popular options: lacquer and Danish oil. But which one is right for you? Here’s a quick rundown of the pros and cons of each option to help you make the best decision for your project.
Lacquer is a clear or colored varnish that dries quickly and provides a smooth and hard surface. It’s ideal for projects that require a durable finish, such as table tops or countertops. Lacquer is also easy to apply and can buff to a high shine.
The main downside of lacquer is that it’s not very forgiving. If you make a mistake, you’ll need to start over from scratch. Lacquer is also susceptible to scratches and can yellow over time.
Danish oil, on the other hand, penetrates deep into the wood for a durable finish that won’t chip or flake off. It’s also very forgiving, so you can easily repair any mistakes. Danish oil is a marvelous choice for projects that will see a lot of wear and tear, such as high-traffic furniture or kids’ toys.
The main downside of Danish oil is that it takes longer to dry than lacquer. Since it’s oil-based, it can get messy to apply. Danish oil also doesn’t provide the same high-gloss finish as lacquer.
Recommended Posts:

