There are lots of ways to cut tongue and groove joints. You can use a table saw, miter saw, or band saw. But what if you don’t have one of those tools? Can you still make tongue and groove joints with a hand router? Yes.
In this article, learn how to do it the right way.
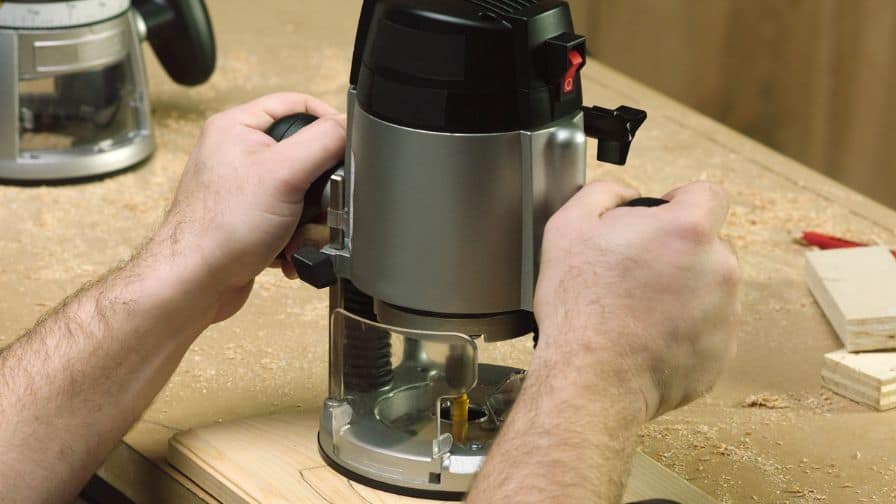
How Do You Make A Tongue And Groove Joint With A Hand Router?
There are a couple of different ways that you can make a tongue and groove joint with a hand router.
-Use a straight bit and make multiple passes, removing a little bit of material each time. This method takes a little longer but it will produce a very clean and accurate joint.
-Get a tongue and groove bit. This is a two-in-one bit that will cut both the tongue and the groove at the same time. It is faster but it can get a little more difficult to get a clean and accurate joint.
Whichever method you choose, take your time with extra care. A hand router is a very powerful tool and it can get easy to make a mistake that can ruin your piece.
When you’re not comfortable using a hand router, there are other ways to cut tongue and groove joints. You can use a table saw or a circular saw with a jig, or do it by hand with a chisel. But as you want to get a clean and accurate joint, using a hand router is the best way to go.
What Are Tongue And Groove Joints?
A tongue and groove joint is made by cutting a slot (the groove) into the edge of one board and a matching rabbet (the tongue) into the edge of another board. The two boards then fit together like a puzzle, with the tongue fitting into the groove.
This type of joint is often used to make panels, such as doors, wainscoting, and tabletops. It can join two pieces of wood at right angles (90 degrees), as well as at other angles.
The tongue and groove joints are very strong. They are also easy to make, which is why they are so popular. You can cut them by hand or with a router.
There are two main types of tongue and groove joints: the butt joint and the miter joint.
The butt joint is the most basic. It’s made by simply fitting the tongue into the groove. This type of joint is not as strong as the miter joint, but it’s much easier to make.
Create the miter joint by cutting both the tongue and the groove at an angle (45 degrees). This produces a stronger joint, but it’s more difficult to make.
Most tongue and groove joints are cut at a 90-degree angle. But you can also cut them at other angles, such as 30 degrees, 60 degrees, or even 120 degrees. The angle you choose will depend on the project you’re working on and your personal preference.
Tongue and groove joints are very versatile. You can use them to make all sorts of different projects, from doors and tabletops to wainscoting and more.
When you’re new to woodworking, the tongue and groove joint is a great place to start. They’re easy to make and they’re strong. With a little practice, you’ll build them perfectly every time.
Subscribe to Wood By Wright
Why Do You Want To Use Tongue And Groove Joints?
Tongue and groove joints are commonly used in woodworking. They offer several advantages over other types of joints. Perhaps the most important advantage is that they allow for a tight and seamless connection between two pieces of wood. This type of joint is also very strong, and it can join together pieces of wood that are not perfectly flat or level.
When you are planning on using tongue and groove joints in your next woodworking project, there are a few things you should keep in mind:
-It is important to select the right type of wood for the job. Softwoods such as pine or fir are not well suited for this type of joint. Hardwoods like maple or oak are a more suitable choice.
-Make sure the tongue and groove fit together snugly. A loose fit will result in a weaker joint.
-Use clamps to hold the pieces of wood together while you assemble the joint. This will help to ensure a tight fit.
With a little care and attention to detail, you can create tongue and groove joints that are both strong and attractive.
Subscribe to Nate Large – Woodworking DIY & More
Recommended Posts:

