Miter joints are commonly used in woodworking, and while they aren’t the strongest, they look very appealing on certain applications. There are so many varieties of wood joints you can use.
Each style has a specific purpose and function that separates it from the others. It can be confusing for a beginner to understand what all of the woodworking joints do so I researched through the internet and put together a quick summary on what miter joints are used for.
What is a miter joint used for? A miter joint connects two 45 degree angled pieces of wood together at a 90-degree angle. They are most commonly used in making frames, crown molding, furniture, cabinets, doors, windows, boxes, and joining architraves. This type of joint hides the end grain of the wood and because wood expands across the grain not with the grain you can hide wood expansion and contraction seen in other joints when room humidity changes.
Keep reading below to get a more in-depth look on miter joints and what they are used for.
What Is A Miter Joint Used For?
A miter joint connects two 45 degree angled pieces of wood together at a 90-degree angle. It is used to form a corner on a wood piece, commonly found in frames, wooden boxes, cabinet face frames and molding. While it is similar to a butt joint, it is stronger. Just keep in mind that in the bigger picture of woodworking joints, miter joints are still one of the weakest.
Miter joints are relatively easy for woodworkers to create, and they can be strengthened with the simple addition of a spline, wire nails, pin nailer, or gusset plate.
Curious about What Is A Biscuit Joint Used For? Please consider reading our article about the topic at this link here https://topwoodworkingadvice.com/what-is-a-biscuit-joint-used-for/
Is A Miter Joint Strong?
While a miteroint looks great, they are not the strongest type of joint. Due to the lack of strength with miter joints, it is a good idea to reinforce them whenever you use them for a woodworking project.
There are multiple ways that you can reinforce miter joints, and which method you choose comes down to your personal preference and the nature of the project itself.
The first option is using a spline. There are decorative splines available that will keep the appearance of the joint pleasant. There are also hidden splines that you can use that will be hidden from the viewer altogether. Being able to pick which spline you use gives you flexibility in terms of the final look you desire.
You can also use a spare piece of stock wood and screws to reinforce the miter joint. Simply lay that piece of wood over the original piece diagonally. Mark where you need the reinforcement to be cut and do so with a table saw or a chop saw at a 45-degree angle. Once the reinforcement is cut and fits on properly, you can pre-drill holes and screw it into place.
How is a Miter Joint Made?
There are multiple ways that you can cut to form a miter joint effectively. Here are some of the common methods that you can rely on.
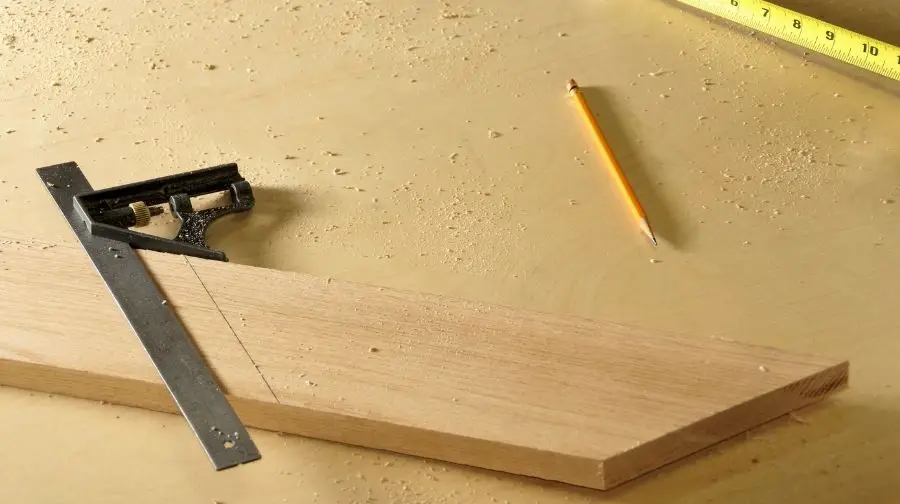
Table Saw and a Miter Gauge
To start off, make a mark on your piece of wood where ideally you want the cut to be. You can use a pencil to do this. Once the piece of wood is marked, set your miter gauge to 45 degrees and lay your piece of stock wood firmly against it.
You can now move your stock piece of wood along your table to make the cut at the 45-degree angle you set on your miter gauge. When you are finished, go ahead and start on your next piece of wood that you are using in the joint, using the same steps.
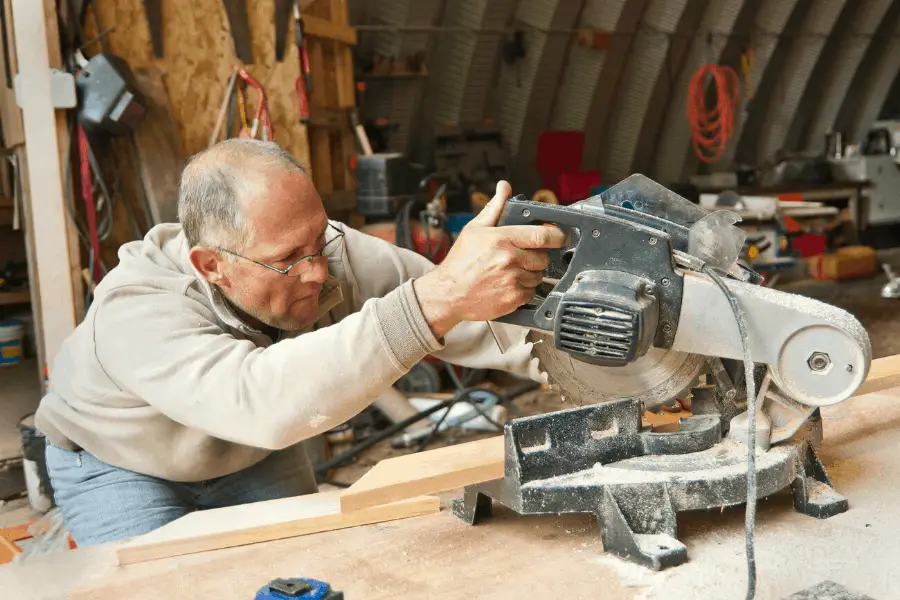
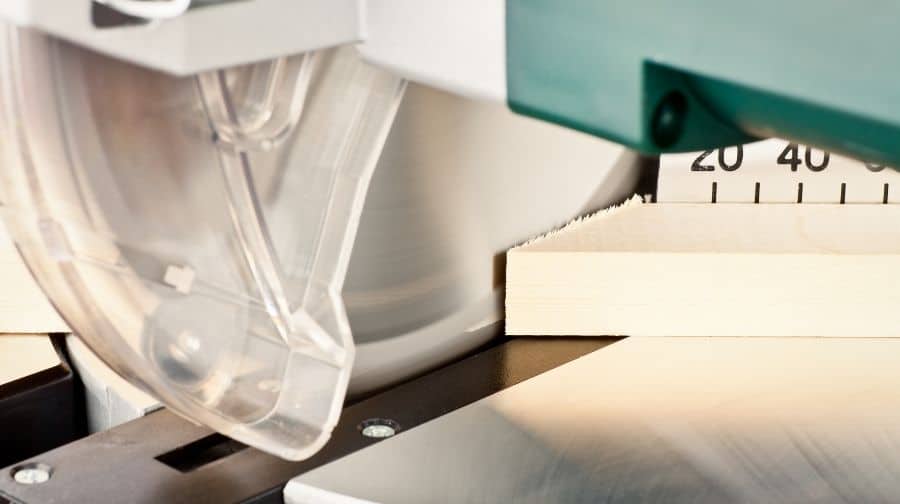
Chop Saw
You can use a chop saw to cut a miter joint. Start by placing your stock piece on wood and cutting it at a 45-degree angle. You can do this by loosening the lever on your chop saw and rotating until the saw is lined up at the 45-degree position, then lock the lever in place.
Make sure that before you start cutting your wood piece is completely flat, both against the table and the guard on the chop saw. When you are ready to start cutting the second piece of wood, you need to ensure that the cut is in the other direction compared to your first piece of wood. This will allow the two pieces to fit together to create the miter joint.
Once you are finished with both of your cuts, you can apply your miter adhesive to one of the faces of the woodcuts. On the other face, you need to apply an activator so that the adhesive starts working when you apply pressure.
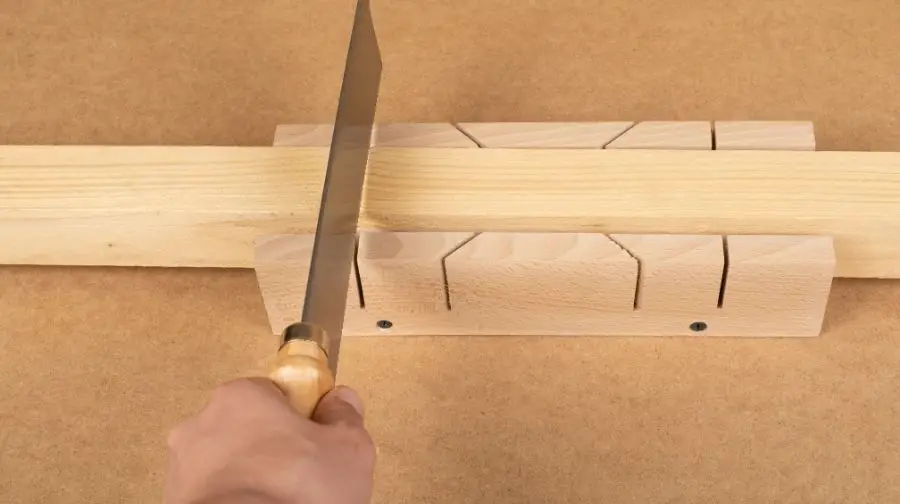
Hand Saw
It is possible to make a miter joint cut while using a hand saw, but make sure that you are confident in your abilities before using this method. There are tools available that make cutting straight along an angle easier with hand saws.
If you get a metal miter box, you can align your hand saw in the vertical slots and your saw will be at the perfect angle. Now you can simply cut along those vertical slots until you fully cut through the piece of wood.
Curious about What Is A Dado Joint Used For? Please consider reading our article about the topic at this link here https://topwoodworkingadvice.com/what-is-a-dado-joint-used-for/
How To Reinforce Miter Joints.
Miter Joints are inherently weak joints because you are only glue ingrain to ingrain here are some options to reinforce the strength of your miter joints.
- Wire Nails: Don’t just hammer these nails into the wood they could split your frame. Start by drilling a small hole into the wood and then finish by hammering in the nail. This may not be the most attractive option
- Pin Nailer: This compressed air nailer can quickly and easily help secure the joint and leaves a smaller less noticeable nail in the wood.
- Glue A Gusset Along the Corner: Cut a wide groove into your miter joint corner for your gusset plate to fit across the joint. You can use multiple cuts with a normal table saw blade or use a dado blade. Glue your gusset to your joint, let it dry then trim down the gusset as needed.
- Spline: Similar to a gusset but it is placed in the middle of the thickness of the frame. Using a special sled on your table saw you can make this cut into the frame. Make the cuts the correct width of your spline piece. Glue into place and then trim the spline as needed.
What the video below to see step by step instructions on these methods.
What Are The Advantages And Disadvantages Of A Miter Joint?
Advantages
One of the main advantages of the miter joint is its appearance. This is because there is no end grain that shows, so the joint will look more normal and easy on the eyes when compared to a butt joint.
Also, because there is no exposed end grain, the available surface for gluing is increased. This will allow you to make the joint slightly stronger with a bigger application of adhesive.
Disadvantages
The major disadvantage of using a miter joint is that they are not very strong. This is due to the fact that you have to glue end grain to end grain, which does not create a very strong bond. There are ways that you can reinforce the joint, so woodworkers still use them for some things.
Another disadvantage of using a miter joint is that you have to be very precise when you are cutting the pieces of wood that you are joining together. Any slight inconsistencies will result in gaps between your joints, which will not look very good.
Curious about What Is A Knapp joint? Please consider reading our article about the topic at this link here https://topwoodworkingadvice.com/what-is-a-knapp-joint/
How Do You Hide Miter Joints?
The best way to hide a miter joint is by using a hidden spline. These splines are hidden from the viewer as their name suggests, and they offer super-strength to reinforce the miter joints. Since miter joints are relatively weak, some kind of spline or other reinforcement method is typically used. Hidden splines are a great option for this.
You also want to be very precise when you are cutting the pieces of wood used in your miter joints. As we mentioned, any slight inconsistencies will result in gaps between the pieces of wood in the joint. This will make the miter joint visible to onlookers and compromise the strength of the joint.