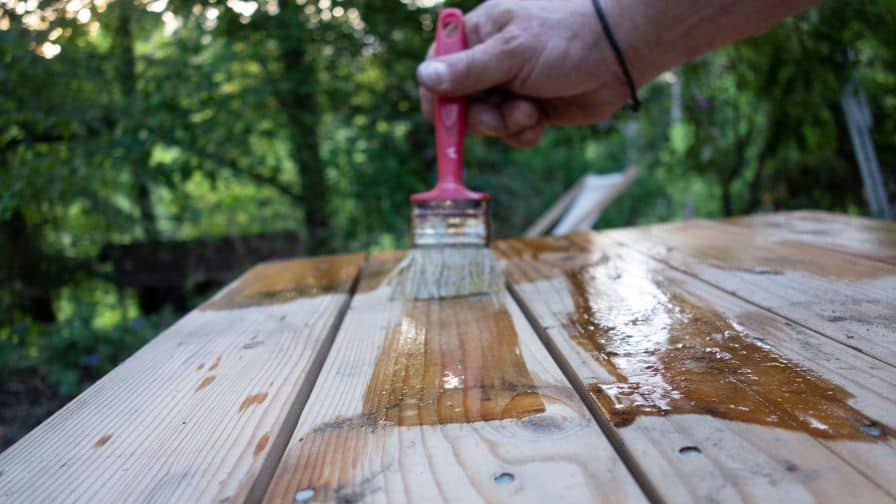
Shellac is a resin that the female lac bug secretes. Mix it with alcohol to create a liquid finish that can apply to wood surfaces. It dries quickly and provides a high level of protection against scratches and stains.
In this blog post, we will discuss the cure time for shellac finishes.
How Much Time Does It Take For Shellac To Cure?
Shellac will take between 2-4 weeks to fully cure. It will dry within about 30 minutes but it takes much longer to fully cure. To stay safe, wait at least two weeks before using your newly-shellacked piece of furniture. This will give the shellac plenty of time to harden and cure properly. Once it is cured, you can enjoy your beautiful new finish for years to come.
What Is Shellac And What Are Its Benefits?
Shellac has been a wood finish for centuries, and it’s one of the best available for furniture.
It has some advantages over other finishes:
-dries quickly
-very durable
-produces a high-gloss finish
-apply by spraying, brushing, or wiping it on with a rag
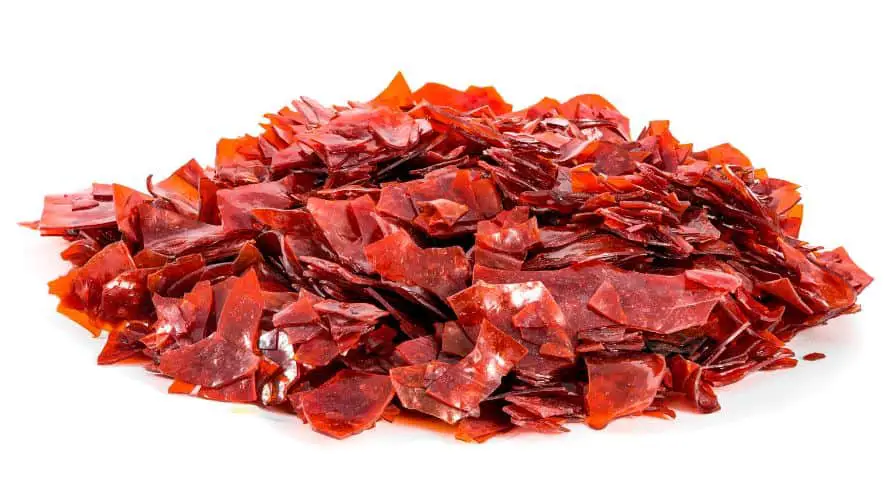
Shellac is available in two forms: flakes and dissolved in alcohol.
The advantage of the flake form is that you can mix it to any desired strength. On the downside, it’s more difficult to apply evenly.
The strength of the liquid form is that it’s easier to distribute evenly. The disadvantage is that you have to practice caution not to use too much. Otherwise, the finish will become too thin and won’t protect the wood well.
Shellac comes in different colors from clear to amber. The most popular color is garnet, which has a reddish tint.
Discover 1,000 Hours Of Step-By-Step Woodworking Videos

It’s called Woodwork101. A database of detailed videos and blueprints in crystal clear, mouth-watering HD that will take you by the hand and show you that DIY home projects done the right way are easy, fun, and always of top quality… turning a dream into reality in a heartbeat. Getting you that perfect build each and every time.
Subscribe to Newton Makes on YouTube
What Are The Different Types Of Shellac Finishes
There are two types of shellac finishes: The first is natural and the other is dewaxed.
Natural shellac consists of 25 to 30% wax while dewaxed shellac does not contain any. The main difference between the two is that natural shellac will yellow over time whereas dewaxed shellac will not. Dewaxed shellac is also more resistant to heat and alcohol. For these reasons, it is the best choice for a wood finish.
How Can You Speed Up The Curing Process For Shellac
You can speed up the curing process of Shellac wood finish by using a UV lamp. The curing process is accelerated by ultraviolet light, and it only takes a few minutes for the finish to harden. Shellac wood finish is one of the most durable finishes available, and it can last for years with proper care.
There are a few things you can do to speed up the drying process for shellac.
-Use a hair dryer on its lowest heat setting.
-UV light.
-Increase the temperature of your room.
-You can put multiple thin coats of shellac instead of one thick coat.
Doing these things will help the shellac to dry faster so that you can enjoy your newly-refinished piece sooner!
Can You Apply A Second Coat Of Shellac Before The First One Is Dry?
No. When you apply a second coat of shellac before the first one is dry, you’ll end up with a sticky mess.
But you may have impatience in waiting for the recommended time before applying a second coat. Test a small area first to see if it’s dry enough. Otherwise, give it more time.
Does Shellac Need A Cure?
While shellac doesn’t technically need to cure, it can take 2-4 weeks for the finish to fully harden. This curing process is important when you want your shellac finish to become as durable as possible.
During this time, it’s best to keep the piece you’re working on in a cool and dry place out of direct sunlight.
[Video] 3 Most Common Mistakes
When Setting Up Shop

A woodworking friend of mine shared this video by Ralph Chapman with me that helped him set up his workshop.
The video explains the benefits of Ralph Chapman’s guide about setting up an affordable workshop and avoiding the most common mistakes offers to anyone interested in woodworking.
How Long Does Zinsser Shellac Take To Dry?
Zinsser shellac takes about two hours to dry. You can speed up the drying process by using a hairdryer in a warm setting. Direct the airflow across the shellac until it becomes tack-free to the touch.
How Many Coats Of Shellac Should I Use?
When it comes to how many coats of shellac you should use, the general rule of thumb is to apply as many coats as necessary to achieve the desired level of protection and shine. As you’re looking for a high-gloss finish, you’ll need to apply at least three coats. For a more satin finish, two coats should suffice. For a more natural look, one coat is all you’ll need.
Does Shellac Harden Wood?
Yes. When shellac applies to wood, it penetrates the surface and hardens to create a durable and attractive finish.
Subscribe to WoodWorkers Guild Of America on YouTube
Why Is My Shellac Not Drying?
Your shellac wood finish isn’t drying because it’s not getting enough oxygen. The finish needs oxygen to harden. Without it, the shellac will remain soft and gummy.
There are several things you can do to get your shellac finish to dry:
– Use a fan to circulate air around the piece.
– Place the piece in a well-ventilated area.
– Thin the shellac with denatured alcohol. This will help it to dry faster.
If you’re still having trouble getting your shellac finish to dry, you can try using a hairdryer on the low setting. Hold the hairdryer about six inches away from the surface and move it around constantly. Be careful not to overheat the shellac, as this can cause bubbles to form.
What Do You Wipe Shellac With At The End?
You can use a clean cloth or sponge to wipe off the excess shellac. Do this before the shellac dries, as it will become harder to remove once it’s dry. You can also use denatured alcohol to remove the excess shellac. This will also help to remove any residual stickiness. Once the excess shellac disappears, you can allow it to dry.
What Are The Disadvantages Of Using Shellac?
Shellac has a few disadvantages.
One is that it can become difficult to apply evenly, especially on large surfaces.
It can also become susceptible to damage from heat and alcohol.
Finally, shellac is not as durable as some other finishes.
So it may need reapplication more often. Despite these drawbacks, shellac is still a popular finish for woodworking projects!
When you are considering using shellac on your next project, keep these disadvantages in mind. But don’t let them dissuade you from trying this unique and beautiful finish.
Should You Sand Between Coats Of Shellac?
No. You don’t need to sand between coats of shellac unless you have a reason to do so. The only time you might want to sand is when you’re trying to remove an old finish or repair a damaged piece of wood. Otherwise, there’s no need.
Does Shellac Dry Hard?
Yes. When it dries, it forms a hard and protective coating on surfaces. The reputation of shellac for centuries is as a wood finish and sealant. It continues its current uses in different applications, including cosmetics and pharmaceuticals.
Recommended Posts:

