Tongue and Groove Joints are commonly used in woodworking. There are so many varieties of wood joints you can use. Each style has a specific purpose and function that separates it from the others. It can be confusing for a beginner to understand what all of the woodworking joints do so I researched through the internet and put together a quick summary on tongue and groove joints.
What Is A Tongue And Groove Joint Used For? Tongue and Groove joints are mainly used for connecting panels to create a wider piece. They are most commonly used for wood flooring, the bottom of boxes and chests, table tops, cabinet doors, architectural paneling, face frames, wood shelf stiffeners, edge-to-edge glue ups or any frame and panel application.
Keep reading below to get a more in-depth look on tongue and groove joints and what they are used for.
What Is A Tongue And Groove Joint Used For?
Tongue and Groove joints are mainly used for connecting panels to create a wider piece. They are most commonly used for wood flooring, the bottom of boxes and chests, table tops, cabinet doors, architectural paneling, face frames, wood shelf stiffeners, edge-to-edge glue ups or any frame and panel application.
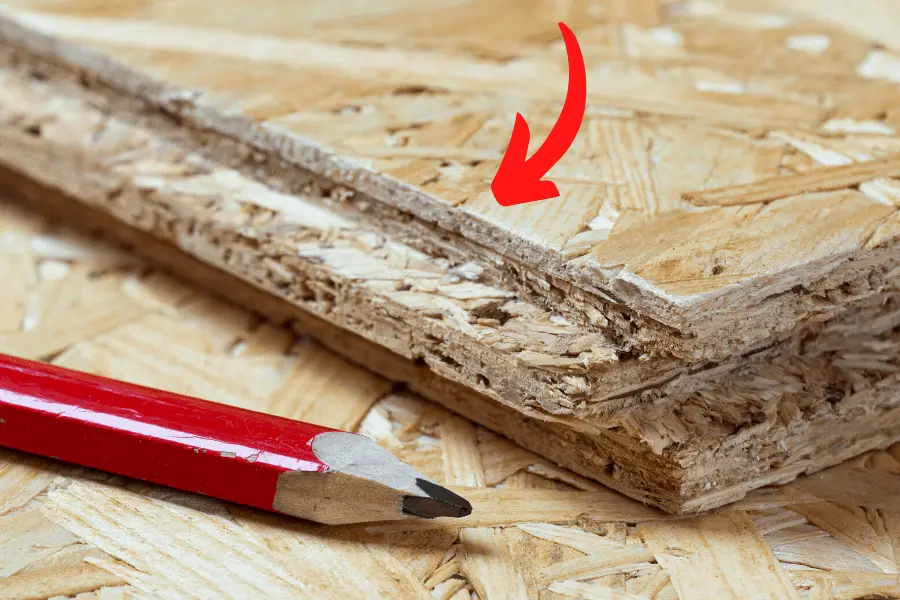
We use a tongue and groove joint for fitting similar pieces of wood together when woodworking. By using a tongue and groove joint, you can fit two flat pieces strongly together to make one flat surface.
Tongue and groove joints are commonly used in expensive cabinet work. While the method of using tongue and groove joints is considered obsolete by some because of plywood and composite wood boards, woodworkers still use the method in some high-quality wood projects.
So let’s break down some specifics about tongue and groove joints and answer some common questions regarding them.
How Do You Make Tongue And Groove Joints?
To make the tongue and groove joint you need to cut out a “Groove” down the center of one edge of the board and then cut the outside edges of the other side to leave the “Tongue” piece that slides into the groove connecting the two pieces of wood.
There are several methods that you can use to create a tongue and groove joint. Which method you use mainly depends on the tools you have available. Here are some common methods that people practice to create these joints.
- Four or Six Head Moulder
- Wood Shaper
- Circular Saw Bench
- Hand Planes
- Router
- Table Saw

How Strong Is A Tongue And Groove joint?
A tongue and groove joint is stronger than simple butt joints. The strength of a tongue and groove joint depends on how well you make it. If the two pieces of wood don’t fit together tightly, then the bond will not be as strong as you would like.
The tongue and groove joint also may lack strength if the height of the groove is shorter. Here, you also need to use a strong glue to which you can apply a thin layer on your tongue and groove joint when you put the pieces of wood together. This will make the bond stronger and more reliable.
How Do You Cut A Tongue And Groove Joint With A Table Saw?
If you want to cut a tongue and groove joint with a table saw, you may need to use a dado cutter instead of your everyday blade. Keep in mind that the more thick your piece of wood is, the larger you will have to make the groove cut.
Next you need to set the cut height for the groove. If you are assembling your tongue and groove joint without glue, ideally you should make the height 1⁄4″ to 3⁄8″. If you will use glue, then you can make the height of the groove less. About 1⁄8″ Will be enough if that is the case.
Now you can bring your rip fence into position and prepare to make your first cut. This process will be easier if you have dial calipers to measure the shoulders of your first groove cut. Adjust your cutting stock as close to the center as possible because this is where your group will sit. You can make a test cut to see how close you are to the center and adjust based on that test.
Center that cut by making two passes on each board.
When you finish with your groove cut, you are ready to move on to the tongue. You do not have to change the height of the cut for the tongue. You can use one of your sample grooves that you cut from the first step to make cutting a tongue easier. Line up the sample groove that you had to the edge of the fence.
Line up the outside edge of your cutter with the edge of your sample groove. Cut your tongue and when you finish, test to see if it fits into your groove. Slide your piece of wood along the fence to cut one side of the tongue and when you finish spin the board around and cut the other side. Make adjustments as necessary until you get a suitable fit in your tongue and groove joint.
Tongue and Groove Joinery With A Router Table or a Table Saw
Subscribe to Jay Bates on Youtube
How Do You Make A Tongue And Groove Joint With A Router?
Using a router to make a tongue and groove joint gives you more flexibility in terms of how you approach the project and which cutters you use. You can either use a router table or if you have a portable router, you can plant your boards and use that.
Using a router table gives you more options in terms of the blade you used. You can choose from a straight bit, a slot cutter, or ideally a tongue and groove cutter if you have one. If you’re using a portable router, use a slot-cutter.
The setup for cutting a tongue and groove joint is exactly the same as it is for cutting one with a table saw. If you use a straight bit on your router table, it will mimic the outcome almost identically to if you were using a dado cutter on a table saw.
One positive of using a slot cutter on either a router table or a portable router is that it will cut a groove with ease. This cutter will work great for working with stock pieces that are 1⁄4″ or less. When you exceed that with, you cannot find a cutter that is wide enough to make your tongue and groove joint.
You will start the process by cutting the groove. Lay the stock piece of wood flat on the table next to the cutter. Make adjustments until the tip of the cutter so you can center it on the stock piece of wood. You can also adjust your fence to dictate the depth of the cut. Now you are ready to run the stock piece of wood along the table to make your cut.
Now flip over your stock piece of wood when you finish making the groove cut. Align the cutter with the lower groove wall to prepare to make your first tongue cut. Flip the piece of wood back over and run it along your fence to cut the first side. When finished, flip the piece of wood back over so that the cutter is facing the groove and align the cutter with the top groove wall. You are now ready to make your last cut to the tongue side of the piece.

Should I Glue Tongue And Groove Boards?
Whether you glue your tongue and groove joints depends on the height of your cut. A shorter groove height will require glue to make sure that the two joined boards stay together firmly. If your groove height is taller, you likely will not need to use glue since the joint itself will hold two pieces of wood together more easily.
If you find that you need glue for your project, carefully apply a thin and even coat of glue among all meeting services. We suggest using Gorilla brand wood glue as it provides a powerful bond and is also water-resistant.