If you have ever used a polyurethane finish on your woodworking projects, then you may have been told to use steel wool after the finish dries. This is because steel wool can help remove any bumps or imperfections in the finish.
In this blog post, we will discuss how to use steel wool after applying a polyurethane finish, and we will also provide some tips on how to avoid common mistakes.
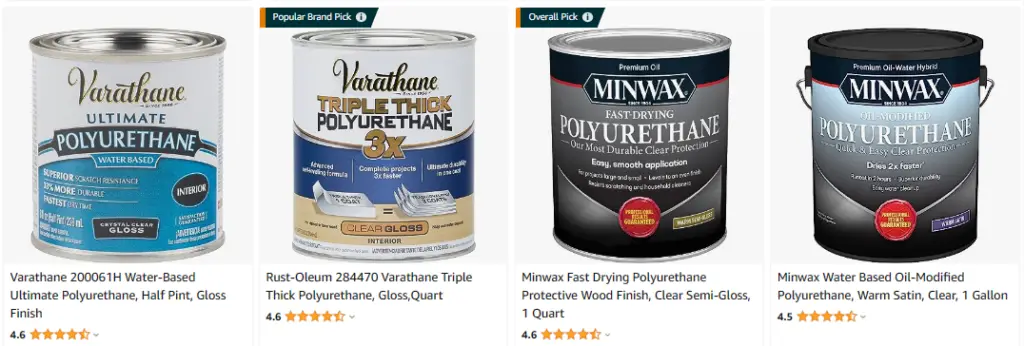
Click Here To Check The Pricing On Amazon
Do You Use Steel Wool After Polyurethane Finish?
If you’re working with delicate wood or a high-gloss finish, it’s best to avoid using steel wool altogether. But if you’re going for a more rustic look, or the finish is well-cured, a little steel wool can add character to your piece.
There are a few things to consider before using steel wool on your newly finished project. The type of wood, the sheen of the finish, and how long the finish has had to cure are all important factors.
If you’re considering using steel wool after applying a polyurethane finish, here are a few things to keep in mind.
The type of wood is an important factor to consider. Some woods are more delicate than others and can be easily scratched by steel wool. If you’re working with delicate wood, it’s best to avoid using steel wool altogether.
The sheen of the finish is another important factor. If you’re using a high-gloss finish, steel wool can leave behind unsightly scratches. If you’re going for a more rustic look, however, the scratches might add to the character of the piece.
Finally, you need to consider how long the finish has had to cure. If it’s still fresh, steel wool can cause the finish to lift or peel. If it’s been a few weeks, however, the finish should be strong enough to withstand a little scrubbing with steel wool.
What Is Steel Wool And Why Do We Use It After A Polyurethane Finish?
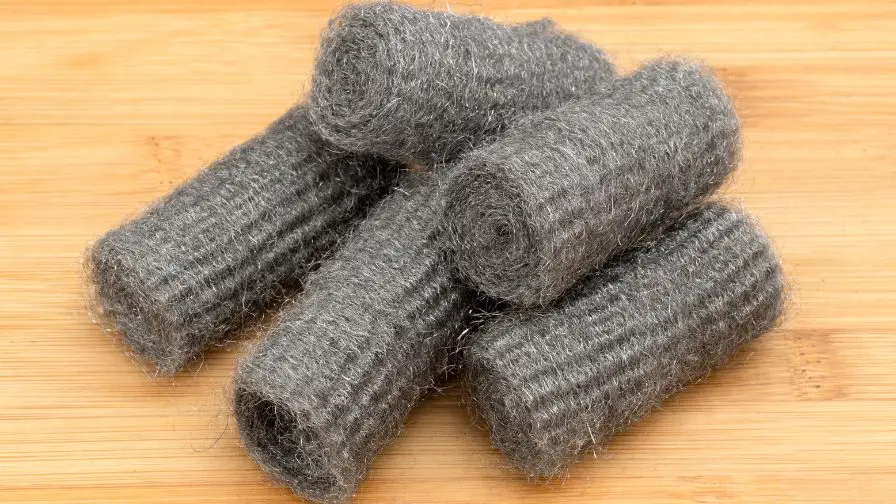
You’ve probably seen steel wool before. It’s that abrasive material that’s often used for sanding or scrubbing. Steel wool is made of very fine strands of steel, and it’s quite sharp. That’s why it’s so effective at removing paint or varnish from surfaces.
So why do we use steel wool after a polyurethane finish? Well, steel wool creates a very uniform surface. This is important because it allows the next coat to adhere evenly. If you don’t use steel wool, you might end up with an uneven finish.
Steel wool is also effective at removing any dust or debris that might be on the surface. This is important because any dust or debris can create a rough surface, which will make it difficult for the next coat to adhere properly.
So, if you’re planning on applying a polyurethane finish, be sure to use steel wool first. It’ll help you create a smooth, uniform surface that’s ready for the next coat.
Discover 1,000 Hours Of Step-By-Step Woodworking Videos

It’s called Woodwork101. A database of detailed videos and blueprints in crystal clear, mouth-watering HD that will take you by the hand and show you that DIY home projects done the right way are easy, fun, and always of top quality… turning a dream into reality in a heartbeat. Getting you that perfect build each and every time.
Subscribe to Jon Peters – Longview Woodworking on YouTube
How To Use Steel Wool After Applying A Polyurethane Finish
You can use steel wool after applying polyurethane by lightly sanding the surface with it. This will help to smooth out any imperfections in the finish and give it a nice, even appearance. Just make sure that you don’t overdo it, or you could end up with a dull, lifeless finish.
Tips For Avoiding Common Mistakes When Using Steel Wool
When using steel wool to remove paint or varnish from wood, always remember to use a light touch. Too much pressure can damage the wood fibers and leave behind unsightly scratches. Also, be sure to work in the direction of the grain to avoid creating gouges.
If you’re planning on staining or painting the wood after using steel wool, be sure to remove all the residue before proceeding. Otherwise, it could interfere with the new finish and cause it to look uneven.
To clean up steel wool debris, simply vacuum it up or use a damp cloth to wipe away any stray pieces.
How Do I Make My Polyurethane Coat Smooth?
You can make your polyurethane coat smooth by following these simple steps. First, sand the surface with fine-grit sandpaper. Next, wipe the surface clean with a damp cloth. Finally, apply a thin layer of polyurethane to the surface and allow it to dry completely. Once dry, your polyurethane coat will be smooth and shiny!
What Grit Do You Use After Polyurethane?
You should sand lightly between coats with 320-grit sandpaper. This will help to create a smooth surface for the next polyurethane coat. If you skip this step, you may end up with a rough finish.
After the final polyurethane coat, you don’t need to sand. The final coat will create a smooth, durable surface that doesn’t need any further refinement.
If you’re using steel wool after polyurethane, make sure to choose a very fine grade. Otherwise, you may end up with scratches in your finish. Steel wool is a great way to remove any dust or debris that may have accumulated on your surface during the finishing process.
Do You Have To Sand After Each Coat Of Polyurethane?
It is necessary to sand between coats of polyurethane, otherwise, the surface will be rough. For a completely smooth finish, sanding between each coat is ideal. How many coats of polyurethane should you use?
The general rule of thumb is to apply two to three coats of polyurethane with sanding in between each coat. Keep in mind that more coats mean a more durable finish, but also more work. If you’re going for a natural look, three coats should be enough. For high-traffic areas, such as a kitchen table top, four to five coats are recommended.
Once you’ve applied the final polyurethane coat, it is not necessary to sand. Sanding at this point will just create a mess. If you want to remove any dust particles that may have settled on the surface, you can wipe them down with a damp cloth.
[Video] 3 Most Common Mistakes
When Setting Up Shop

A woodworking friend of mine shared this video by Ralph Chapman with me that helped him set up his workshop.
The video explains the benefits of Ralph Chapman’s guide about setting up an affordable workshop and avoiding the most common mistakes offers to anyone interested in woodworking.
Subscribe to ExpertVillage Leaf Group on YouTube
How Do You Know If Polyurethane Is Cured?
To ensure that your polyurethane finish is cured, you can perform a simple test. Once your dry time is complete, try placing your hand on the floor. If you can do so without leaving marks or pulling off the finish on your palm, then congratulations! Your polyurethane is fully cured and ready for use.
If, on the other hand, you find that your polyurethane isn’t quite cured yet, don’t despair. There’s no need to start over from scratch – simply give it a little more time to dry and cure properly. With a little patience, you’ll have a beautiful and durable finish that will last for years to come.
Can You Put Too Many Coats Of Polyurethane?
You can put as many coats of polyurethane on as you like, but more than three coats aren’t really necessary. After the first three coats, the wood will be just as protected as it would be with four or five coats. Plus, putting on more than three coats can make your floors look cloudy.
So save yourself some time and money and stick to three coats of polyurethane. Your floors will thank you for it!
Discover 1,000 Hours Of Step-By-Step Woodworking Videos
It’s called Woodwork101. A database of detailed videos and blueprints in crystal clear, mouth-watering HD that will take you by the hand and show you that DIY home projects done the right way are easy, fun, and always of top quality… turning a dream into reality in a heartbeat. Getting you that perfect build each and every time.
Recommended Posts:

